Black dog photography can be a lot of fun, but it can also be a bit challenging. Here are ten tips to help you get the most out of your sessions with black dogs.
1. Black Dog Photography: Underexposing To Keep The Details Of The Background
There is a general rule in photography concerning exposure. In case there is a chance of accidental overexposure, it is safer to underexpose the scene and fix it later during editing. It is easier to bring the details back from shadows than from bright highlights. To be able to bring back the details, it is crucial that you shoot in RAW.
The same applies to photographing black dogs. Your camera’s light meter would normally adjust the exposure based on where you focus. If this point is a black dog, it will tell the camera that the whole scene’s exposure should be based on how dark the dog’s fur is.
The camera is always aiming for a balanced exposure. So it will brighten up the scene to the point where it thinks the dog looks “normally” exposed. This will result in a grey dog and an unnaturally overexposed background.
If you want to get the exposure right, you will have to underexpose the photo. You can do so by either switching to manual mode, or using exposure compensation.
You can also strengthen the blacks in post-production. This will help you reach the dog’s original fur color.
2. Be Mindful Of Your Light To Avoid Harsh Shadows
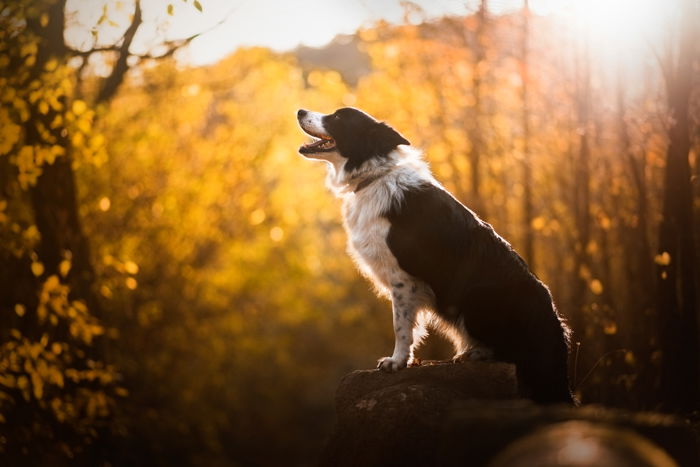
When photographing pets, direct sunlight is often a problem. It casts unwanted harsh shadows on the pet’s face. With photographing black dogs, you have to be extra mindful. The darker fur color means more contrast when the direct light hits.
Unless you are aiming for purposefully dramatic images, you should avoid shooting in hard light conditions.
3. Choose a Dark Background To Reduce Highlights
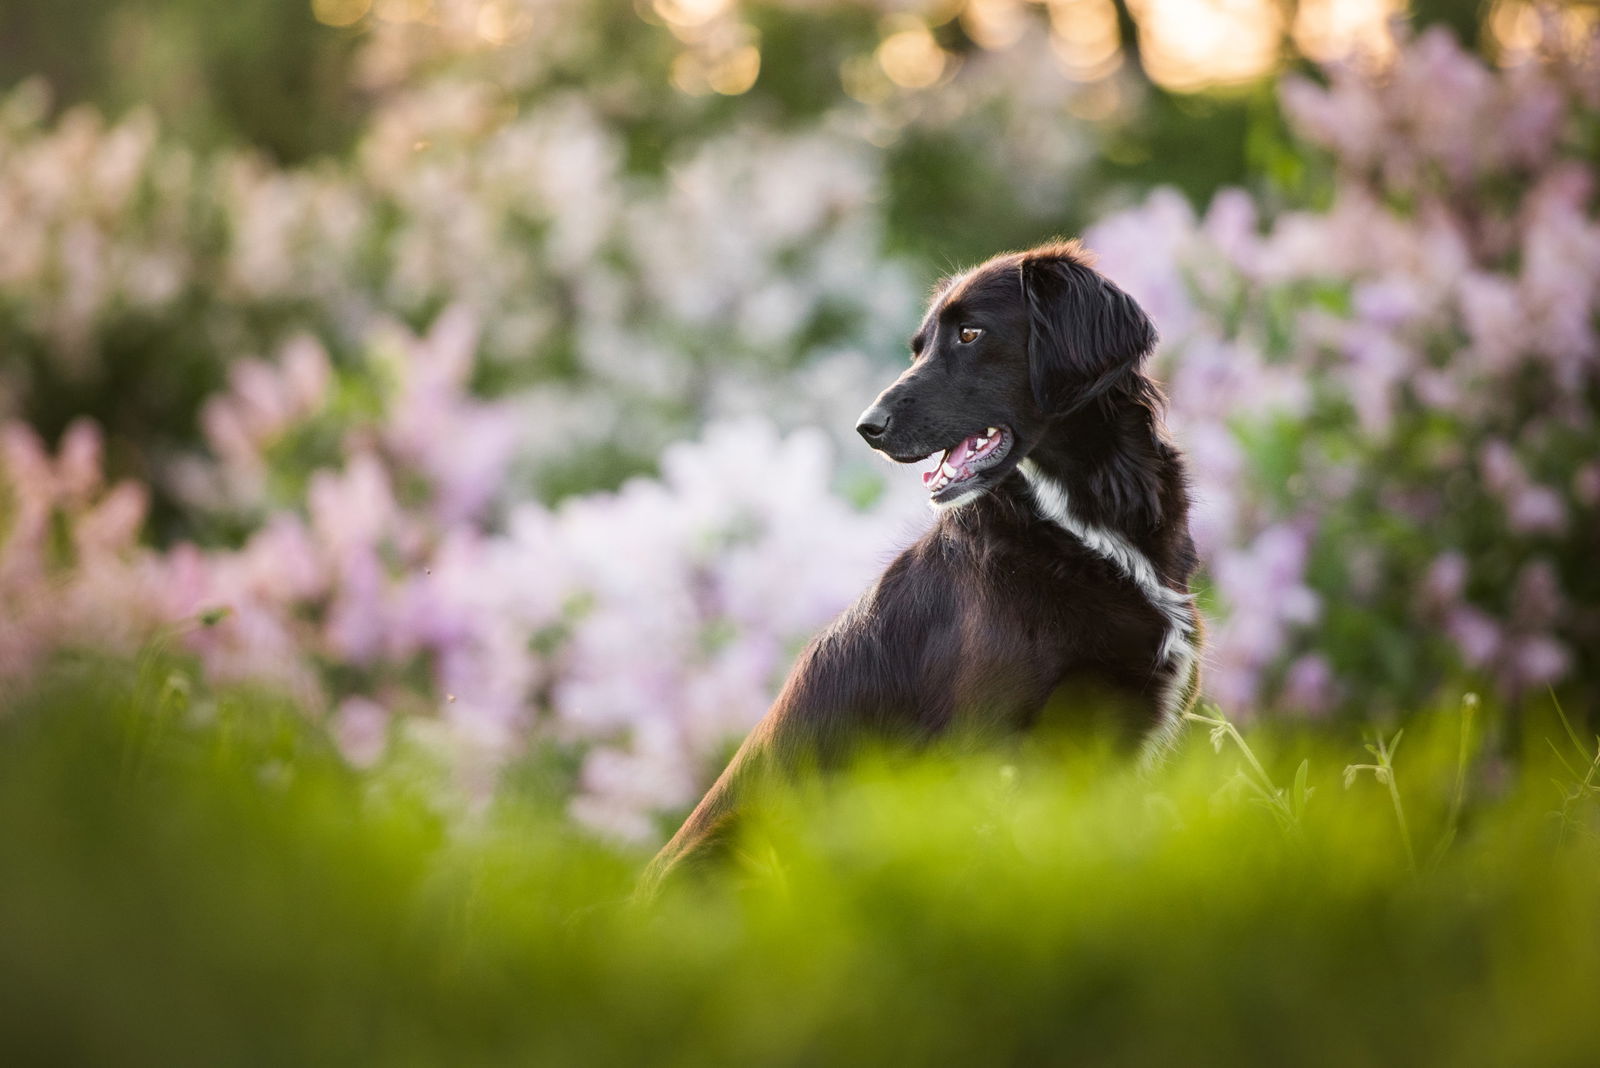
The less contrast there is between the background and your subject, the easier it will be for you to set the exposure value. It will help you avoid blowing out any parts of the picture. This means you should choose a darker background that fits the dog’s color.
Try taking a black dog portrait with a darker and with a lighter background. You will see the difference that it makes.
In case of a bright sunny day, you will often have to deal with a highlighted background. Unless you manage to take every photo in the shadows, you will inevitably run into a common problem. Your model will be noticeably darker than their background.
You can fix this in post-processing, by reducing highlights and brightening shadows. For this reason, it is vital to shoot in RAW.
4. Use a Flash Or Reflector Illuminate the Black Dog
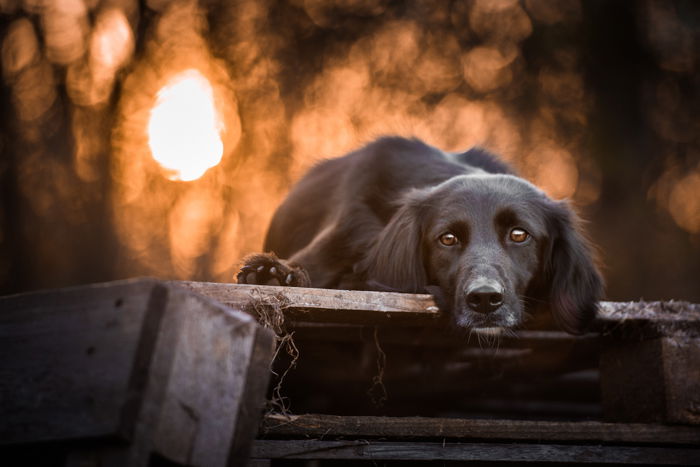
Black dogs are infamously hard to illuminate.
You might not use any extra lighting apart from natural light. This can mean that you end up with a portrait where the dog’s face is not visible at all. In order to brighten their face up, you will often have to use fill light. This is especially true if you are working with backlight.
Backlight will cause your subject to be underexposed. So if you want to keep the details of the face, use a flash to light up the dog. However, you need to make sure that you don’t set the flash too strong, and you aren’t too close to the dog. Otherwise, your model might get scared of the sudden flash of light.
Alternatively, you can hold a reflector, and reflect some of the ambient light back onto the dog’s face. The reflector’s silver side is the one that utilises the most light.
5. Remove Color Cast In Post-Processing
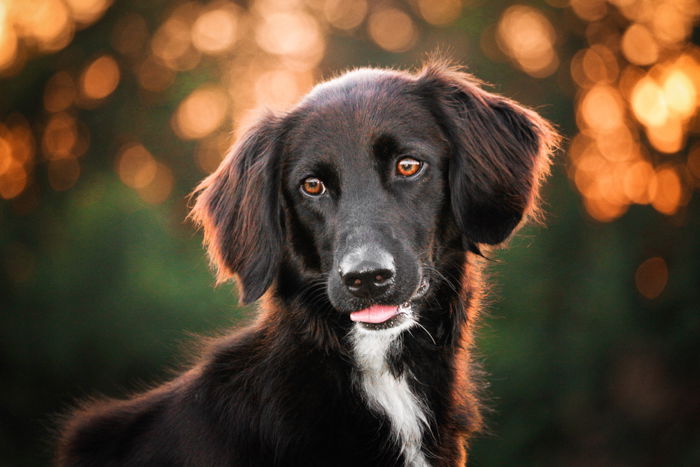
When taking photos of black dogs, it is often a problem that their fur “picks up” other colors. These colors are often reflected back from their surroundings. This is called color cast, and it will result in the dog having a tinted – often blueish – fur.
This can get really frustrating. During the photoshoot, there is basically nothing you can do about it.
You can try moving your subject. But in nature, there are barely any surroundings with neutral colors. In the city, it is easier, because you can just find a pavement or wall that doesn’t have a strong color, therefore won’t affect the dog’s fur.
Luckily, color cast is simple to remove in a photo editing software.
In Lightroom, the easiest way to do so is using selective saturation. You can also use the adjustment brush to remove saturation on only certain parts of the picture.
6. Use Vivid Colors To Make Up For The Dark Fur
Black isn’t a color that is interesting on its own. It barely matches the surroundings and doesn’t add anything to the atmosphere of the photo. This is why you will have to get a little more creative when shooting black dogs.
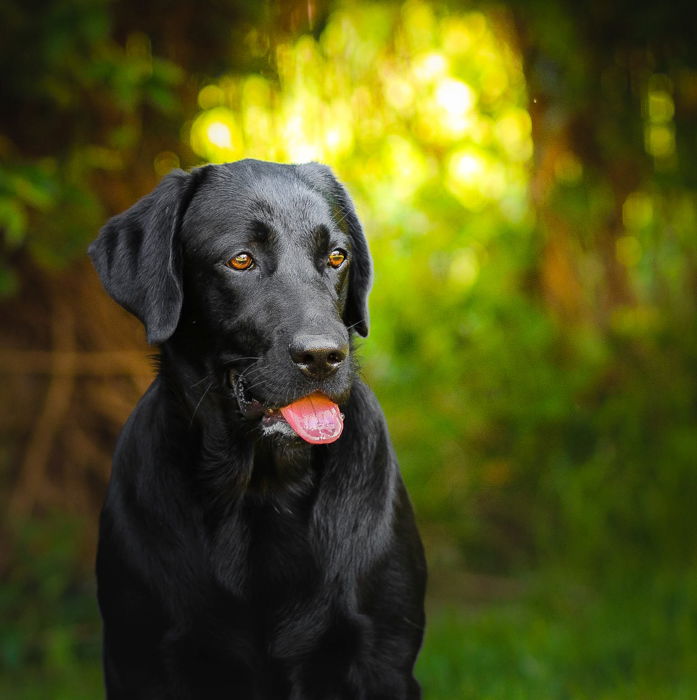
If you want the photo to be more vibrant, you should pick a background that showcases at least one vivid color.
In nature, the easiest choice will be using green as your main color. Saturated colors will balance out the monochromatic dog fur. Black fur on a colorful background also creates a contrast that is, if executed well, pleasant to look at.
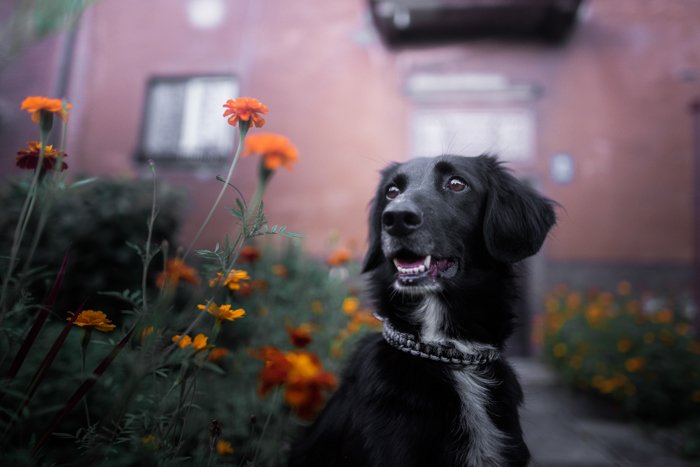
You can, of course, choose to take your photos in less saturated surroundings, if you are aiming for a darker mood.
If you are struggling to find your style, it is recommended to experiment with various atmospheres until you find the one that fits you the most.
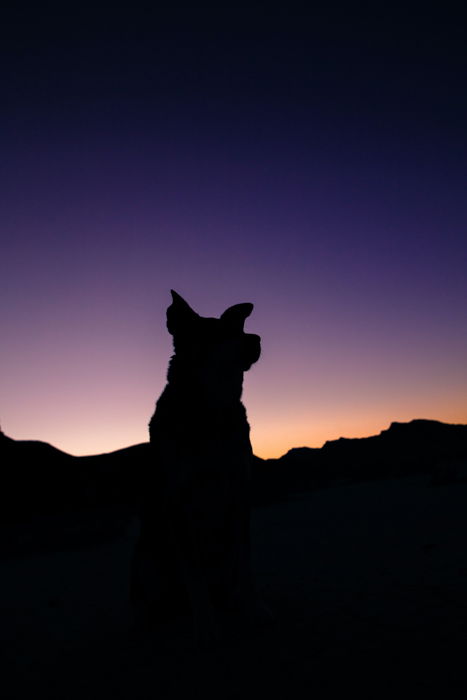
7. Create Silhouettes If Your Subject Is Backlit
Silhouettes are naturally black. It doesn’t matter what color of dog fur are you dealing with.
But shooting silhouettes with a black dog will have its advantages.
Since your subject is initially darker, you will not have to underexpose the scene as much as it would be needed with any other dog, to create a silhouette.
This will mean that the sky or background will keep an exposure level that is closer to its natural brightness.
Conclusion
Photographing black dogs is a tricky area of pet photography when it comes to lighting and post-production.
If you follow our tips, you will find that being mindful of your settings and background will save you from a lot of work later.
Don’t forget, practice makes perfect. And there is no better way to practice than to go out and experiment with black dog models as much as possible!
