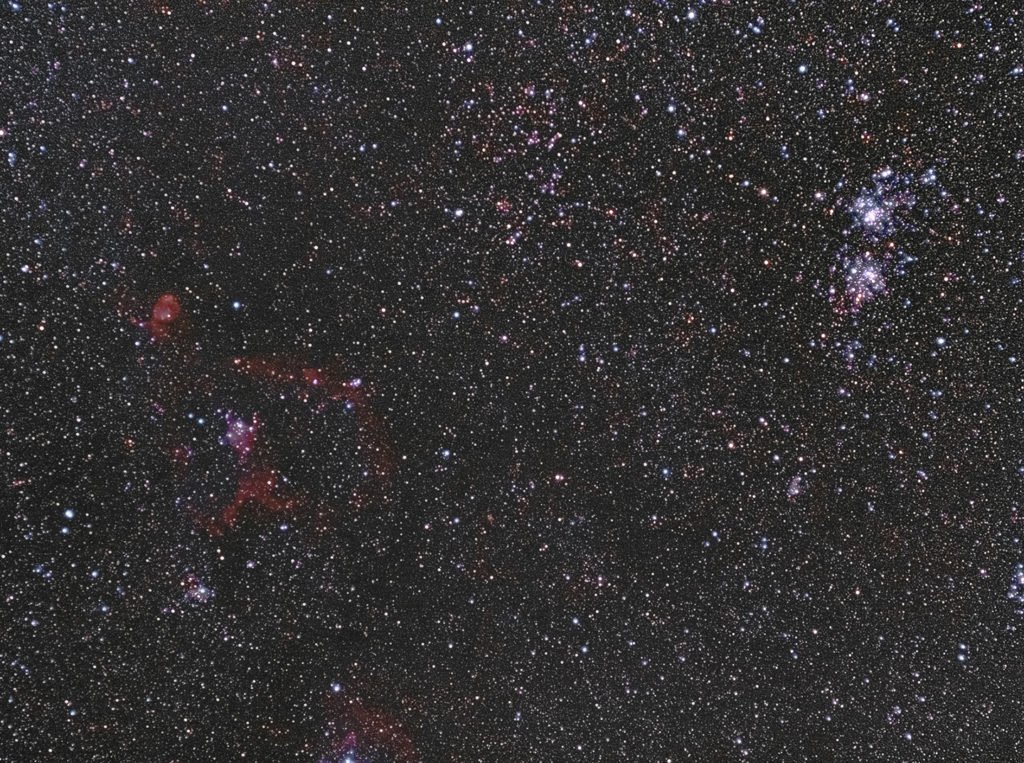
As an amateur astrophotographer, you know that capturing the night sky requires more than just a good camera. You need software that can help you process your photos to bring out the best in them. Here’s our list of the best astrophotography software.

The Benefits of Using Lightroom and Photoshop as Astrophotography Software
Astrophotography editing includes many steps. Some of these are tedious or repetitive.
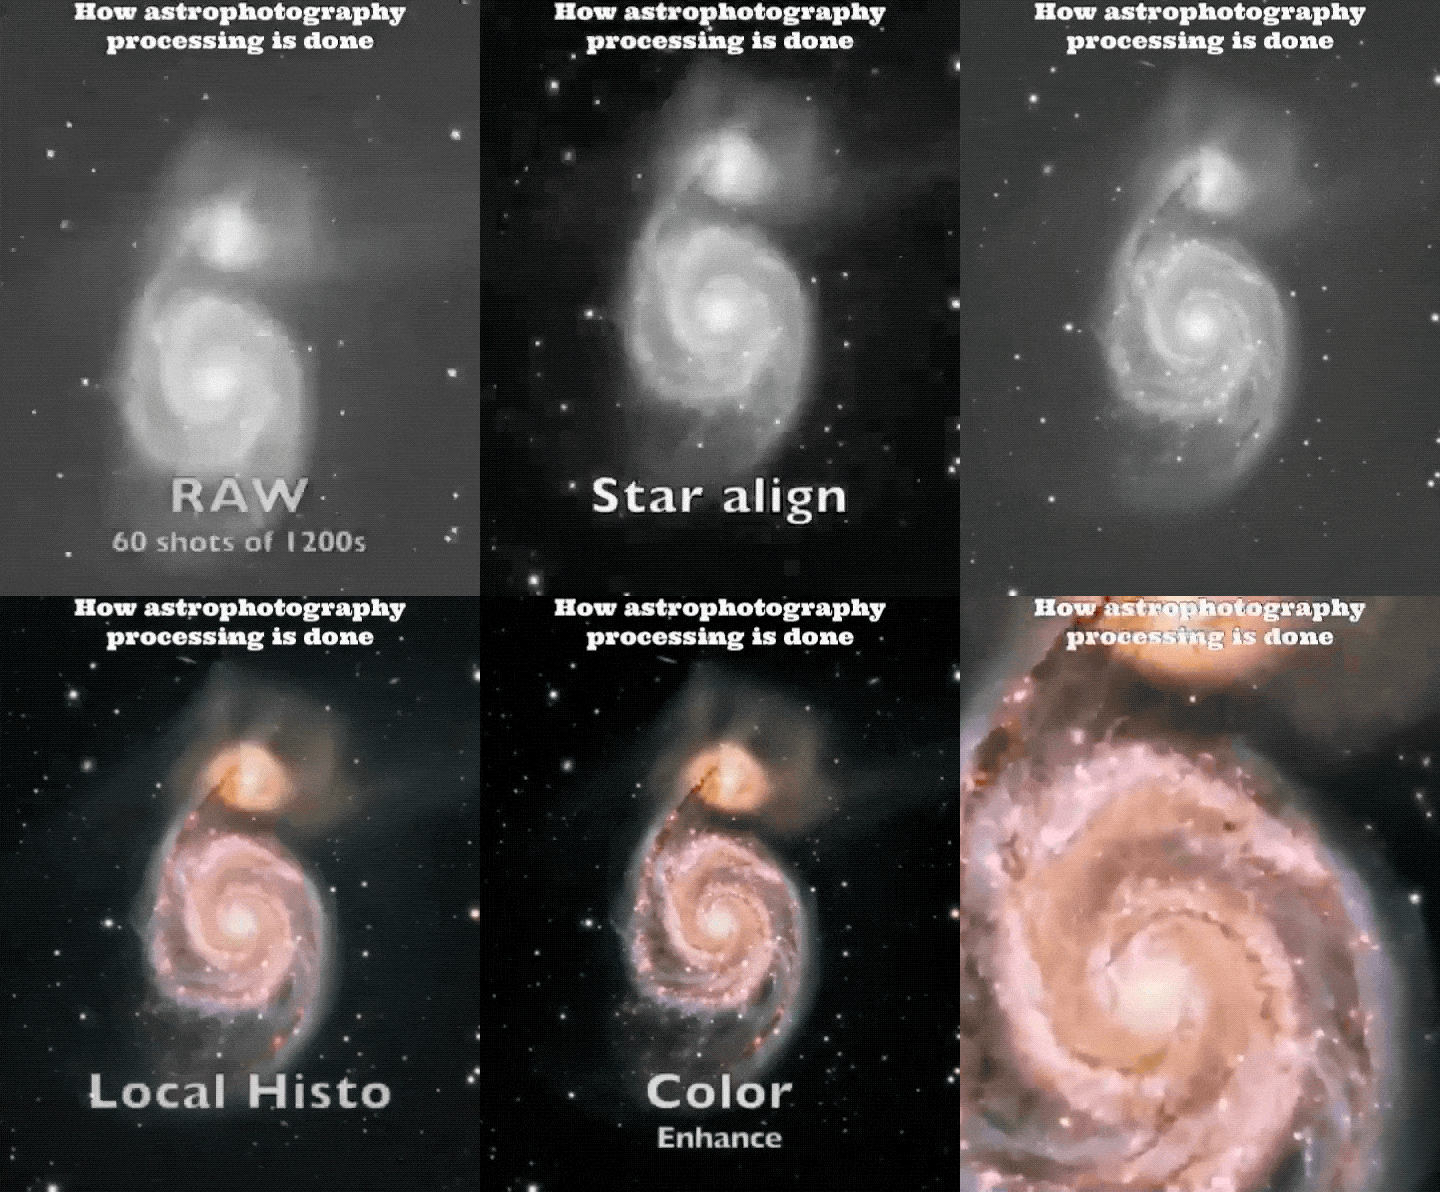
Photoshop actions, plugins, and panels can speed things up. They can even guide you through some steps, such as:
- Removing light pollution;
- Removing the luminosity gradient;
- Creating a flatter field, i.e. reducing vignetting;
- Removing green color casts;
- Reducing halos;
- Performing a histogram stretch;
- Applying a different kind of sharpening and noise reductions;
- Creating a star mask.
Lightroom presets are more limited to starry landscape editing. They help balance the image and boost the details and the colors in the sky.
5 Good Reasons to Invest In Lightroom CC And Photoshop CC
If you don’t want to use dedicated editing software, such as PixInsight, you may want to subscribe to Adobe CC.
You may be tempted to use programs that do not require a subscription. These include Gimp, Affinity Photo or Darktable. In truth, Adobe CC is hard to beat, for the price.
The reason for this is that the subscription has a lot to offer. For the price, you have:
- Lightroom CC and Photoshop CC, always updated;
- Bridge, to easily cull your images;
- Web space to store/share images;
- You can create your portfolio.
Plus, you have a rich ecosystem of third-party add-ons and extensions created for Adobe Lightroom and Photoshop.
Are You Using Windows or Mac OS X?
Lightroom and Photoshop are multi-platform. Plugins and panels may not be. Some only work on Windows (or, more rarely, only on Mac OS X). For some, you can have both versions.
Lightroom presets and Photoshop action packs usually work on both operative systems.
Lightroom or Photoshop: Which One Is Best for Astrophotography?
Lightroom is a raw developer and image organizer. It is like Adobe Camera Raw on steroids.
Editing for astrophotography benefits from heavier image manipulation. Photoshop makes it possible to do histogram stretching, masks, layers blending modes, etc.
Lightroom Tools For Astrophotography
There are two ways to use add-ons and resources from within Lightroom.
Edit Your Image Outside Lightroom
Lightroom, LR, cannot use plugins or panels. But you can link it to external software (e.g., Photoshop, Topaz Denoise, Nebulosity, etc.).
Go to the develop module and right click on the image preview in the bottom panel. Next, chose the proper software in the “Edit In” menu.
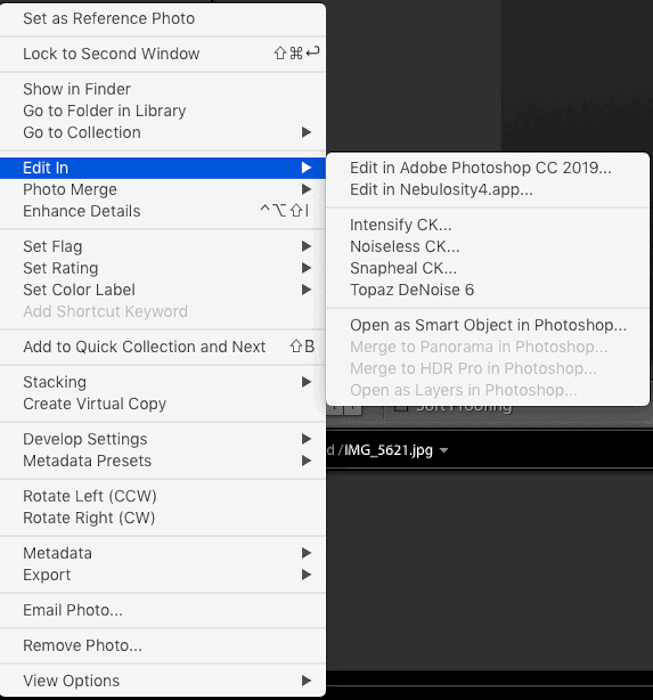
When you choose to edit an image outside Lightroom, the following will happen:
- LR creates a physical copy of your LR image, usually a tiff file.
- This copy is opened in the external software;
- Saving the image after the editing will update the copy created by LR.
This way:
- you can keep profiting from LR image organization (smart collections, localization, etc.);
- you can use, say, Photoshop CC for the needed image manipulation, and LR for the final touches.
Install Lightroom Presets
You can see LR presets as recipes. Select one and it will apply a series of adjustments to the image.
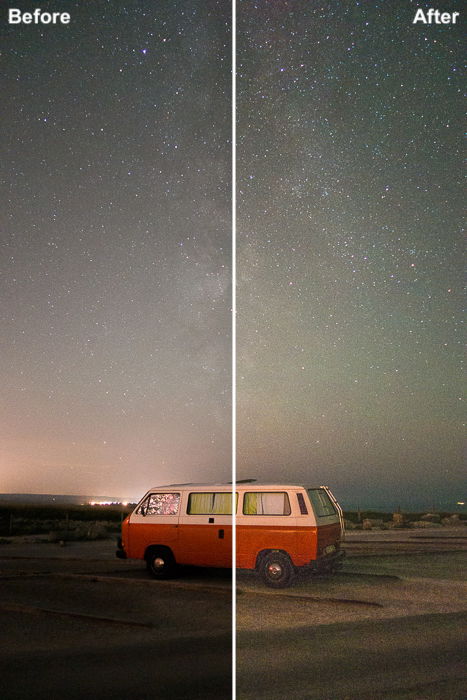
Presets are often used to give the image a particular look. Their strength is the fact the editing is non-destructive. You can always tweak the result of a preset.
LR presets are often available as collections. Here’s an overview of some interesting LR preset collections for your astrophotography.
Lonely Speck’s Film Speck One by Lonely Speck (free)
Ian Norman is the man behind Lonely Speck. Together with Astrobackyard, Lonely Speck is a great resource for beginner astrophotographers.
In particular, Ian’s main astro activity is to photograph the Milky Way from fix tripod.
The Film Speck One preset collection is available for free on the Lonely Speck website. It contains 102 preset, aiming to give your image a distinct look.
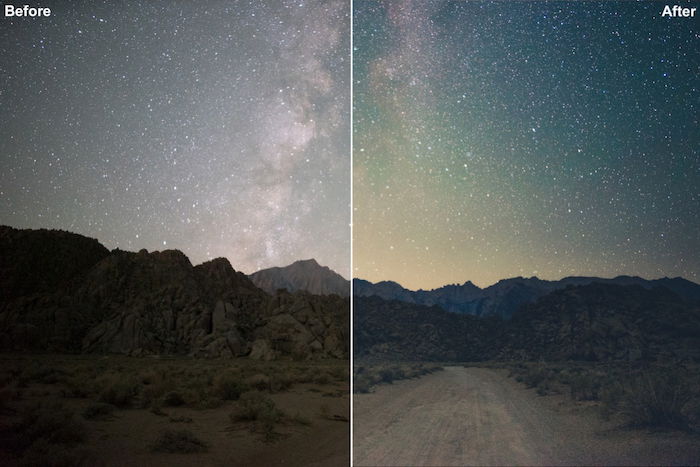
If you are also into landscape or portraiture, you should consider this collection. Not all presets are specific to astrophotography.
This pack works with LR CC.
Lonely Speck’s Film Speck PRO
Aside from the Film Speck One collections, you can get the Film Speck Pro one for a price. The pack contains 17 main styles and 130 fine-tuned presets for starry landscapes.
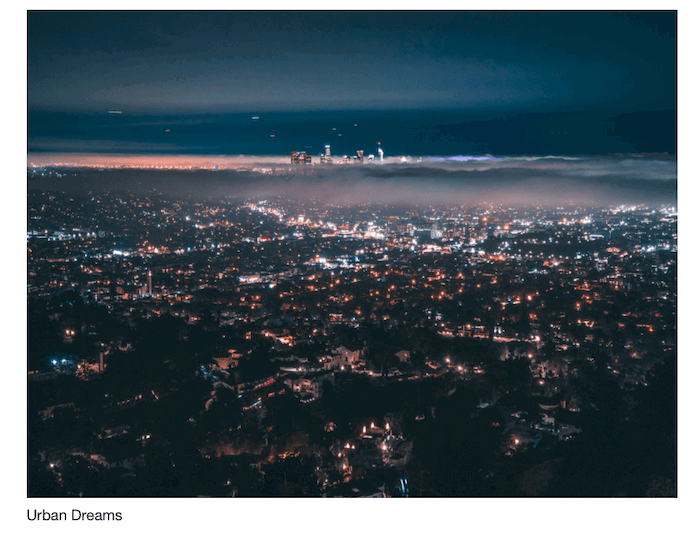
If you buy this collection, you get the Urban Dreams Collections for free. This collection is more for night urban photography.
This pack works with LR CC.
Gavin Hardcastle’s Milky Way Lightroom Presets
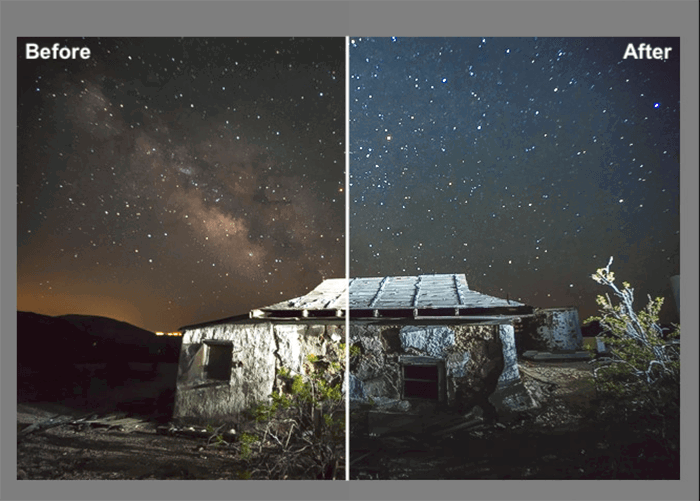
Gavin Hardcastle has a collection of 50 presets for LR 4 and above.
Some presets deal with common problems.
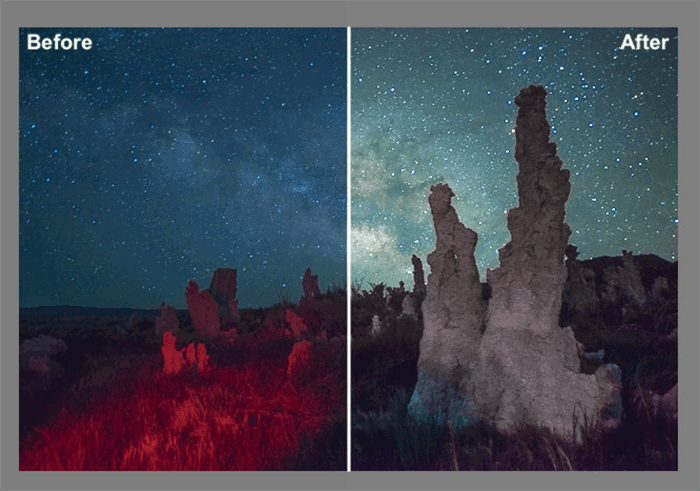
Others are used to enhance your starry landscape.
Photoshop Tools For Astrophotography
With Photoshop, you have a greater choice of add-ons and extensions. You can install Action packs, Plugins and Extension Panels.
Photoshop Action Packs
PS actions are a bit like LR presets. Actions can perform complex tasks and are very useful to automate editing steps.
When it comes to astrophotography, there are several action packs worth considering.
Astronomy Tool By Pro Digital Software
The Astronomy Tool action pack is arguably the most complete action set for astrophotography.
The main focus of this action pack is to automate many of the classic editing steps for deep sky photography.
The action pack (version 1.6) contains 34 actions, cover a broad range of editing steps and technique.
These include:
- RGB image reconstruction from single channels,
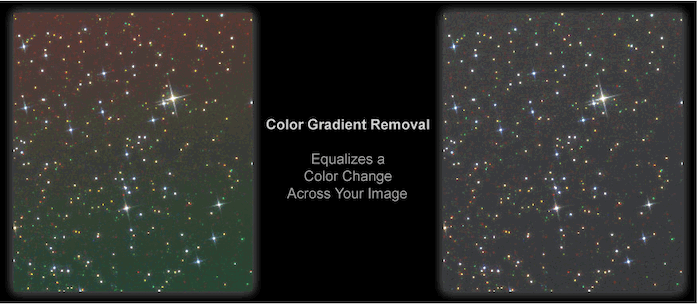
- Remove/reduce color gradient and light pollution,
- Shrink stars,
- Sharpening and noise reduction,
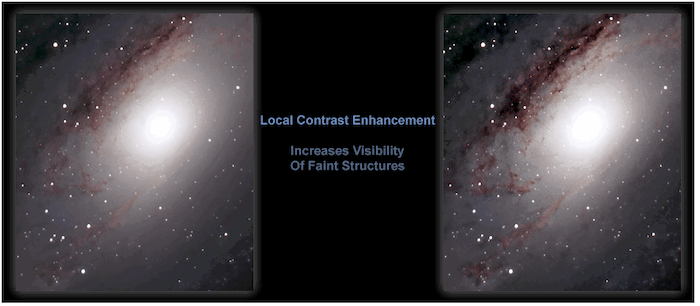
- Contrast and DSO enhancement,
- Halos reduction.
Some actions allow fixing classic problems, such as color gradient, and halos.
Other actions are more oriented towards enhancing the image by reducing, noise, adding contrast, etc.
The use is simple: choose your action and execute it. The result overwrites your original layer.
A better way to work is to have the result of the action on a new layer, instead. This allows you to change the new layer opacity to tweak the strength of the effect.
You can do this executing the As Layer On Top / As Layer Underneath actions.
A faster way to have the layer with the action on top of your original one is to use the undo command.
With some actions, you will be prompted with some windows, like curves and levels. Default settings work rather well, but I miss having a text telling me what I should aim for.
Annie’s Astro Actions By Enterprise Astronomy & Photography
The latest Annie’s Astro Action Pack (version 7) contains 24 actions.
Some, such as RGB reconstruction, are similar to those in the astronomy tool pack. Some, such as vignetting, panda eyes removal, etc. better for non-astro photos.
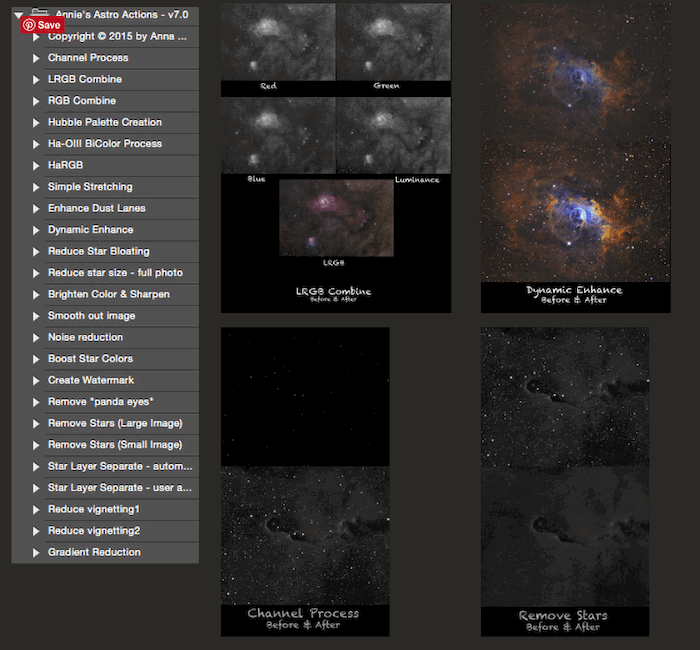
Again, most of the actions will not create a new layer. To force the action to create a new layer there are no dedicated actions and the undo trick does not work. The best is to duplicate the level before applying the action.
One of the most crucial steps in deep sky photography is the histogram stretching. This step allows you to extract most of the data from the dark background.
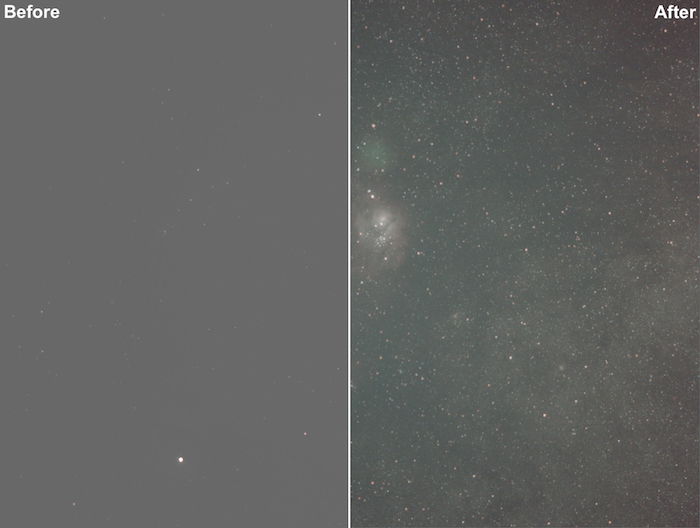
The great plus with this action pack is the Simple Stretching action. This action will guide you through this crucial process step-by-step.
A particularly welcome action if you are a beginner.
Photokemi’s Star Tool By Ken Mitchell
Ken Mitchell is an experienced amateur astrophotographer which creates a fantastic action pack.
Not at version 2.3, the main pack contains 17 actions dedicated to deep sky astrophotography.
Particularly interesting are the stretching and detail extraction tools.
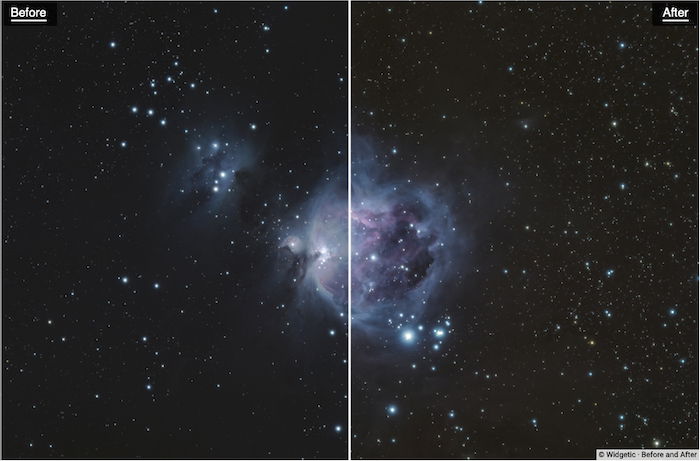
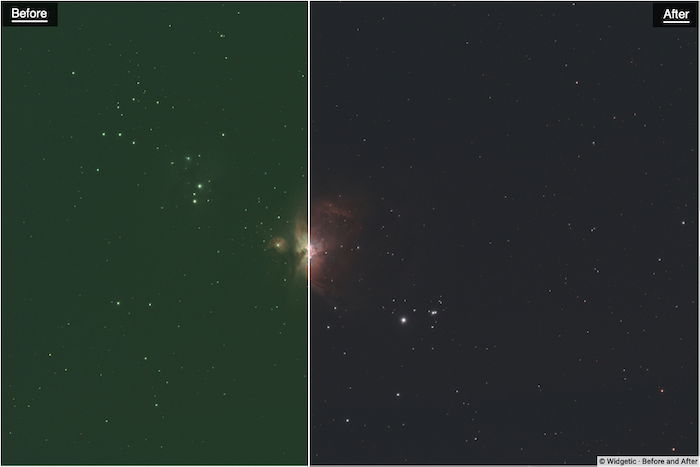
Another great action is the green hue removal one. Sometimes we get a green color cast. There is very little green in the night sky. This action helps to remove the unwanted color cast.
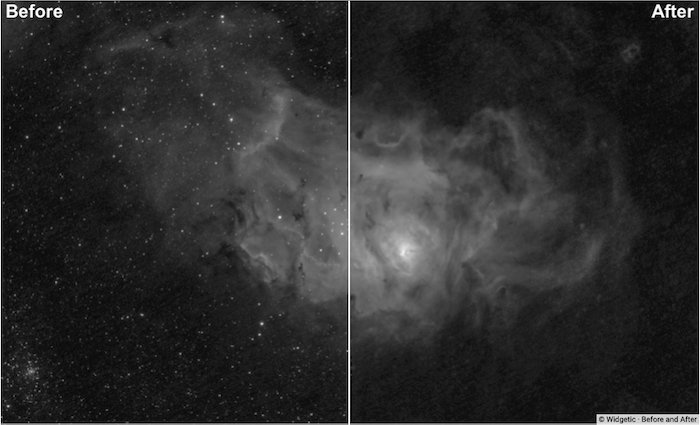
The Star Removal action deserves a special mention. This is a great tool to help you remove stars. This will help you highlight the nebulosity of the photographed target.
An extra pack is available, also for free, with an extra 6 actions.
This action set is a true must-have if you are into editing your astrophotography with Photoshop.
Photoshop Plugins
GradientXterminator By Russel Croman
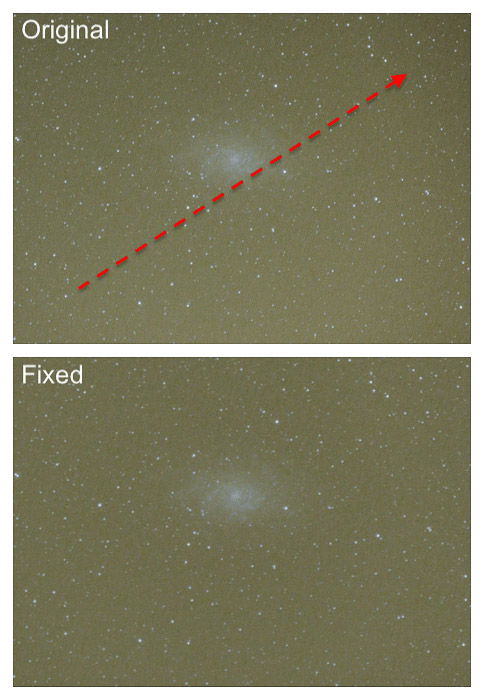
This plugin is worth every penny. It allows you to correct gradients in a few clicks:
- Select the area you want to keep unaltered.
- Inverse the selection.
- Run the plugin (default settings works like a charm most of the times).
Done. The gradient is gone.
Also, alternate use of this plugin can help to enhance a photo (see tips astrophotography).
This plugin works on both Mac OS X and Windows systems.
Photoshop Extension Panels
Extension Panels, like plugins, may add extra features to Photoshop. Or, they can also make easier to use existent features and, like actions, to automate steps.
Panels usually pack a greater number of functionalities than action packs and plugins.
While it is easy to work with two or three different action packs, I suggest you stick to only a panel. It can take quite some time to master it.
Orionh Plus, by Milkyway Hunters
Orionh Plus is the latest update of the Orionh panel. This is by far the most expensive panel among all the resources in this article.
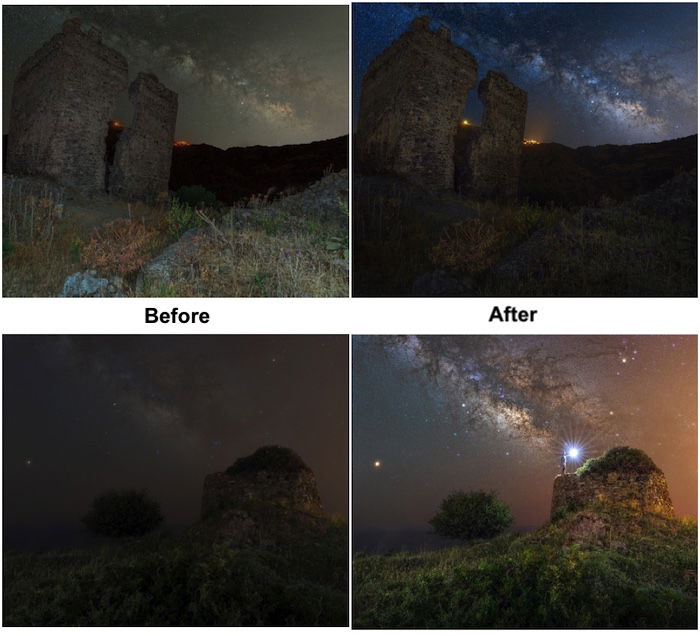
The panel has plenty of functionalities for landscape photography too. For each kind of application, the specific controls are grouped in panels for:
- Milky Way editing
- Star trails editing
- Deep sky editing
- HDR effect
- 360º Panoramas
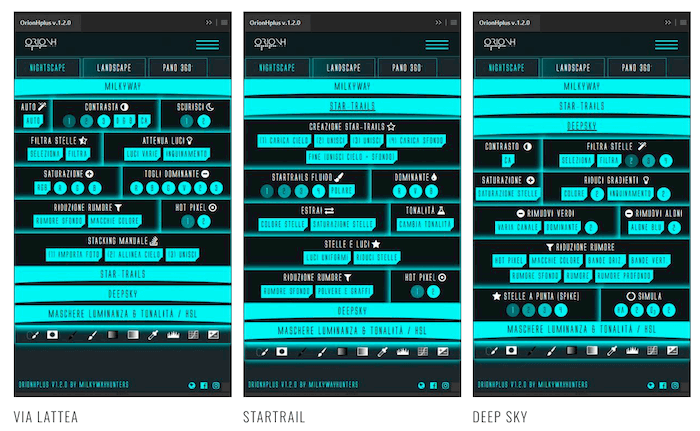
If you are a landscape photographer who is also interested in astrophotography, this panel is for you.
Conclusion
You don’t need to buy an editing software specific to astrophotography. Particularly if you are a beginner, both Lightroom and Photoshop will do the job quite nicely.
Lightroom users can use presets collections to give a specific look to their images. Photoshop users can use actions, plugins, and panels to bring their editing to the next level.
We have a post on best apps for astrophotography or milky way photography to check out next!

