There are a lot of ways to do macro photography without buying a dedicated macro lens.
We have previously covered extension tubes, but there is another option that uses the same principle.
Here we will show you how you can use a macro bellows for extreme macro photography.

What Is a Macro Bellows?
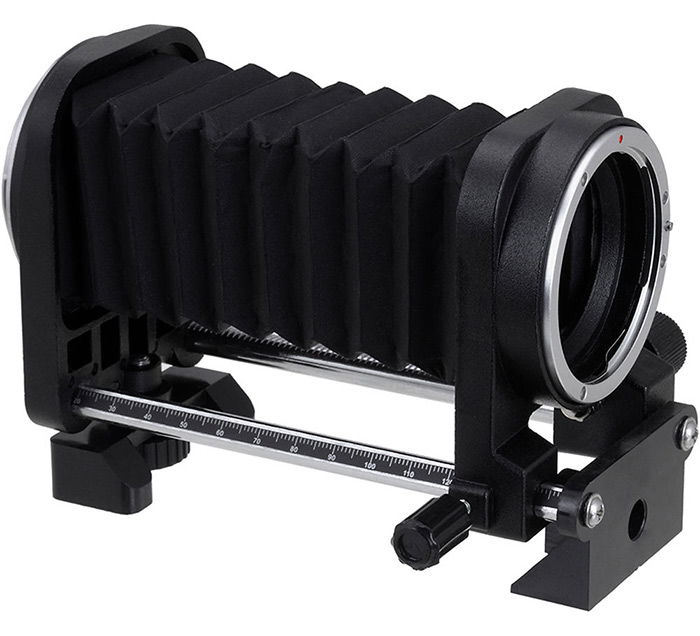
A bellows is a flexible extension mechanism between the camera and the lens, much like an accordion.
Back in the old days, photographers used them for focusing.
In today’s camera setups, focusing is achieved by moving specific lens elements, and not by moving the entire lens.
A bellows can help with focusing closer, bringing the subjects to life-size magnification and beyond. It is commonly used for macro photography.
Pros and Cons of a Bellows Compared to Extension Tubes
You might recognise that extension tubes work similarly. You place them between the camera and the lens, and by increasing the distance, they increase magnification.
So why choose one over the other?
Advantages of a Macro Bellows
A macro bellows is flexible. Extension tubes have fixed lengths. For instance, my Soligor tubes are 12mm, 25mm, and 36mm. Of course, you can combine them, but that involves disassembling and reassembling the setup.
A bellows is smoothly controllable throughout its range. It allows for gentle focusing just by turning the knob.
Bellows are long. Unlike the 70mm-ish total limit of extension tubes, the bellows I use extends to 150mm.
Bellows are also directly mountable to a tripod, which means I can lock the bellows to the tripod plate. I can also add other gear onto either end. If I want to switch cameras, or include tubes, I don’t have to remove the whole thing from the tripod.
In this setup, I attached the lens to the front mount of the bellows and added extra tubes between the bellows and the camera.
Disadvantages of a Macro Bellows vs Extension Tubes
It’s not all roses, though.
First, I struggled to find a bellows that transmits electronic signals, even though it’s not physically impossible (it could be done with a separate cord).
This means that not only will the lens lack autofocus. More importantly, it will also lack aperture controls.
To set the desired aperture on an electronically controlled lens, you have to press the DoF preview button on the camera while removing the lens. The aperture is locked in its set position until you reconnect the lens to the camera body. This process is meticulous and impractical.
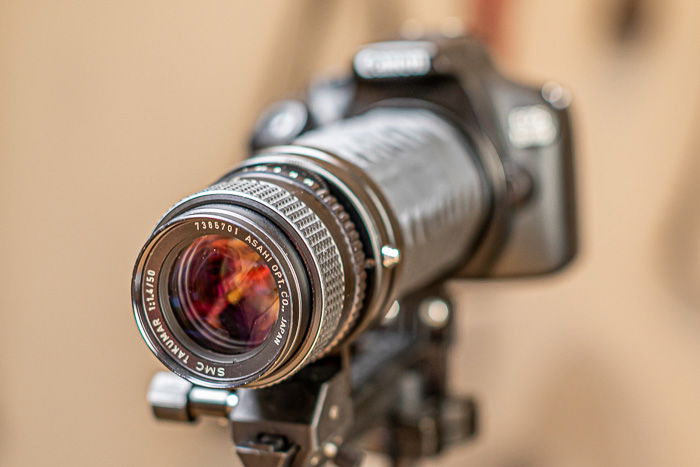
For this reason, I recommend using a bellows only with fully manual lenses. On the second image below, I attached a vintage Takumar 50mm f/1.4 lens to the bellows. I stopped it down to f/11 though, to get acceptably sharp results.
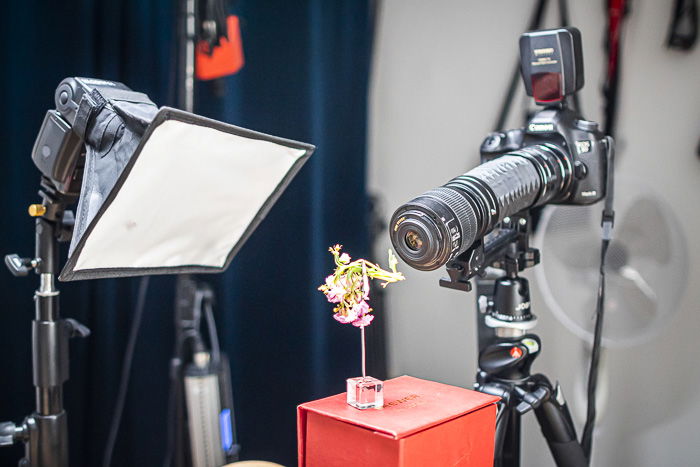
Second, they are only practical for lighter gear. You’d have to pay a very hefty price for a bellows that can steadily hold the setup I attached to it below.
The weight of a Canon 100mm macro lens is too much, and so is the weight of the 5D MkIII on the other side. You can see it slightly bending:
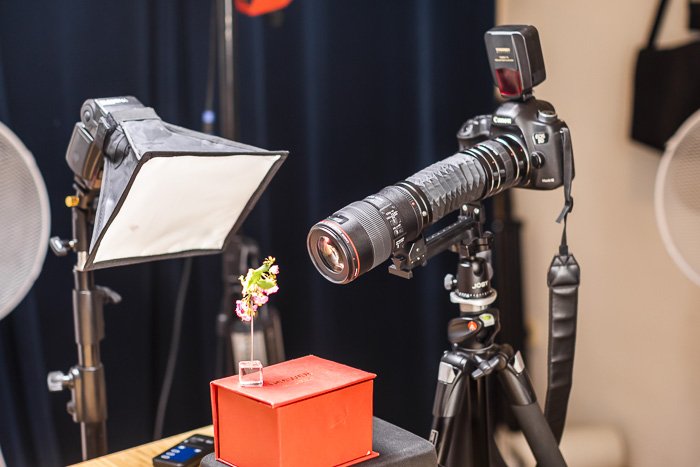
I found it much more feasible to use the Takumar lens with the 1300D camera; this kit measures only half in weight.
How to Calculate Extreme Close Up Magnification With a Bellows
You can use the same math as with extension tubes to calculate the magnification of your setup.
You can calculate with this formula:
New Magnification = nM
Original Magnification of Lens = M
Total Extension = T (in mm)
Focal Length of Lens = F (in mm)
nM = M + T/F
I’m using the 50mm Takumar prime and the bellows extended to its maximum of 150mm. Let’s see the calculation:
nM = 0.15 + 150 / 50
nM = 3.15
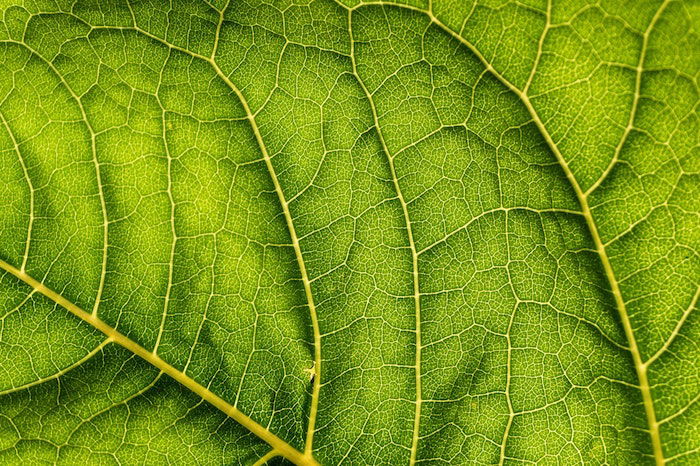
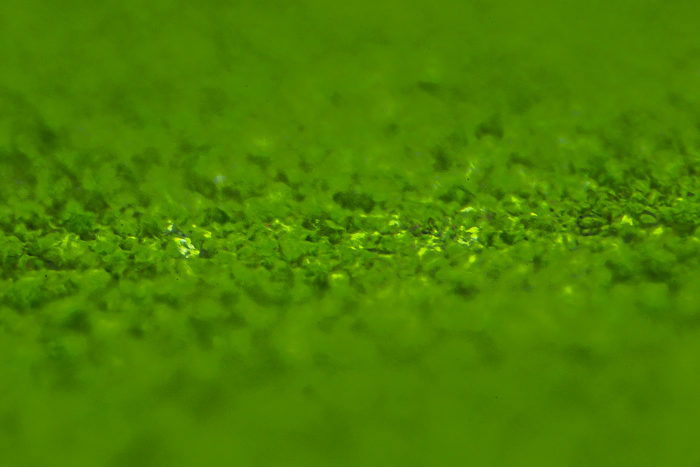
So, I’ve got a 3.15x magnification ratio with this simple and cheap setup. Here’s how a leaf looks like from very close.
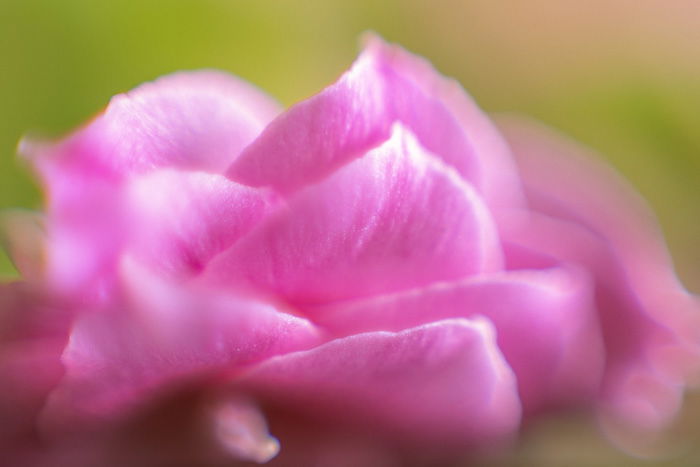
And this is with the bellows extended only to 40mm.
Gear Recommendations
For Canon EF mount, I recommend the Fotodiox bellows. It’s better built than most of the competition, but don’t attach heavy equipment to it on its own.
If you want to use weightier gear, consider getting a long plate for your tripod. It will help stabilize the bellows.
This one is primarily for Arca-type tripod heads, but you can screw it onto any other head, too. It helped me keeping the 5D MkIII and the 100mm macro lens steady.
Conclusion
Although it has limitations, a bellows is a powerful tool to create extreme macro images.
If you have good-quality old lenses, it might be the perfect opportunity to revive them.
Never hesitate to experiment, macro photography is an excellent field to explore!
