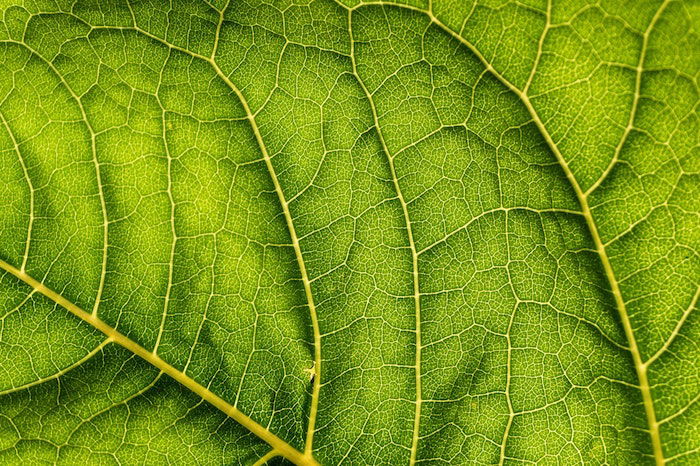
Do you struggle to process macro photography shots? Do you wish you could create stunning macro edits, consistently?
You can.
And in this article, I’m going to show you the exact steps you can use for amazing macro post-processing.
1. Process Macro: Shoot in RAW for the Greatest Processing Flexibility
If you want to be able to do beautiful macro photo processing, then you absolutely must shoot in RAW.
You see, your camera offers two main file formats:
JPEG is a compressed file format. Some of the information captured by your camera is discarded. And this affects your ability to post-process the image.
On the other hand, RAW is an uncompressed file format. When you shoot in RAW, the image file retains all of the information captured by the camera.
And this means that you can do a lot more post-processing.
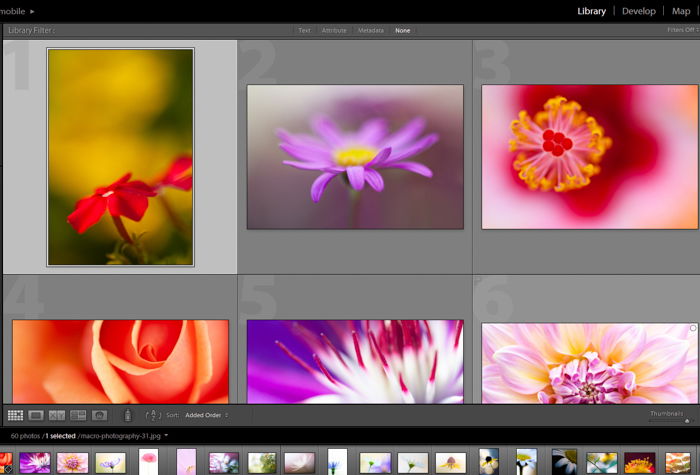
For instance, you can bring out details in the shadows. You can easily alter the white balance. You can make significant changes to the overall exposure.
Which is why you must shoot in RAW for the best macro processing experience.
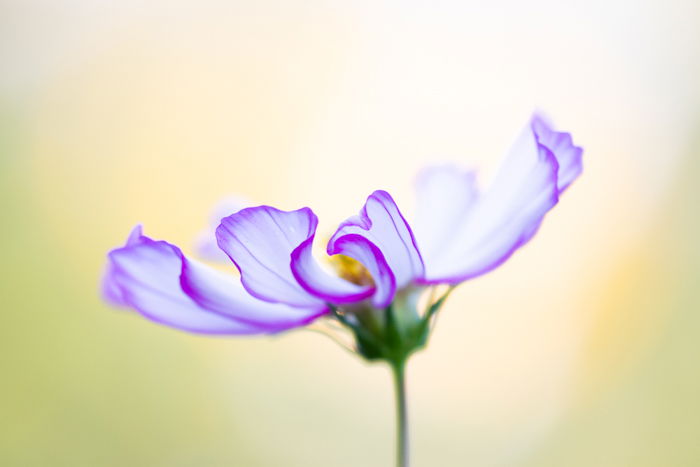
2. Use the Histogram to Set the Exposure for the Best Detail
When you’re post-processing photos, I suggest you start with exposure.
Because correct exposure gives you an overall sense of the scene. And it’ll help you determine how to want to continue processing your image.
In general, you should have one main goal when initially setting the exposure:
Preserve as much detail as possible.
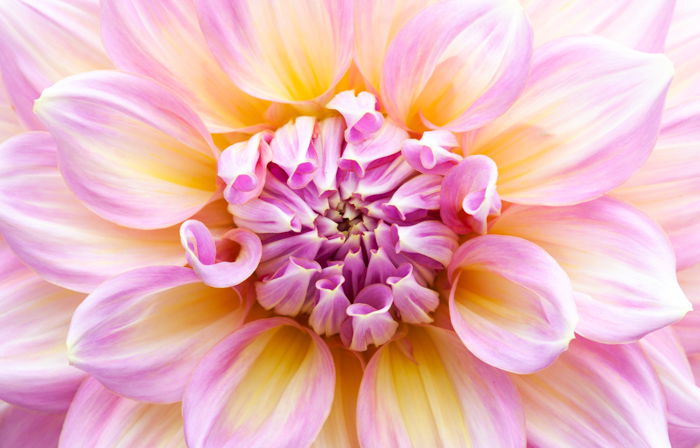
That is, you want to make sure your photos have details in the shadows. And you want to make sure your photos have details in the highlights.
A histogram can help with this. You want to avoid concentrated peaks on either end of the graph shown here:
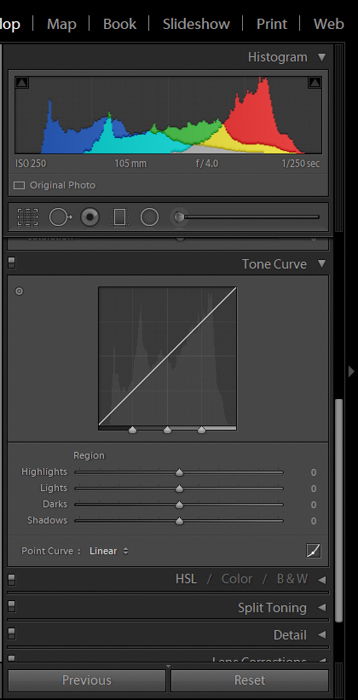
Now, pretty much every post-processing program has an exposure slider. And you can use this to make quick-and-dirty changes to the brightness of the image.
But I suggest using exposure sliders that offer finer control, if you have them. For instance, Lightroom offers sliders for blacks, shadows, highlights, and whites.
Use these to enhance detail.
If you’re shooting a macro flower photo, ask yourself:
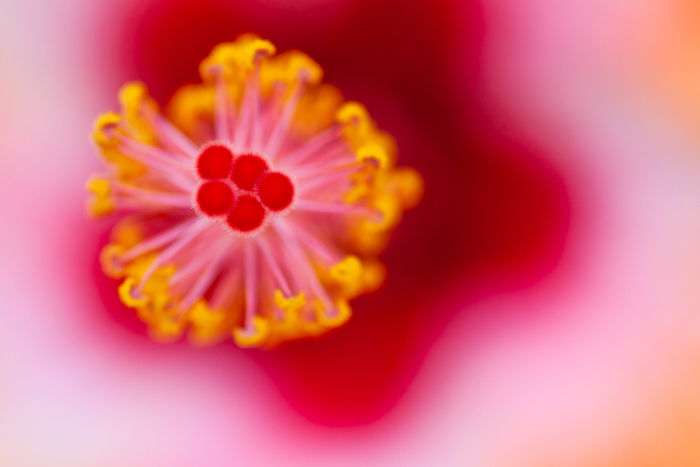
Is there enough detail in the shadows? If not, bump up the shadows!
And ask yourself: Are the highlights verging on white? If so, drop the highlights!
Once you’ve set a nice exposure, it’s time to think about your white balance:
3. Set the White Balance to Fit the Overall Mood
The white balance determines the color cast (or lack thereof) in your macro photos.
With white balance, you can make your photos look cold, warm, or somewhere in between.
This is important for two main reasons.
First, abnormal color casts in macro photos just look, well, bad.
And second, carefully-chosen color casts enhance the mood of your photos.
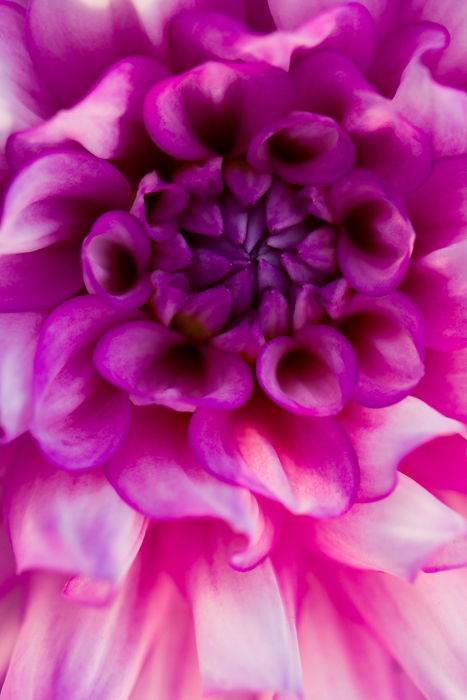
For instance, if you’ve taken an ice abstract, an orange color cast will look terrible. But it makes sense to add a bit of a cold, blue tone to your photo to enhance the coldness of the shot.
When it comes to determining white balance, I recommend you experiment with the temperature slider. Start on the cold end, and work your way through the mid-range temperatures, all the way up to warm.
Pick the color temperature you like best!
The one that enhances the overall mood of your macro photo.
3. Crop and Straighten for the Best Macro Composition
In macro photography, you’ve got to choose a composition that’s simple and powerful.
And while it’s best to get the composition right in-camera, you should still use the crop tools to fine-tune it.
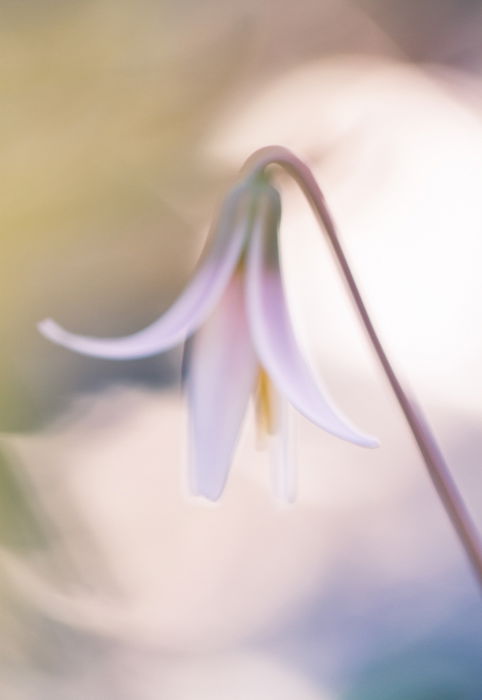
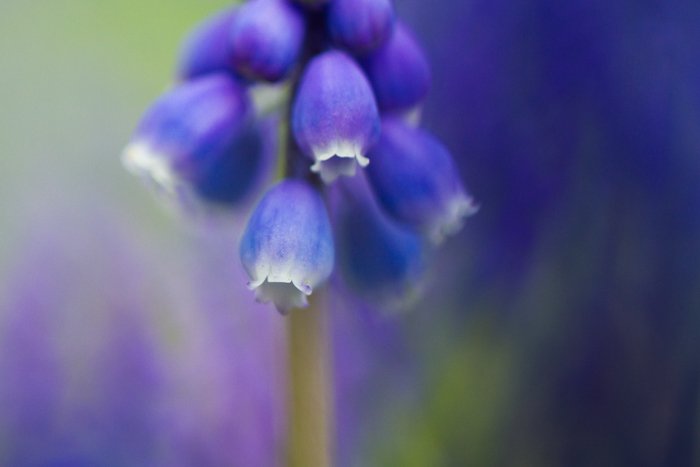
In particular, aim to create a composition that really isolates your subject and makes it stand out. Not getting close enough is a common problem–so crop to make sure that hasn’t happened.
You should also check how your composition conforms to the rule of thirds. If your photo is almost following the rule, you can crop a bit to bring it in line.
Plus, you should make sure that your photo is level. That’s where the straightening tools come in.
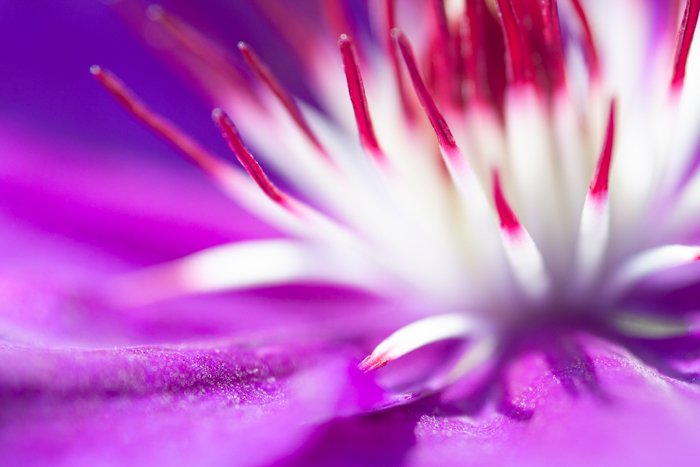
Because here’s the truth. Nothing ruins a portfolio faster than a crooked photo. Unless you’re using Dutch angle photography for creativity.
4. Increase the Contrast (If Necessary) for Punchy Macro Processing
Here’s one of the most common macro editing mistakes:
Not increasing the contrast.
Because most photos, when they come out of the camera, don’t have enough contrast. This is especially true for macro photography.
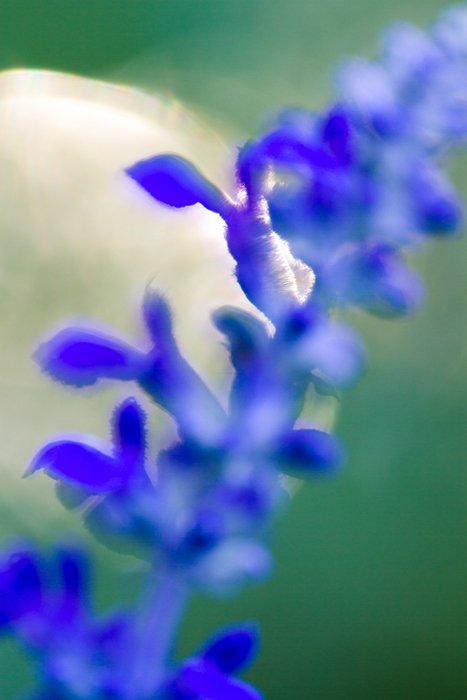
Macro photos are often taken under soft, even light. And this just doesn’t generate enough contrast!
But unless you’re going for a light, airy look, contrast is essential for creating an image that pops.
You can increase the contrast using a basic contrast slider. While this is a good starting point, I recommend using more subtle contrast enhancements.
I love to use the tone curve, and I suggest you try it, too. It doesn’t take much knowledge. Just try pulling up the highlights and pushing down the shadows.
If you don’t like the look, don’t give up. Instead, play around! You can create radically different amounts and types of contrast, just by making a few tweaks.

5. Enhance the Colors With Saturation and HSL Sliders
In macro photography, color is a really big deal.
Macro subjects are often gorgeous flowers with intense colors. And if you want to create the perfect macro photo, you’ve got to bring these colors out.
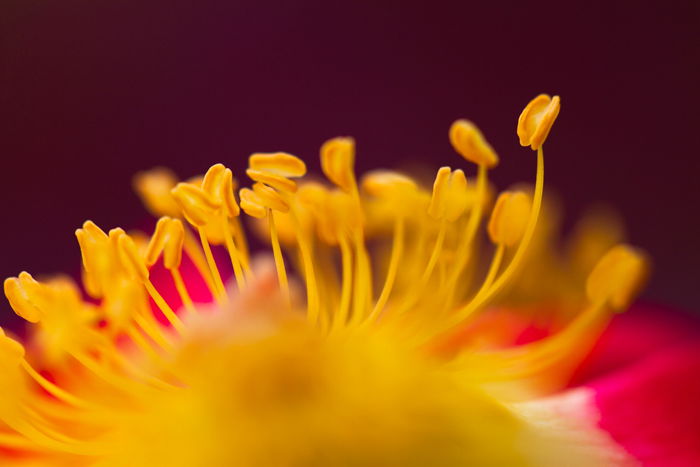
A good starting point for enhancing colors is the basic saturation tool offered by most post-processing programs. You should raise the saturation slightly, and see how it looks.
But don’t overdo it. Because oversaturation is one of the easiest ways to ruin a great macro photo.
Note that Lightroom also offers a vibrance tool. This allows you to selectively enhance colors that are less intense. I prefer this to the saturation tool, because it gives a more subtle effect.
Now, once you’ve brought up the colors a bit, you can call it a day. Your image should look pretty great.
But if you want to really push your macro photos to their full capacity, I suggest that you do some more selective color adjustments.
Lightroom has a powerful set of color tools: the HSL sliders. In fact, these sliders are how many pros achieve that ‘polished’ look that makes their photography stand out.
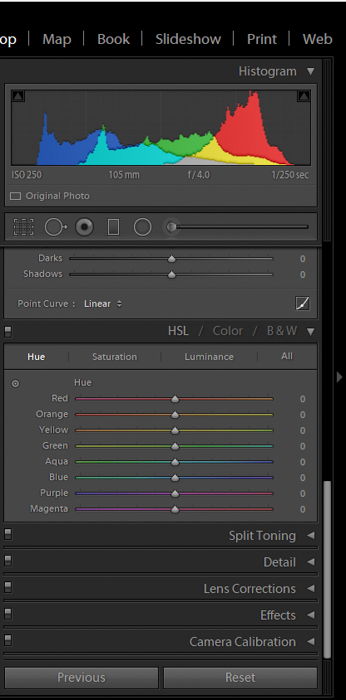
While the HSL sliders involve a bit of a learning curve, here’s what I suggest you do:
Start by identifying the main colors that already exist in your macro photo.
Then experiment by shifting the hues of each color in both directions. And take note of how the adjustments affect the overall photo.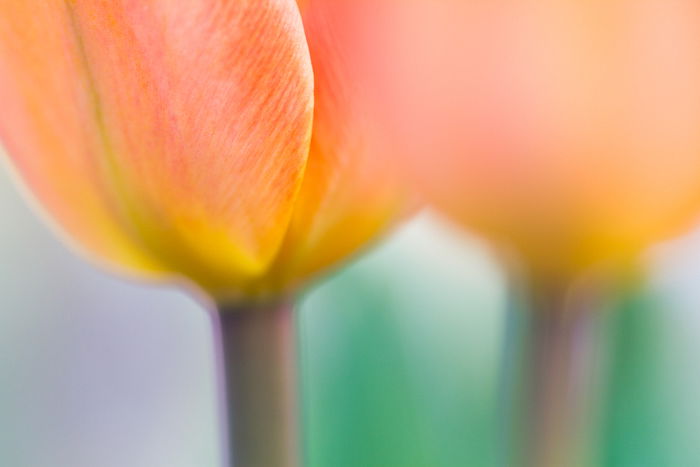
When you find an adjustment you like, write it down–so that the next time you’re editing macro photos, you can test it out again. You could also create a user preset!
Bottom line?
You should absolutely enhance the colors in your macro photos. That way, you can bring out the beauty of your subject–and create a photo that really wows your audience.

6. Sharpen to Bring Out Details in Your Macro Photos
Macro photography is all about showing tiny details.
Which means that you’ve got to make sure that the details can be seen.
That’s where sharpening comes in. Sharpening ensures that your macro photography has crisp, clear details.
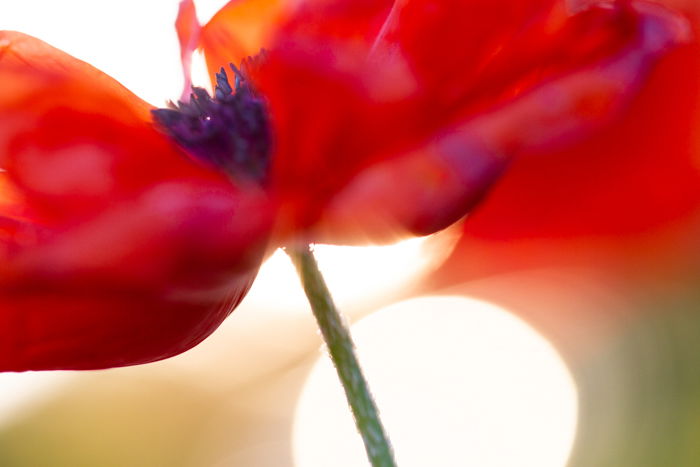
Like saturation, sharpening is very easy to overdo. So I recommend you err on the side of under-sharpening rather than oversharpening.
Unfortunately, there is no single sharpening workflow, because sharpening tools work differently depending on the program you use.
But here’s how you should sharpen in Lightroom:
First, open the Detail panel in the Lightroom Develop module.
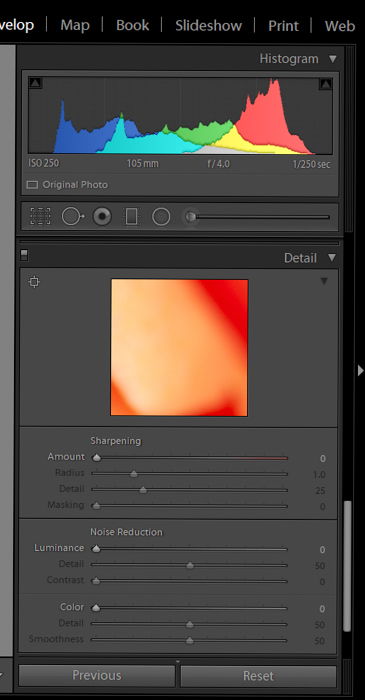
Notice that you have four sliders to work with:
- Amount
- Radius
- Detail
- Masking
You should start by setting the Amount slider. 40 is a great starting point, especially if your shot has a fair amount of detail. But you should experiment and see what you feel works best.
Next, set the Radius slider to 1.0 and leave it there. This affects the size of the sharpening along the edges.
Third, set the Detail slider. If your image has a lot of detail (e.g., it’s an ultra-sharp image of a leaf) you’ll want to push this slider up. But if your image is a fairly soft flower image, then you should probably let it sit at a low value.
Finally, set the Masking slider. This prevents the smoother parts of the photo from being sharpened.
If your image has a lot of soft, smooth areas, you’ll want to increase the Masking slider.
The more you sharpen your image, the more noise that Lightroom will introduce. And you want to avoid noise as much as possible. So sharpening must be a careful compromise.
7. Use Noise Reduction to Keep Your Images Clean
The final step of your macro editing workflow should be noise reduction.
This is because the noise levels are affected by your processing of the image. You don’t want to reduce noise, only to bring it back later with sharpening.
Now, there are two types of noise in your macro photos:
Luminance noise and color noise.
Luminance noise affects the brightness of the pixels, whereas color noise affects the color of the pixels. Lightroom’s noise reduction software addresses each type of noise separately.
But bear in mind that many pictures have both types of noise. And both types of noise look bad; your goal should be to reduce luminance and color noise.
Unfortunately, noise reduction comes with a tradeoff. The more you reduce noise, the more you lose detail in your photos.
So you have to be careful. Find that happy medium of reduced noise with nice detail.

Here’s how I recommend you reduce noise in Lightroom.
Open the Detail panel.
Then slide the Luminance slider upward, gradually. As soon as you see any degradation of the image quality, stop–and then lower the Luminance slider value by 10 points or so.
You can also add a bit of detail and contrast back into the image with the Detail and Contrast sliders.
Next, gradually slide the Color slider upward. As before, if you see image quality degradation, you should back off. Again, you can add detail and contrast with the Detail and Contrast sliders.
And that’s it! Once you’re satisfied with the noise levels in your image, you’re done!
And you’ll have a beautifully-edited macro photo.
How to Process Macro Photography Shots: Conclusion
If you want beautiful macro photos, you’ve got to process them.
Because processing is how you put the finishing touches on your macro photos!
Fortunately, you know exactly how to do stunning macro processing. You know how to correct exposures, add contrast, sharpen, reduce noise, and so much more!
So next time you’re doing some macro editing, remember these steps.
You’ll love the images you produce.
