From a technical point of view, macro photography is one of the most challenging types of photography. You’re dealing with very shallow depths of field, long shutter speeds, and tight working spaces. And you also need to be familiar with a number of macro photography accessories and what they’re used for.
Which Macro Photography Accessories Do I Need?
In this article I’ll run you through some of the basic accessories that anyone wanting to do macro photography should be familiar with.
Macro Snap-On Lens Adapter
If you have a smaller budget but still want to explore the world of macro photography, a Snap-On Lens Adapter is a great solution.
Snap-On Lenses can be easily clipped to almost every lens and they instantly increase your magnification. For example, the Raynox DCR 250 provides great performance at a reasonable price.
That little wonder only costs about $60 and is definitely worth buying if you’re looking to increase the magnification of your macros.
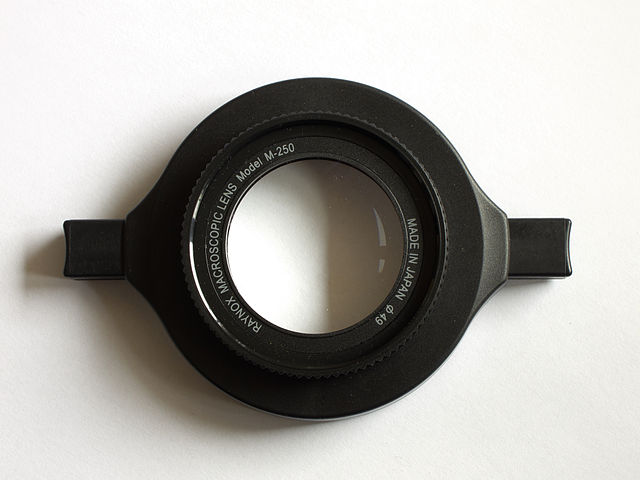
Furthermore, it has a low weight, is small enough to fit in any photo bag, and works perfectly with any macro lens.
I owned one of these a few years ago and I can definitely say that it produces rich and razor-sharp macro shots.
ExpertPhotography recommends: Raynox DCR 250
Extension Tubes
Extension Tubes get attached between your camera body and your lens.
They have no optic or glass elements. They create space between your lens and your camera’s sensor so that you can get a higher level of magnification.
When purchasing extension tubes, they normally come in a set of two or three tubes. The more tubes you use between your camera and your lens, the higher the magnification will be.
Kenko is well known for making quality extension tubes for all camera systems.
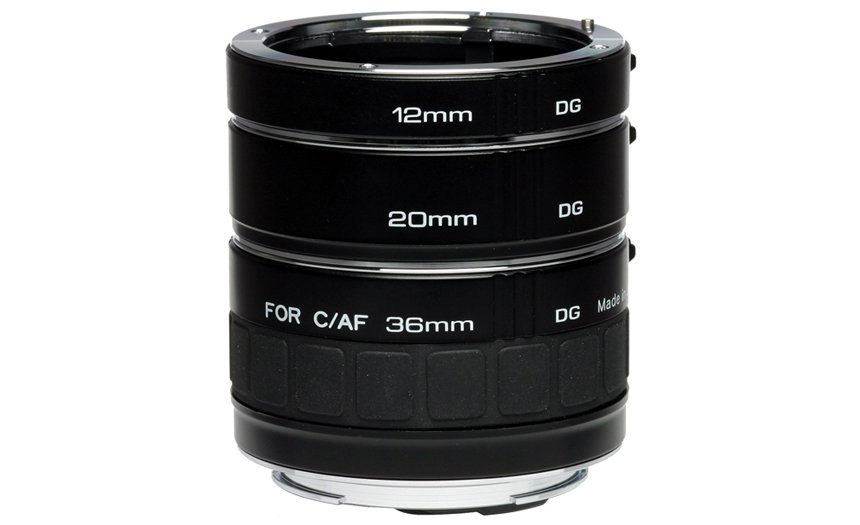
In particular, the Kenko DG Extension Tube Set is very solidly built and is available in 12mm, 20mm, and 36mm versions. You can use them as a single tube or combined in 7 different ways to get your preferred magnification.
Extension tubes are actually pretty cheap, as they will only cost you about $100. So if you’re looking for another cheap solution to get extreme macro photos, extension tubes will definitely do the job.
ExpertPhotography recommends: Kenko DG Extension Tube Set
Reversed Lens Adapter
Can you imagine taking macro images without even using a macro lens? Is this even possible? Yes, it definitely is!
Using the reversed lens technique is probably the simplest and most inexpensive way to get awesome extreme macro images. You just mount your lens reversed onto your camera body.
To do this, you’ll need a special adapter to mount your lens on your camera body in this position.
If you own a 50mm standard prime lens and mount it reversed on your camera body, it will automatically become a great extreme macro lens. It will let you explore and photograph all the details in a very simple way.
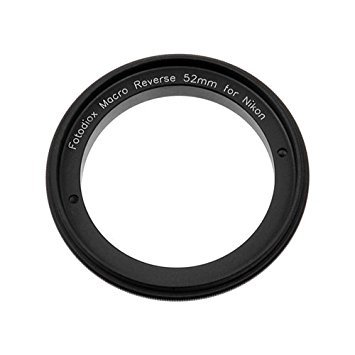 The only disadvantage is that you will not be able to use the auto-focus function. With lens mounted backwards, you don’t have the connection between the lens and camera mechanisms. It also means that you will not be able to change the aperture value.
This type of technique is very fun but can also be pretty frustrating. You will definitely need a lot of patience and practice to master this technique, but it’s worth it.
Take a look at Thomas Shahan’s work. He is one of the most popular macro insect photographers. He uses the reversed lens technique in combination with extension tubes to get close-ups of insects.
His photos are a good example of how easy it is to get amazing macro images while using simple methods and inexpensive gear.
ExpertPhotography recommends: Fotodiox Reversing Rings
Here are a few images that I’ve taken using the reversed-lens technique:
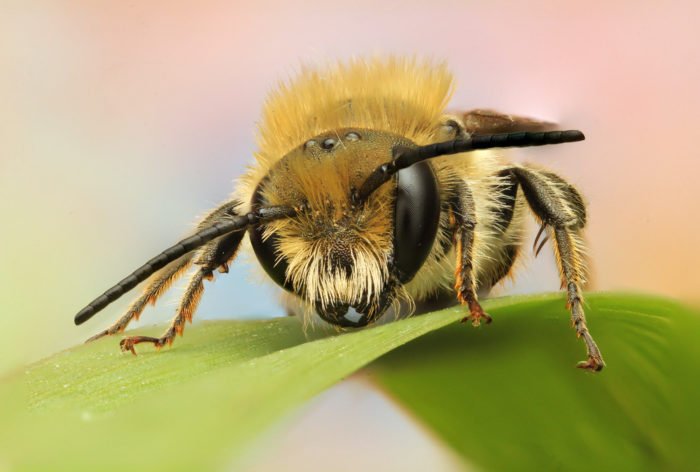 Camera Body: Canon 600D, Lens: Canon 50mm, Shutter Speed: 1/200, Aperture: f 9, Focal Length: 50 mm, ISO Speed: 400
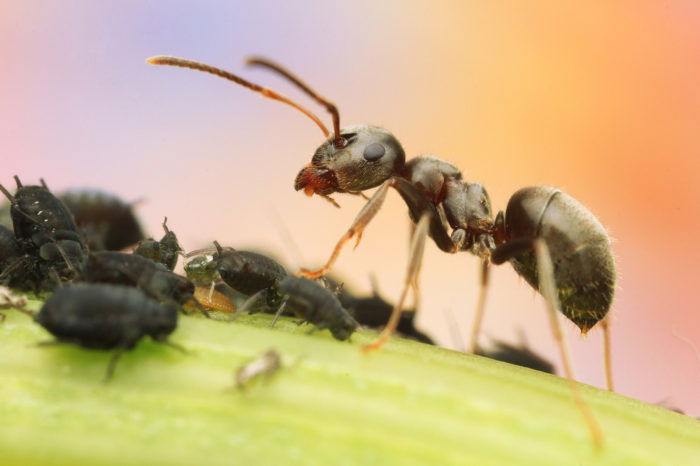 Camera Body: Canon 600D, Lens: Canon 50mm, Shutter Speed: 1/200, Aperture: f 9, Focal Length: 50 mm, ISO Speed: 500
Misting Bottle
Water droplets on flowers or insects will make your shot much more spectacular.
There’s two ways you can achieve this. You can go out early in the morning when the temperatures are low enough that there will be hundreds of tiny dew drops all over the place. Or you can use a misting bottle.
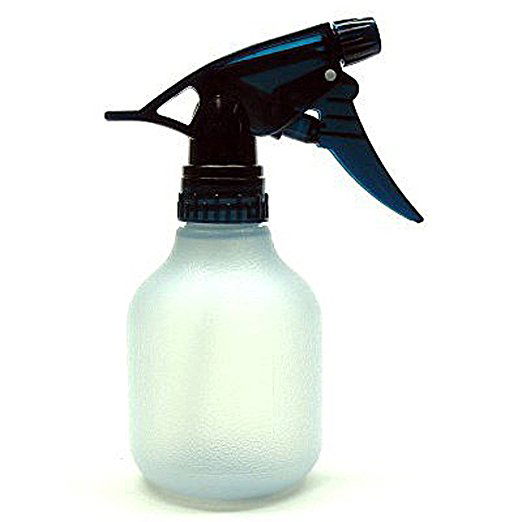
Your secret weapon will be a small spray bottle of water. Use it to lightly mist the air above your subject, letting the droplets fall on to it. Try it out, you will be surprised how unique and stunning your images will look.
Some photographers have even won photo competitions because they added some water drops – it works wonders!
This fly covered in dew drops was photographed early in the morning:
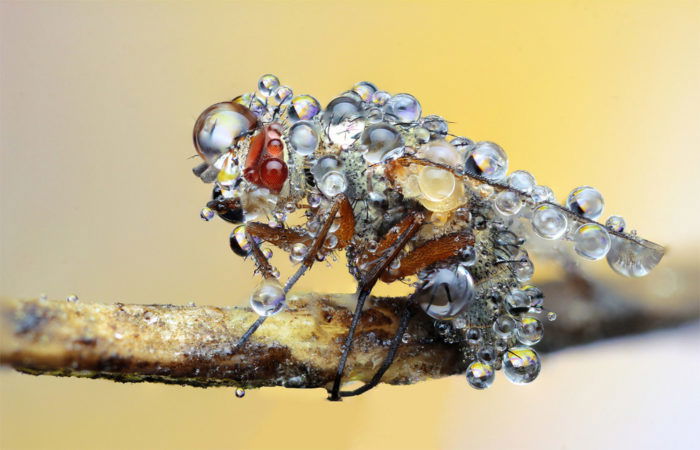 Camera Body: Canon 60D, Lens: Canon Mp-E, Shutter Speed: 1/200, Aperture: f 5.6, Focal Length: 65 mm, ISO Speed: 200
ExpertPhotography recommends: Any small plastic spray bottle, such as the Tolco 8oz. bottle pictured above.
Small Brush & Tweezers
Macro photography is all about details and if there are elements that shouldn’t be in the shot, such as dust or dirt, your macro image will lose its quality.
Use a small brush in order to get rid of all the unwanted elements on your subject. This is especially important when you are taking images at a very high magnification. You will be able to see all the dirt, small hairs and fibres present on your subject.
 That problem often occurs with studio macro photography. You are taking images in a closed room where you have thousands of tiny particles flying around.
To avoid having dirt on your subject always be sure to bring along a small brush. The cleaner your subject is, the less effort you will have retouching and removing the dust afterwards in Photoshop.
![]()
For this purpose, I also recommend having a pair of tweezers on hand to remove tiny motes and strands. These also come in handy for adjusting tiny subjects. Tweezers with a fine point and an angled nose are generally easier to use and more precise.
ExpertPhotography recommends: MG Chemicals Technical Cleaning Brush and Hakko Stainless Steel Precision Tweezers
Light Diffuser
A light diffuser is a necessary accessory, especially for outdoor macro photography. It will help you have more control over light when shooting in the direct sun.
Diffusers allow you to get rid of harsh sunlight & unwanted shadows, so that you will have better-balanced light on your subject.
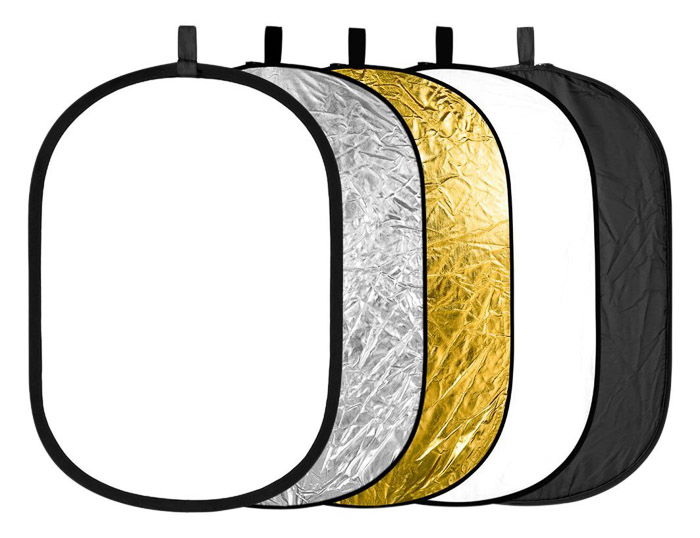 Diffusers tend to be inexpensive, and some are available for under $10.
Shooting macro images in the direct sun can be quite challenging, so always carry a diffuser with you to get the best possible light. Believe me, your macro shot will look more natural and appealing!
ExpertPhotography recommends: Neewer 5 in 1 Portable Reflector/Diffuser
Filters
Don’t forget to get yourself a filter! It’ll protect the surface of your macro lens and help you get higher-quality shots in difficult lighting conditions.
For macro photography you won’t need a super-expensive ND Filter, a regular UV Filter will do. Also, ND filters usually require you to slow down your shutter speed. This is not really helpful when shooting macro images as you often depend on a fast shutter speed when shooting small things.
These protect your lens from dirt, moisture, dust and scratches in addition to blocking out UV light.
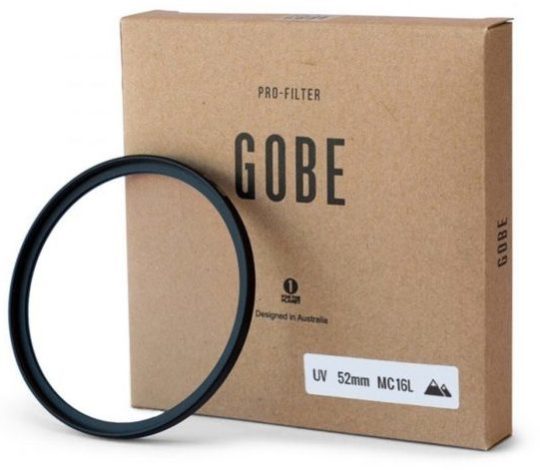
Be sure to know the size of your lens before you buy a filter, some filters are available in 52mm, 62mm, 72mm or even 105mm. You will usually find the needed filter size on the back of your lens cap.
ExpertPhotography recommends: Gobe UV filter
Focus Rail
For macro photography, especially extreme macro photography, get yourself a focus rail (also called a ‘macro slider’). With it, you’ll be able to take some really incredible close-up images.
This gadget attaches to your tripod, and allows you to slide your camera back and forward whilst mounted. With it you can comfortably get the focus just where you want it without having to move back with your tripod or adjust your magnification. It’s a must-have for macro.
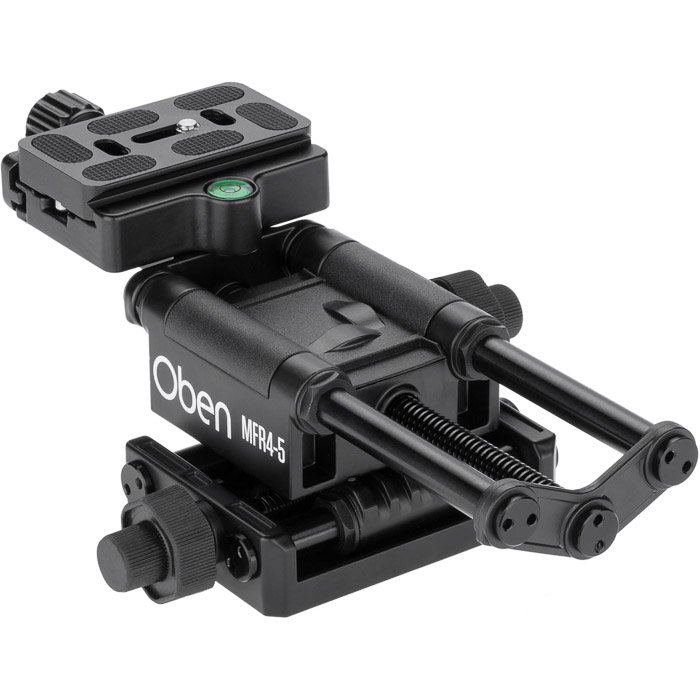 With the focus rail at higher magnifications, it will be much easier if you switch the lens to manual focus. Like this, you will have more control over your point of focus.
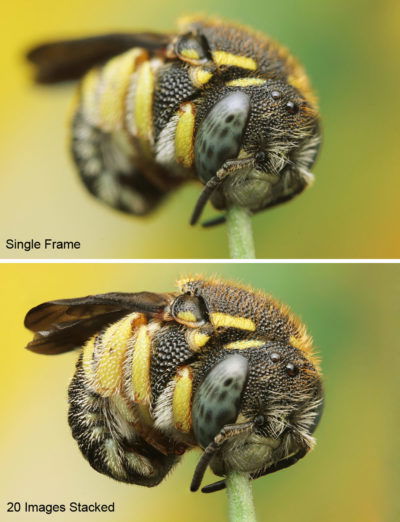
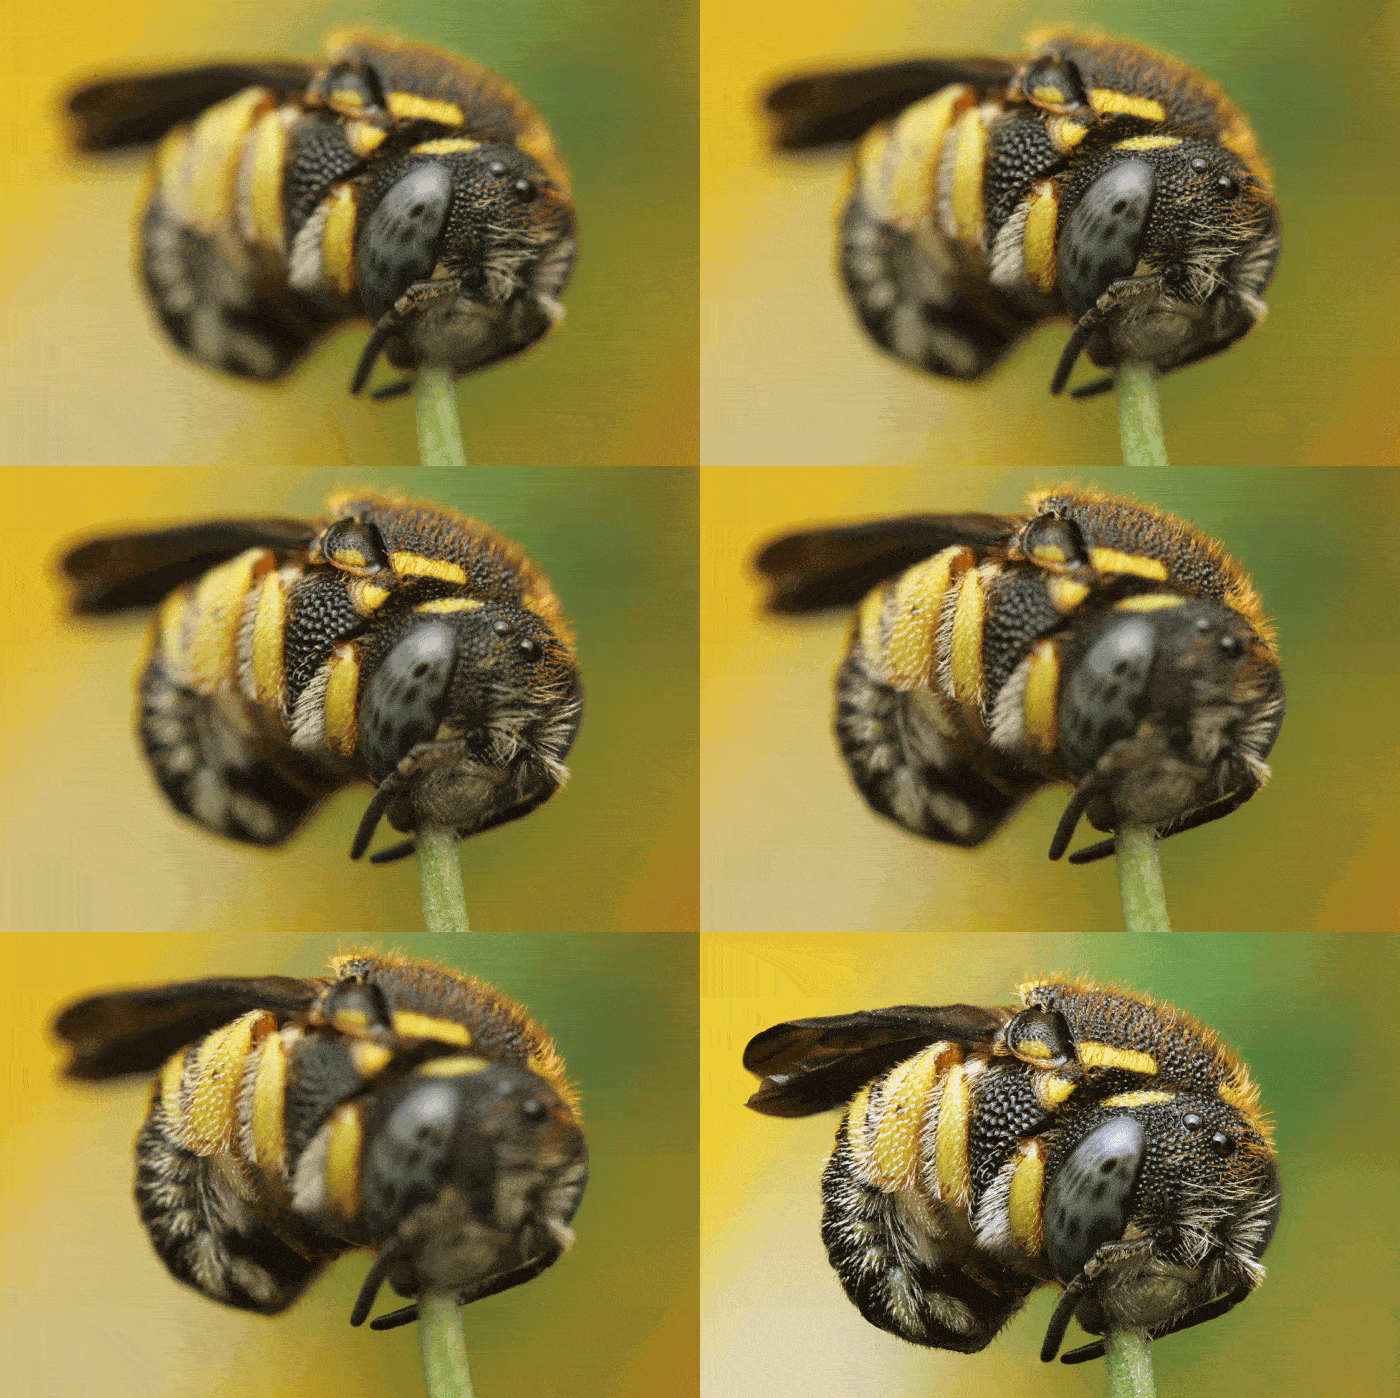
A common problem when doing extreme close-ups is that you have a very shallow depth of field at that distance. Because of this it can be difficult to get clear images of your entire subject at close range.
Focus stacking
There is a technique called focus stacking which enables you to increase the depth of field in a photograph by taking multiple photos. Instead of using a small aperture setting such as f/22, you use your macro slider to slide forward/back, and take pictures at different focus points.
These will be stacked together afterwards in Photoshop. The images after this section are the results of photo stacking.
If you have trouble finding a good slider, check out the Novoflex Castel Q—it helped me to get tons of great extreme macro shots.
Some of the more advanced types can be kind of expensive, but there are some reasonably priced ones for beginners.
ExpertPhotography recommends: Neewer Pro 4-Way Macro Focusing Focus Rail Slider (budget option) and Oben MFR4-5 Macro Focusing Rail (pro option)
Now that you know what macro photography accessories can help you get started, take a look at our tips and advice for taking those stunning macro images!
Or if you need advice on choosing a lens, read more on what you need to know about the best macro lenses.

