Christmas is the perfect time to grab your camera and sharpen your bokeh photography skills. You can photograph candid moments, vibrant landscapes, and many happy faces.
Thanks to all the lights, you can create spectacular Christmas bokeh wherever you go.
Photographing bokeh is a simple process. All you have to do is understand a few technical settings and inspire yourself with exciting Christmas ideas.
How to Achieve Christmas Bokeh with Your Camera Settings
How to Set Your Aperture
Bokeh can be created by using a wide aperture (a small f-number). It’s because it results in a shallow depth of field in your images.
Bokeh is when the lens blurs small spots – that are out of focus – into wider circles.
The smaller your f-number (like f/1.8), the blurrier your photos will look, and the more bokeh you’ll be able to capture.
For the softest results, I recommend using the smallest f-number possible.
For example, f/1.4 will make your photos look like this:
How to Choose Your ISO
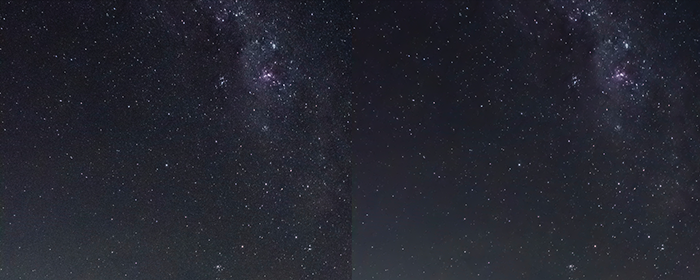
As you might be shooting among low light conditions, you will need to set your camera to a higher ISO.
Most modern cameras can handle a large amount of ISO due to ISO invariance. But a high value, like ISO 3200 can result in a lot of digital noise if your camera is not ISO invariant.
Only you can determine how much noise is too much for your taste. But it can decrease sharpness, so make sure not to lower the quality of your images too much.
Keep in mind that most editing programs have effective noise reduction tools. If your results look too grainy, don’t delete them immediately.
You can use a program like Photoshop or Lightroom to reduce their intensity.
I usually remove a significant amount of noise within minutes using Lightroom’s noise reduction tool.
Why Choose Aperture Priority Mode
To have full control over your images, choose the manual mode. With this, you are going to be able to handle everything and reach the exact effect you wish for.
But in this case, Aperture priority mode can be a comfortable choice as aperture plays the biggest role in creating bokeh. It’s marked with Av or A on the mode dial of your camera.
This semi-automatic mode allows you to set the aperture and then the camera adjusts the other settings.
How to Setup Your Shot for Christmas Bokeh
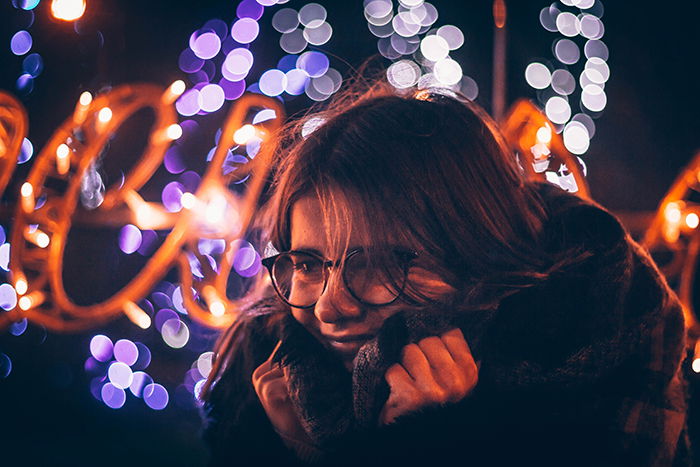
Almost anyone with a camera can create bokeh. However, the size, shape, and roundness of it depend on your camera settings.
Here are a few things you should know before you start taking photos.
What Type of Lens You Should Use
Your lens type will have a significant impact on your results. I use a 50mm f/1.8 lens. It’s quick, affordable, and perfect for nighttime shoots.
If you can choose an f-number that’s at least f/2.8, you won’t find it difficult to create stunning bokeh.
For the best bokeh results, the aperture of your lens should range between f/1.2 and f/2.8.
Telephoto lenses can also be good choices as they can make the depth of field shallower.
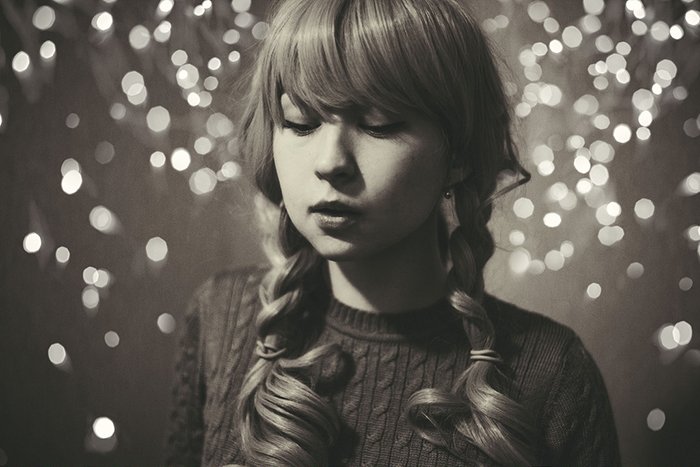
Why You Should Pay Attention to Distances
During your photo shoot, experiment with various distances. The closer you are to your subject, the blurrier the background will look.
Another factor to keep in mind is the distance between your subject and the Christmas lights. Bokeh won’t stand out if it’s close to you or your subject.
To make this easier to remember, keep this in mind: only you should be standing close to your subject. Everything else should be a few metres away.
How to Play With Lighting
Many Christmas lights shots are taken in the dark. Christmas bokeh photography is associated with low light and high ISO numbers.
Despite the popularity of low light, you don’t have to take photos in the dark to capture beautiful bokeh.
The kind of lighting you choose depends on the atmosphere you want to create. Here are a few rough guidelines that might help you figure out what exactly you want:
- For festive portrait photos, use as much light as you want. The more bokeh there is in the background, the more eye-catching your photos will look.
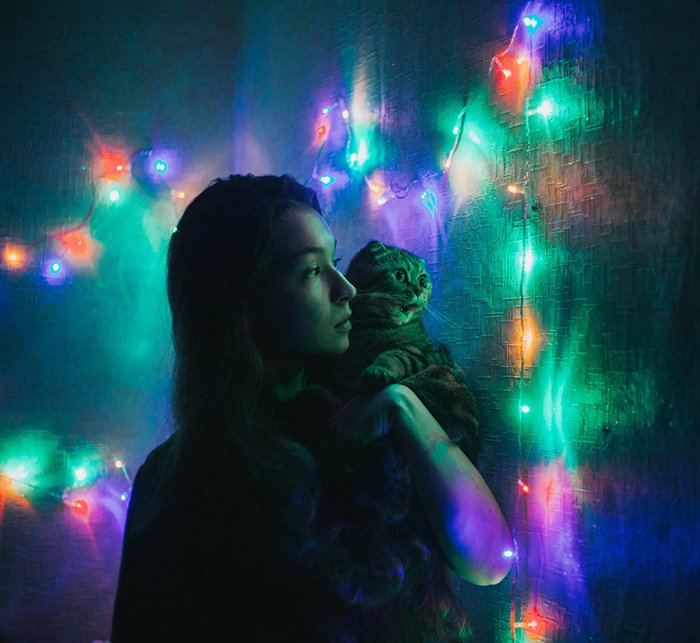
- For moody portrait photos, shoot in the dark. Make sure your model is lit by a soft light source, such as fairy lights.
- For photos of bright objects, like candles, shoot in the dark. Their light will complement the bokeh.
- For photos of simple objects, like ornaments, make sure you have as much light as possible. If you don’t, your subject will be overshadowed by the lights in the background.
- For silhouettes, place your subject in front of bokeh in a dark location. Make sure they’re not too close to the light source. This will create a striking outline.
24 Fun Christmas Bokeh Ideas & Examples
1. Christmas Tree Bokeh
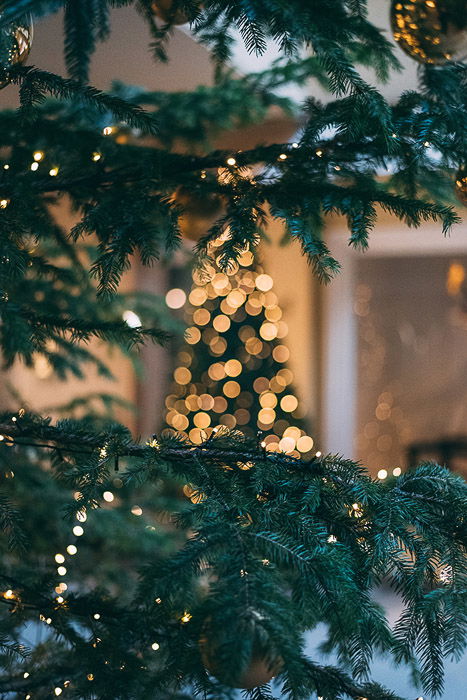
Focus away from your Christmas tree to create a delightful triangle of bokeh.
You can even photograph it through something festive. Try decorations or another tree’s branches, to frame your image.
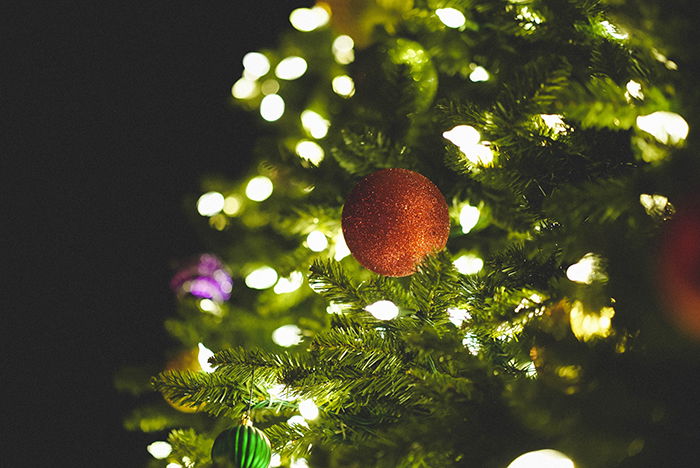
2. Photograph the Decorations
For those classic Christmas photos, photograph your decorations. The closer you are to your subject and the smaller your f-number is, the larger your bokeh will be.
Photographing decorations is a great way to preserve details that are often forgotten.
3. Toy Pictures
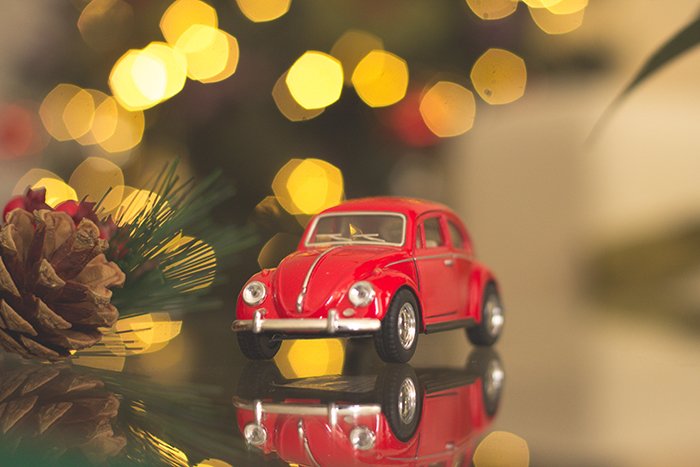
If you like taking photos of objects, photograph your family members’ gifts! Like the idea above, this will give your future self a better idea of what your Christmas was like.
It will also give you a chance to work with macro photography, which often features a lot of large bokeh.
4. Christmas Figurines
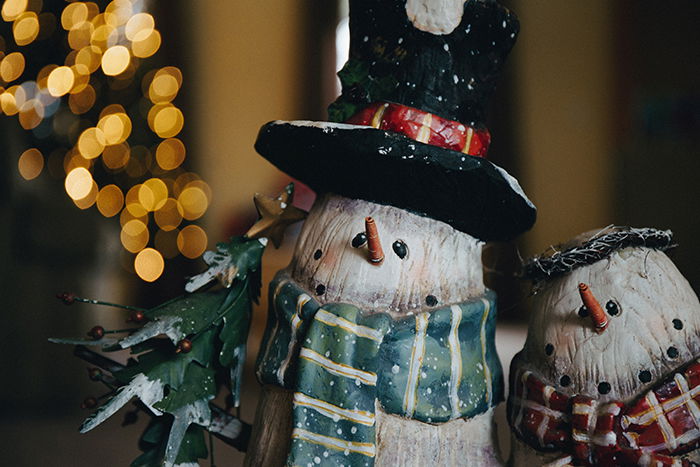
If you’re not into photographing presents, use Christmas-themed objects instead.
This can be a great practice for product photography.
5. Capture an Image Within an Image
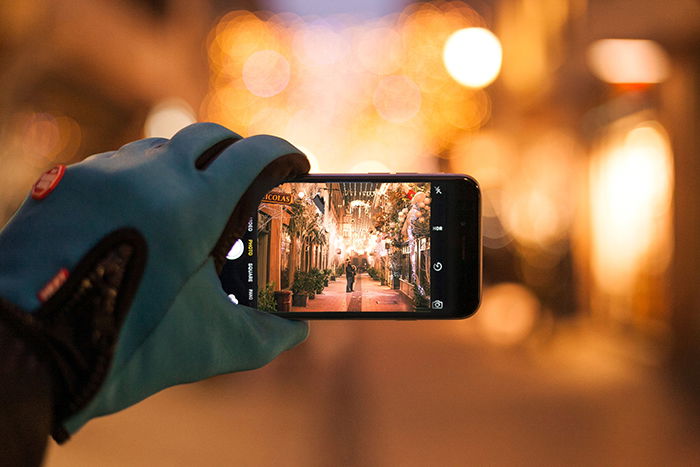
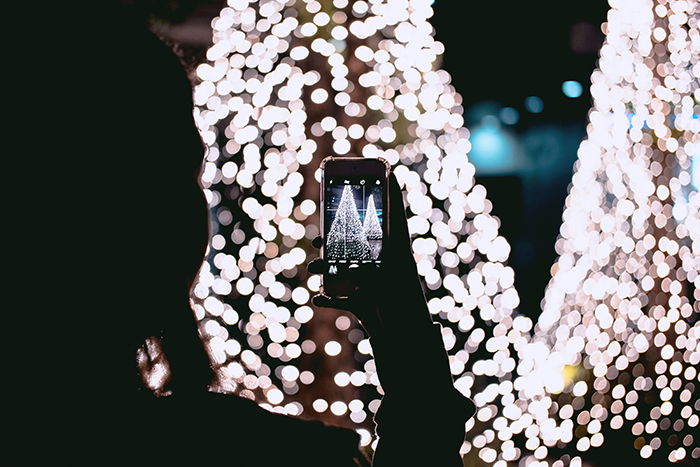
If you want your image to be both sharp and soft, photograph a smartphone in front of your background.
This will reveal the scene and create beautiful bokeh at the same time.
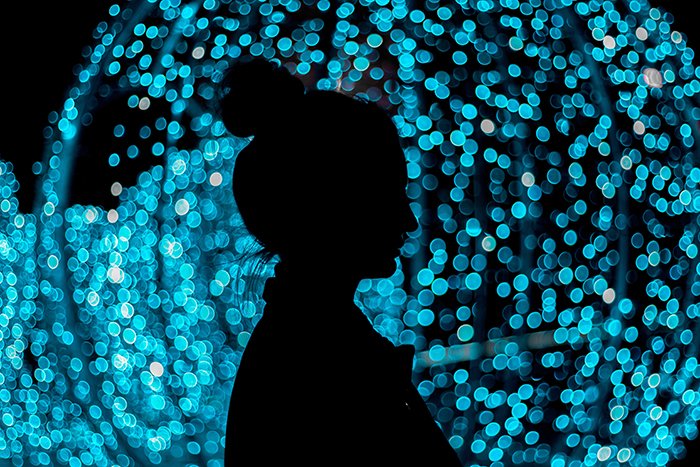
6. Silhouettes Against Bokeh
If you want to create mystery, outline an interesting figure, or make your subject anonymous, create silhouettes!
Just make sure that the only light source is the one that will also give the bokeh. Your subject should be lit only from that side.
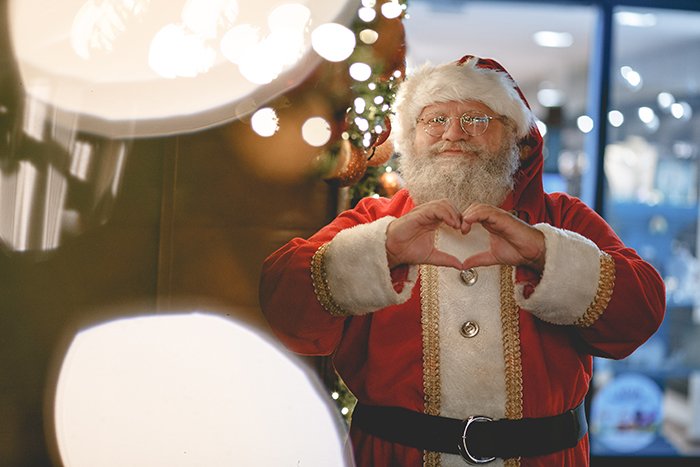
7. Christmas Costumes
Santa Claus + bokeh = the perfect Christmas photo! The holidays are full of joyful people in costumes.
If you want to get better at portrait or candid photography, take photos of them. It’s a great and heart-warming way of practice. Compose Christmas lights into your image, even in the foreground.
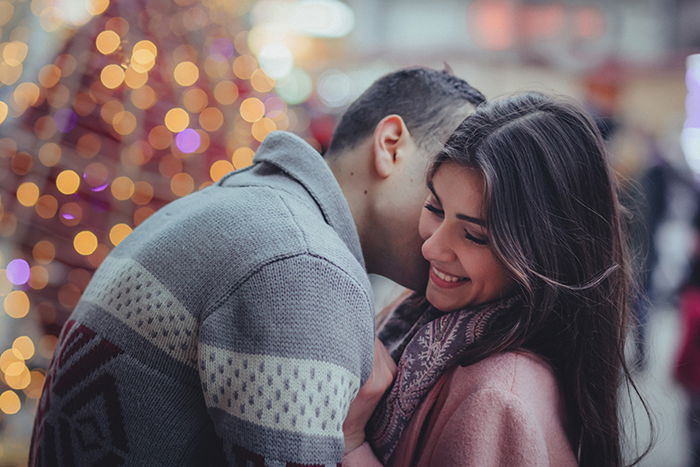
8. Couple Photos
Christmas is the perfect time to have a romantic couple photo shoot.
For the best bokeh results, photograph your subjects outdoors during the day or at night.
Focus on the couple, but search for Christmas lights to use as the background of your images.
Add a little sparkle to the foreground as well. Ask the couple to hold sparkles. You are going to get some playful images with a lot of light.
9. Let Bokeh Be The Subject of Your Shot
Sometimes, photographing bokeh is enough. If you find a place filled with bright lights, use them to create a bokeh-rich image.
You can even use these photos in future diptych or double exposure projects!

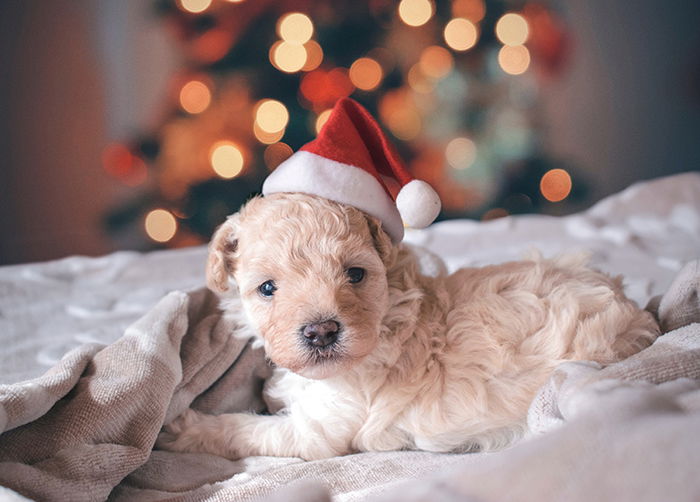
10. Christmas Puppies and Kittens
To make your Christmas photos glow with cuteness, photograph your pet in front of Christmas lights.
The mini Santa hat is optional, but it will definitely make your pet portraits stand out.
These images can even be used as Christmas cards.
11. Capture Atmospheric Portraits
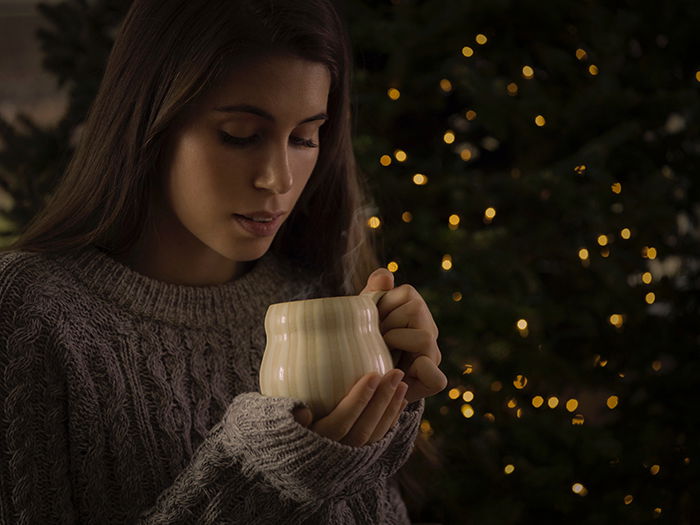
To create an atmospheric portrait like this, use several light sources to light up various sides of your model’s face. A soft window or artificial light works very well.
The farther away the lights are, the softer the effect will be. To make the bokeh even larger, use a small f-number like f/1.8.
Make sure to fund the perfect focus. With a large aperture, it might be hard as only a small part of your image is going to be sharp. Focus on the eyes of your model.
12. Create Your Own Custom Bokeh Shape
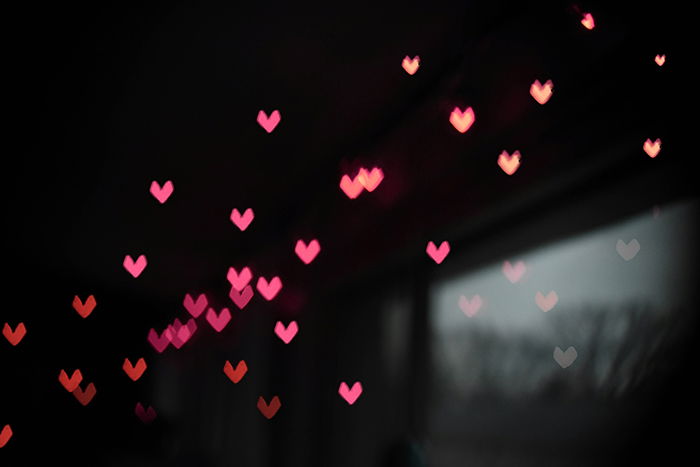
Custom bokeh is a popular lens technique that involves cardboard and good cutting skills.
Use it to transform normal bokeh into hearts, stars, or letters.
Cut shapes in a piece of cardboard and place it on your front lens. You’ll see how the light appears in these shapes.
13. Photograph Fairy Lights
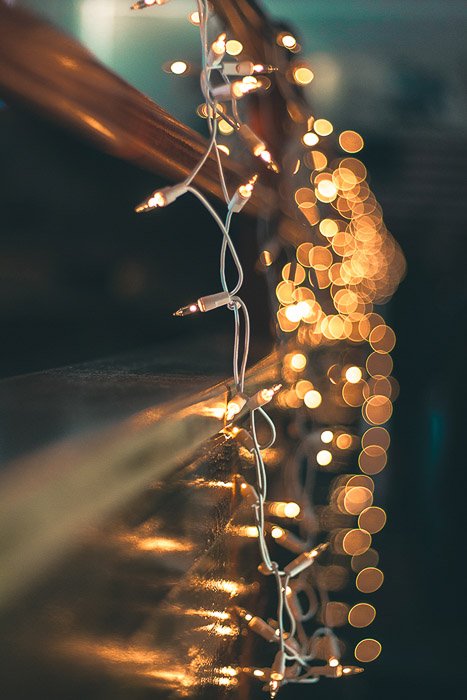
If you don’t have anything else to photograph, take photos of fairy lights in front of other fairy lights. Your results will shine!
These are popular accessories that are often used in holiday-themed photography. You can find fairy lights as decorations almost anywhere.
14. Try Glitter Bokeh
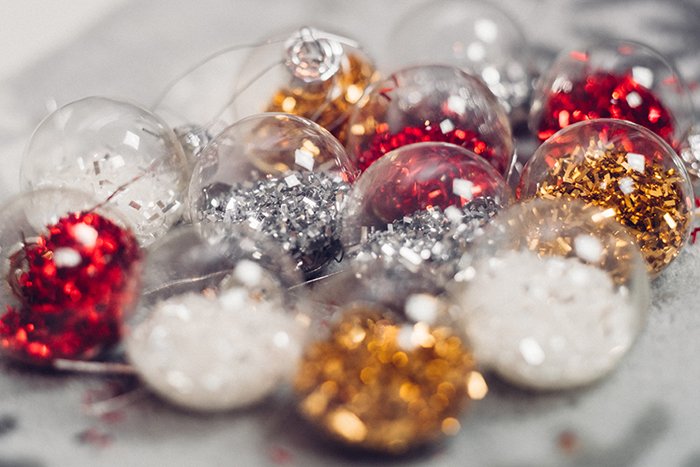
Instead of using a light source, use glitter to create bokeh. For the best results, use a macro lens.
Glitters won’t reflect as much light as a tiny fairy light or candle would give. But they are shiny and can be nicely used among bright lighting conditions.
15. Create Custom Bokeh Outlines
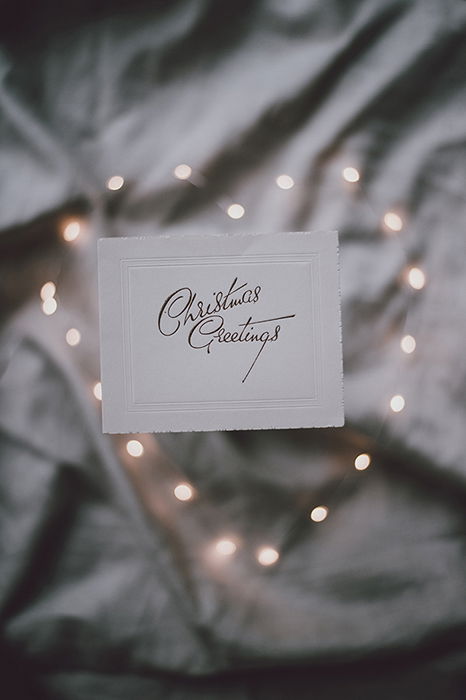
Use fairy lights to create custom bokeh outlines like this heart.
Arrange them in any shape you wish and use as frames around your subjects. Bokeh is usually nonfigurative, but this way you have control over it and you can form it as you want.
16. Christmas Treats
Cafés are full of beautiful lights during the holidays. Use them to photograph indoor Christmas-themed cups and decorations. Don’t forget to take a photo of your favourite place, gift, or Christmas treats.
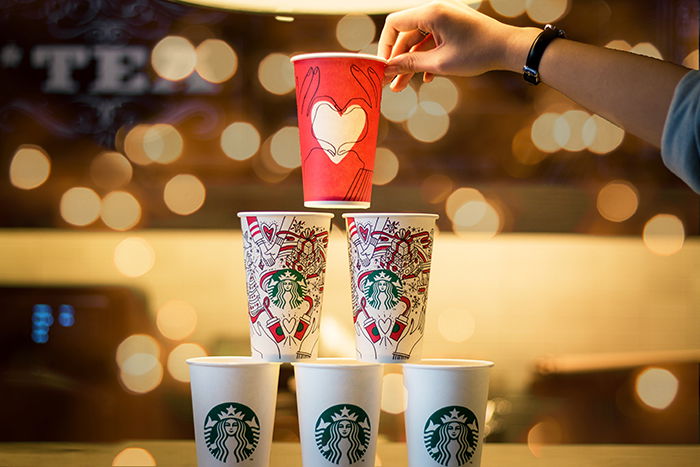
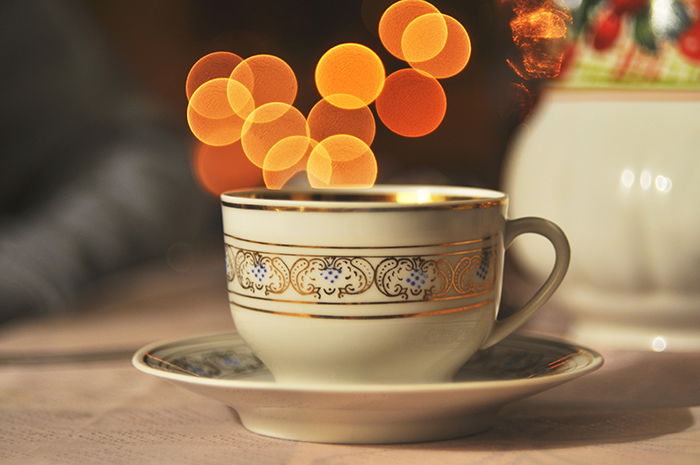
You can make it seem like bokeh is coming out of an object, like a cup, by manipulating your light source.
The best lights to use for this are fairy lights because they’re small and portable.
17. Photograph Reflections
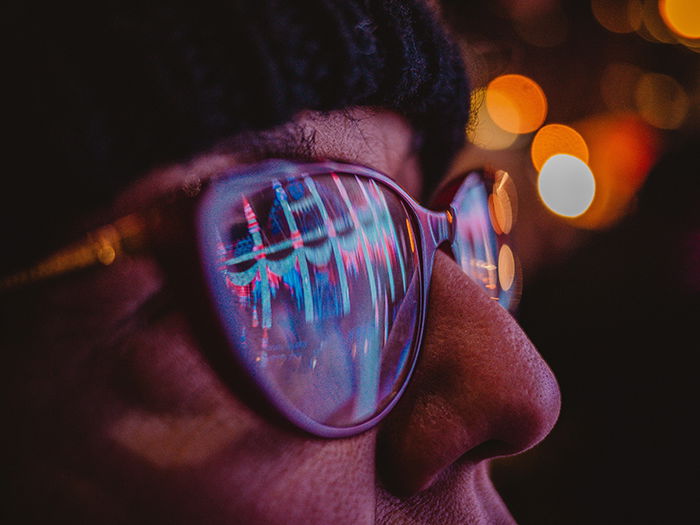
Take photos of holiday-themed reflections in glasses, puddles, and windows.
This way you double the light and add a nice abstract feeling to your images.
If the lights in the background have different tones than the reflected lights, it makes a nice contrast.
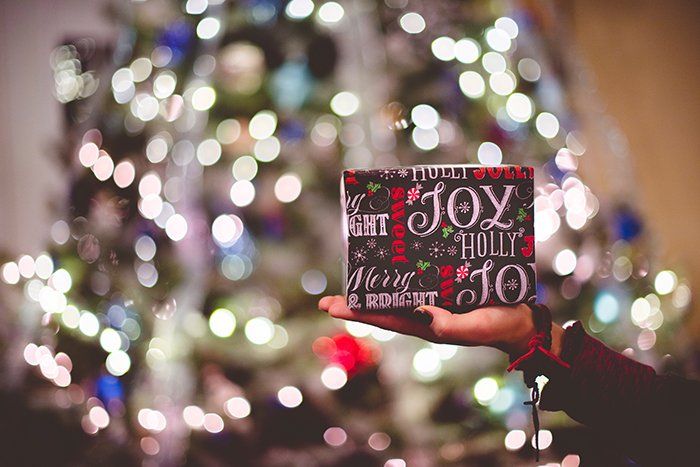
18. Capture Creative Gift Wrapping
If you know someone with superb gift wrapping skills, show off their work in front of a crowd of bokeh. You can vary the wrap and bring some creativity in it.
Try zero-waste solutions too! Luckily they are becoming more and more popular.
19. Christmas Portraits
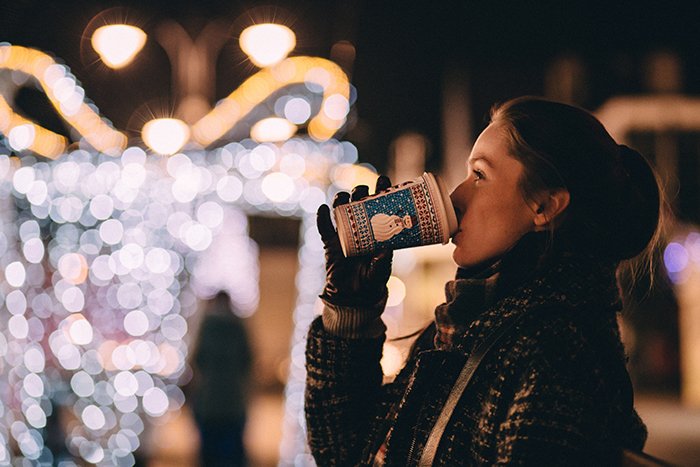
If you’re a portrait photographer, don’t forget to take candid photos of your subjects.
Photograph them enjoying a firework show, having fun with their loved ones, or sipping on a cup of hot chocolate.
Compose fairy lights in the background to enhance the Christmas spirit in your shot.
20. Take Photos of Children
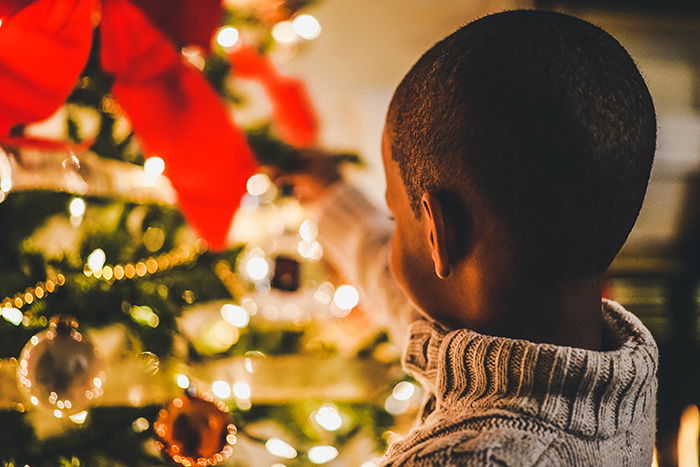
Since children adore Christmas, they’ll make your photos glow with joy and curiosity.
Photograph children in front of Christmas trees, outdoor decorations, and fairy lights.
Focus on their happiness and frame them softly with the lights in the background.
21. Create Christmas Bokeh With Candles
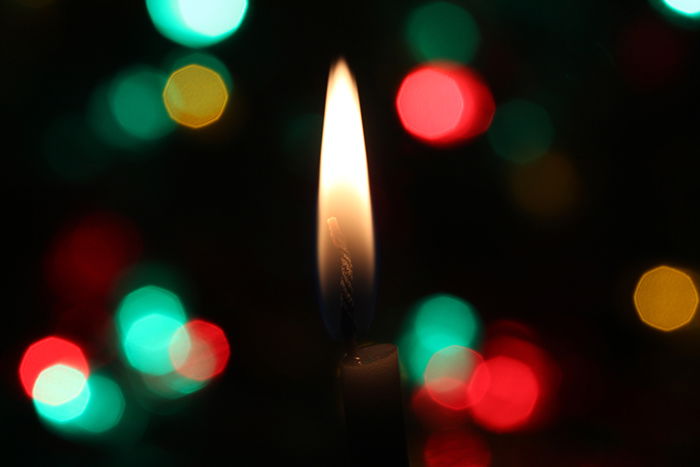
Candles make perfect subjects and background bokeh. If flames don’t interest you, use them in your backgrounds to create warm Christmas bokeh.
Sometimes they give a more natural feeling than a fairy light would.
22. Christmas Dinner
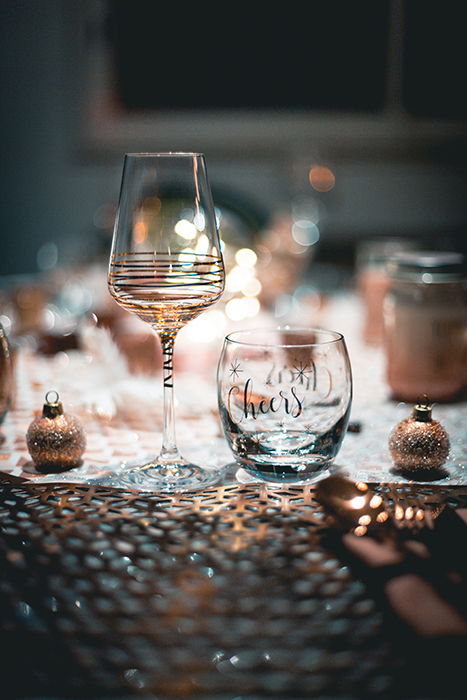
Before everyone sits down to celebrate, take a few photos of your table and food.
All the candles and Christmas lights will make them stand out. Have a clear focus on some objects and let the others blur with the lights in the background.
23. Use Miniature Christmas Sets
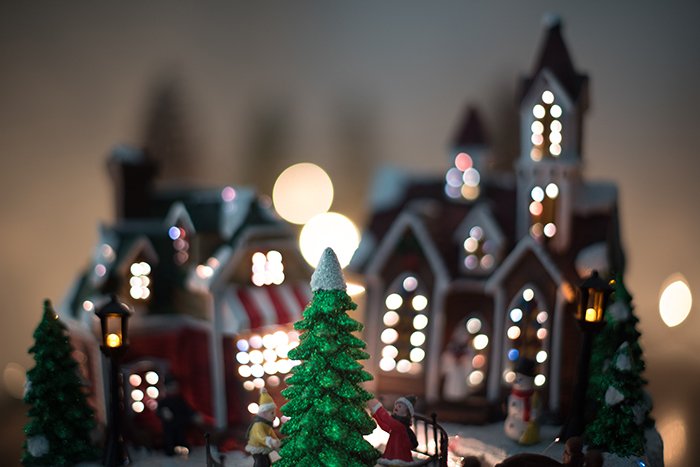
Look for lights in unexpected locations. This miniature Christmas set has lots of tiny lights that are perfect for sharp Christmas bokeh photos.
Small houses are popular decorations. Use them as the background for other miniature figures. This way you can create a tale-like atmosphere and mimic everyday scenes.
Find the wonders in the small details!
Conclusion
This article has shown you both the technical and creative sides of Christmas bokeh photography. You can confidently capture all of December’s festivities.
Don’t forget to try out the ideas above, and experiment with different apertures. Go out there and make the most of this season’s creative opportunities.
Most of these ideas can be done at home. They are easy to make, but some of these examples might need a bit more creativity. You can experiment and add a little twist to all of them and shape them to your own style.
If you like the results, these images can be used as Christmas postcards. Print them and send them to your loved ones, or give them along with your presents.
Happy holidays!
