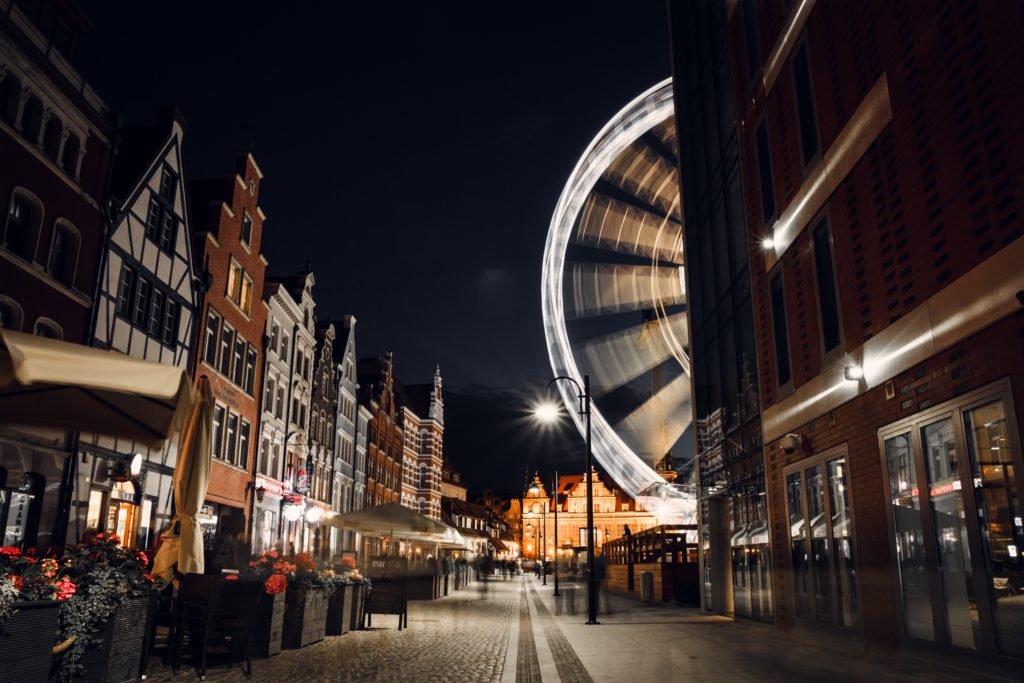
Time-lapse photography is a technique that makes time appear to speed up. This method lets you compress hours or days worth of footage into just a few seconds.
In this article, we’ll show you what you need to get started with time-lapse photography.

What Is Time-lapse Photography Used for?
Time-lapse is perfect for capturing moments that happen for an extended period of time. A few examples include cars passing by and flowers blooming.
Time-lapse photography involves recording events at regular intervals. You then combine the images into a video file that lasts a few seconds to a few minutes.
Basic Time-lapse Equipment You’ll Need
You don’t have to buy expensive equipment to start with time-lapse photography. You can begin by using what you already have in hand.
The basic requirements include a camera, an intervalometer, and a tripod.
You may need post-processing software to edit your time-lapse footage as well.
Now let’s dive deep into the other tools you’ll need:
Intervalometer
This device triggers the camera to take photos at regular intervals for an extended period of time.
You’ll find this useful if your camera doesn’t have a built-in time-lapse feature.
Most Nikon DSLRs have internal intervalometers. But a lot of Canon cameras don’t have this feature at all.
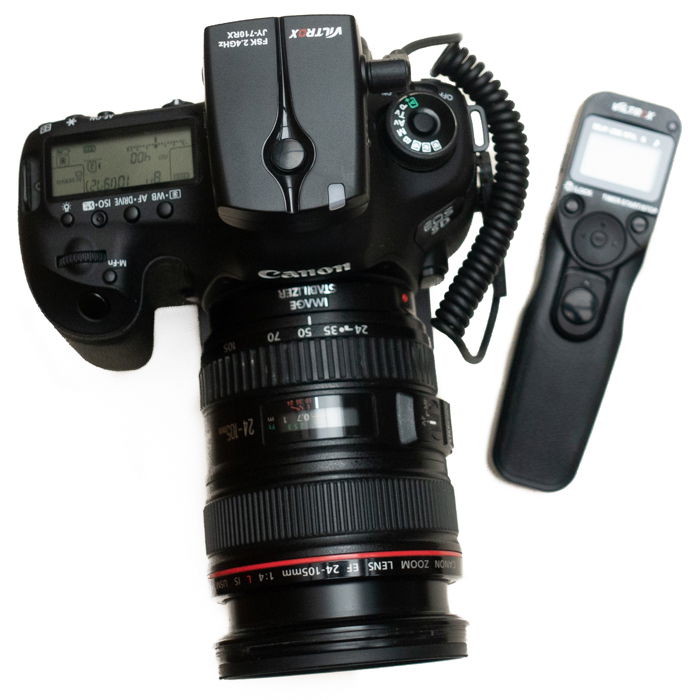
If your camera doesn’t have a built-in intervalometer, consider buying an external option.
You can program an intervalometer to shoot photos at certain intervals. It will then send commands to your camera to start taking pictures.
The intervalometer is only a timing mechanism. You still have to edit the pictures in post to complete your time-lapse photography.
Tripod/Clamp
Controlling the position of the camera is crucial to achieving consistent results. A sturdy tripod is key to achieve better time-lapse footage.
To ensure stability, you may have to fit a geared head on a standard tripod. The best option on the market is the Manfrotto XPRO 3-Way Geared Head.
You can also use smaller options such as a Joby Gorillapod or Manfrotto PIXI.
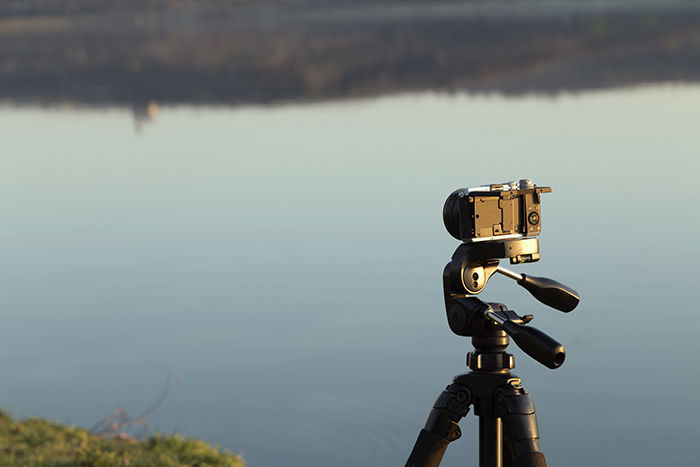
For creating hyper-lapse, use a tripod to line up each shot as you move. It stabilizes the camera and helps you achieve smooth results.
ND Filters
Think of ND filters as the sunglasses for your lens that limit the light coming into the camera. In turn, they let you use slow shutter speed even in daylight. You should use them if you want to achieve long exposure shots easily.
These filters come in various sizes and formats. So look at your lens and find its diameter marking on the barrel. If the measurement is 52mm, then make sure you get one that’s the same size.
What Is the Best Camera for Time-Lapse Photography?
You don’t need to buy any special camera for time-lapses at all. You can use almost any device you have. Even smartphones now have this feature through apps.
However, the type of camera you use can affect how you do shoot pictures. The most important factors are the resolution of the sensor and ISO performance when buying a time-lapse camera. In addition, while some have a time-lapse feature built-in, others don’t have it at all.
Now let’s look at different cameras you can use for time-lapses.
DSLR
Some DSLRs don’t have a time-lapse photo function. But many of them can record ultra-high-definition video which you can use for shooting time-lapse.
But what if you have an old Canon 50D that doesn’t have video at all? Then consider getting Magic Lantern. It’s open-source software that you can use to add new features to old cameras. You can use it to record movies on cameras like the 50D. It also includes an intervalometer for shooting time-lapses. You can find out more here.
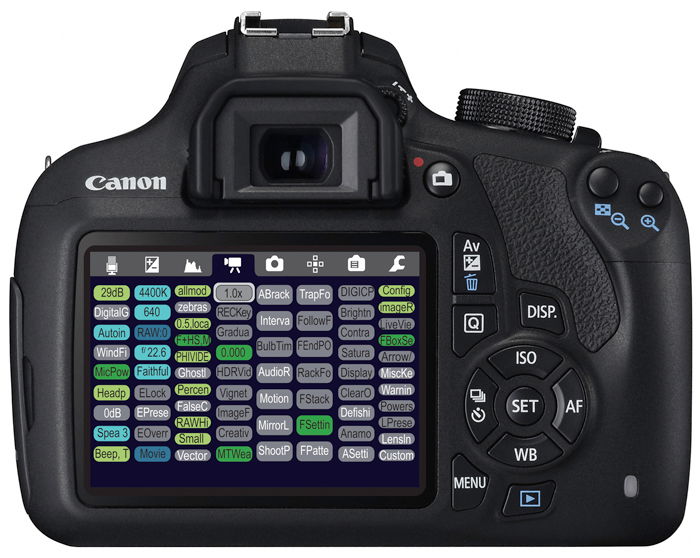
You can install Magic Lantern on your camera’s memory card. Once in the system, the app lets you select its menu instead of the Canon’s default version. You can then choose the intervalometer and start recording time-lapses.
Point and Shoot
Most people have ‘point-and-shoot’ cameras instead of DSLRs. They’re not only cheaper, but they are also easier to use. The downside is that you can only use them in fully automatic mode. And in most cases, they don’t have a time-lapse feature at all.
However, some high-end models provide features you might only expect on DSLRs. Some even let you change the aperture and the shutter speed seamlessly!
The Sony RX100 MK VII is a perfect example. Its 5472 x 3648-pixel resolution alone rivals most DSLRs. Like most high-end cameras, it has a manual mode and 4K recording! But most of all, it features an intervalometer for seamless time-lapses.
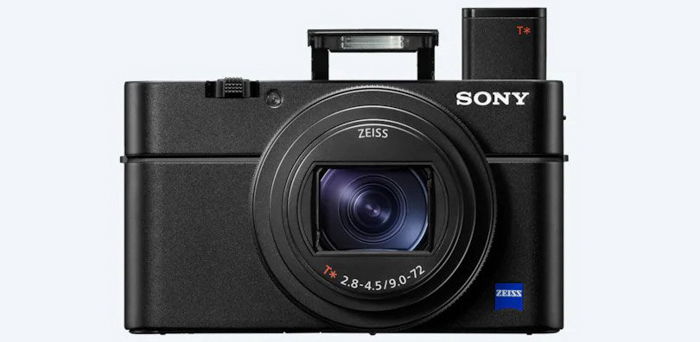
The only downside is that the RX100 costs more than a thousand dollars.
If you want a cheaper alternative, consider the Canon G5 X Mk II. It has similar specs as the RX100, including a 4K timelapse feature. But it only costs about $800, which is much less than its Sony counterpart.
We have a post on the best time-lapse apps to check out here.
GoPro
GoPros were initially for young sporty types. But with new features, they now attract serious photographers as well.
Despite the small size, the GoPro can record time-lapse for a long period of time. It converts the images into 4k time-lapse movies. Such a feature was only previously available in high-end cameras.
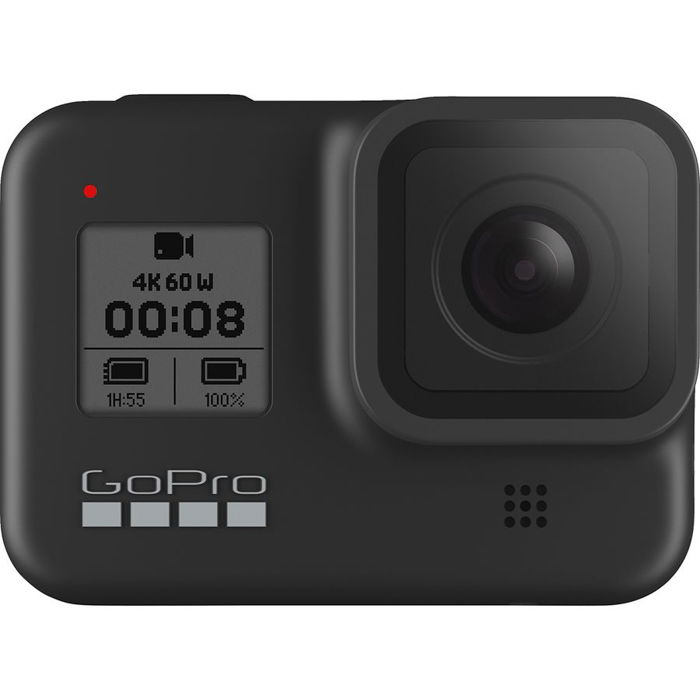 The best feature of GoPro is that it lets you change the frame rate. For instance, you can use 12 frames per second to slow down the action in high-speed shots. So even if you reduce the speed four times, the result will still look smooth.
GoPro Hero 8 is also waterproof to a depth of 10m. That means you can take time-lapse photos underwater if you want!
Smartphones
If you don’t have a regular camera, you can use your smartphone instead.
It doesn’t matter if you have an iPhone or an Android Phone. It’s all a matter of getting the proper app for it.
There are plenty of time-lapse apps out there. You can use Microsoft Hyperlapse Mobile or Instagram Hyperlapse for free.
If you want more professional results, then buy a dedicated timelapse app. The best option includes the Lapse It Pro. It lets you shoot in 4K and even offers HDR!
What Type of Workflow Should I Expect?
There are two main time-lapse workflows you can try.
The first one involves the camera shooting video at a lower frame rate. The second requires taking a photo sequence and combines them into a video for you.
The video method is the simplest. But it can take up a lot of space on your memory cards. If you don’t have an intervalometer, this is the quick and dirty way to do time-lapse. But this is not by any means the best option.
The second method is shooting a photo sequence in raw or jpeg format. This method is the best choice in achieving professional results. The individual images have large frame sizes. So the resulting video often has better quality than 4K.
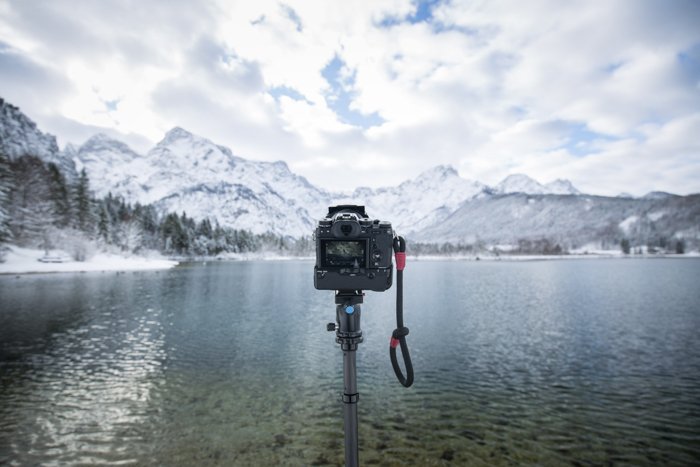
Furthermore, you can change the shutter speed when shooting photos. That means that you get sharp results if you choose to shoot fast. Or even achieve motion blur by using long exposures.
How to Shoot Time-Lapse Photography
Now let’s get into the details of shooting timelapse.
For video, simply activate video mode and start recording.
So how many frames per second is right for timelapse? 24 or 25 work fine in most cases. Just make sure you don’t turn on 4K because it will fill your memory card quickly. The result is not going to be as high-quality as the still photos. But it’s a great alternative if you don’t have an intervalometer.
For still photos, make sure to set your camera to manual first. Then you can choose the settings you want. You’ll need a wide aperture to achieve sharp results. Anything between f/11 to f/22 is excellent. For the shutter speed, you can either choose a fast or slow exposure.
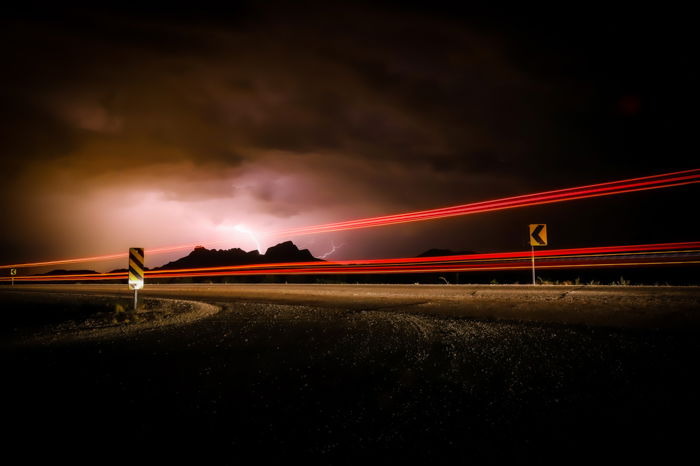
Next, turn on the Timelapse feature and select the number of photos you want. Next, specify the intervals between the images.
The interval depends on the situation you want to shoot. For fast action such as moving cars, you can set the interval to 1 second. For slow events such as blooming flowers, you can choose 30 minutes or even an hour.
Install an external intervalometer if your camera doesn’t have a time-lapse feature. Use it to set the number of images and the intervals you want.
Once you set everything, press the shutter and wait. The camera will stop recording as soon as it reaches the number of images you specified.
Include Movements in Your Time-Lapse to Add Interest
It’s easy to fix the camera in one static position for time-lapses. But a steady point of view can become monotonous for long sequences.
Several devices produce some slow and controlled movement during the shoot. Options range from electronically controlled slider rails to inexpensive clockwork-driven pan heads.
Do you want to produce panning 4K timelapse photography without any post-production? Then consider this setup below. It’s a GoPro attached to a Flowmotion Pan on a Joby Gorillapod. It’s simple, and it produces excellent results.
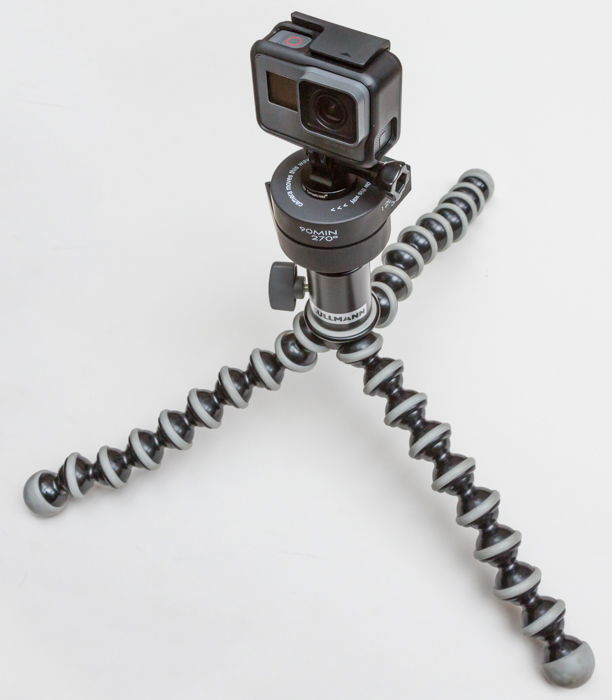
For a more robust setup, install your panning head to your tripod. That way, you can easily control the height and position.
While shooting time-lapse, make sure you don’t move your equipment at all. Otherwise, the transition wouldn’t look smooth.
Best Time-Lapse Software to Use
Some cameras can shoot time-lapse photos and automatically turn them into videos. Unfortunately, some of these devices reduce the quality to HD 1080p.
It is best to process the images on your computer to produce a high-quality time-lapse video. Editing software can also track and stabilize motion for hyper-lapses. If your camera didn’t change its point of view during the shoot, you could add effects such as panning and zooming.
The best editing softwares for time-lapses include Lightroom and Photoshop.
Use Lightroom to organize your images and apply edits to all the photos. You can even crop the video to the correct aspect ratio). Then, export the files to a folder ready for Photoshop or Adobe Premiere.
For Photoshop, you’ll need to load the photos into the timeline. You then select all of them and change the time. Start with 0.1 seconds and continue adjusting until you hit the proper speed.
For Adobe Premiere, you’ll load the photos into the timeline as well. Select all of them and change the speed duration. Just like in Photoshop, keep adjusting until the frame rate looks correct.
If you don’t have a full Adobe subscription and you’re working on a Mac, then Final Cut Pro is an excellent editor. You can also check our article on creating a time-lapse with Lightroom’s LRTimelapse for more information.
Conclusion
Creating time-lapse isn’t as intimidating as you think. If your camera has this feature, go ahead and try it. For the most part, all it takes is pressing the shutter and being patient.
You can start with simple ones such as capturing skylines. As you become more comfortable, you can start experimenting with flower blooms!
Time-lapse photography is one of the topics we cover in our creative photography course, Wow Factor Photography. If you’d like to learn more, check out the course here.

