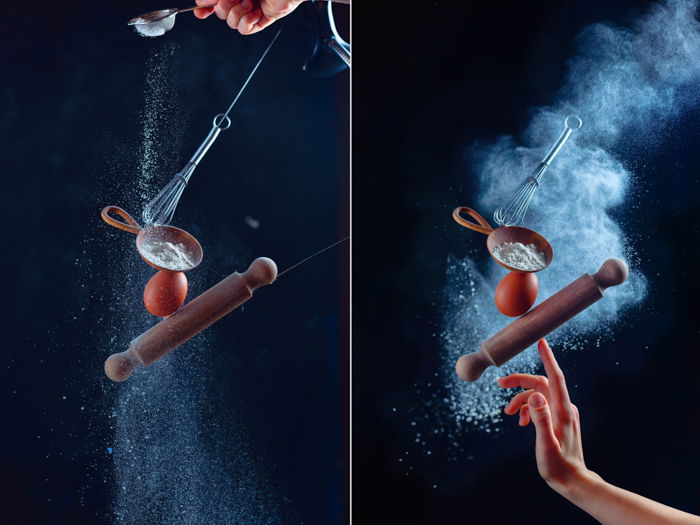
If you haven’t tried color gel photography before, this article is for you.
One of the most exciting things you can do with your flash is using color gels. Whether it’s with speedlights and strobes, or other light modifiers, color gels can make your images pop.
We’ll show you 10 ideas to add cool and different colors to your photos that you’d never get with natural light.
![]()
![]()
![]()
![]()
10. Color Gel Photography: 10 DIY Ideas Using Colored Cellophane
To help you start with flash photography and color gels, you can try your camera flash first. Check if you like it, and then try different gels on external flash units.
It’s easy to use, it’s automatic, and most of all, it’s already included with your camera.
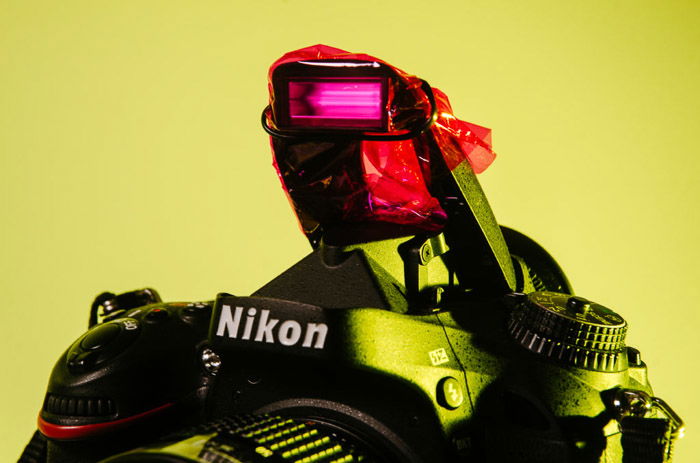
Now, to add color to your flash DIY-style, all you’ll need is a piece of cellophane.
First, cut a small piece of cellophane slightly bigger than your pop-up flash. Then, attach it to the unit using a tape or a rubber band and that’s it!
Just make sure the entire flash unit is covered, so the beam produces a uniform color.
Also, colored cellophane can sometimes be too thin. Especially if you’re using light colors such as yellow or orange.
So feel free to attach two to three layers if you want the color to pop.
9. Add an External Flash for Better Control Over the Colored Beam
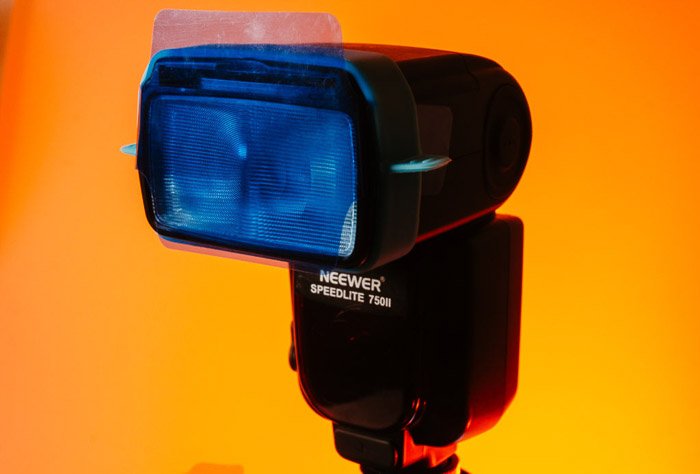
We encourage you to use colored gels with external flash units (e.g. a speedlight). They’re relatively cheap, compact, and easy to use.
If you’re ready to go big, you can also buy strobe lights. They’re similar to speedlights, but bigger and more powerful.
An external flash will allow you to change the direction of the beam. Do this by tilting or turning the flash head.
Instead of just splashing light directly onto your subject, you can now let it bounce off a surface. That way your model doesn’t look like a deer in the headlights.
With an external flash, you can also manually change the intensity of the beam. Most of these devices have different modes that can be complicated for a beginner.
Choose TTL (through the lens) Mode to let your speedlight adjust the intensity automatically. It does this according to your camera’s exposure readings.
What if the resulting photo is over or underexposed? Dial your exposure compensation up or down to change the brightness.
You can always use your DIY colored cellophane on your external flash unit. But if you want better results, buy a real set of color gels for your speedlight, instead.
A kit costs less than 20 dollars, so it’s not a bad investment at all.
For the most part, color gels for speedlights work the same as the colored cellophanes. Set them on the flash unit, keep them in place with the rubber band that came with the kit and that’s it.
8. Trigger Your Flash Wirelessly
Now that you have an external flash unit, you might want to consider investing in remote triggers. These devices attach to your camera and your speedlight so you can set it off from afar.
Expensive remote triggers can cost as much as a few hundred dollars. But you can buy cheaper versions for less than 50 dollars.
They vary in design and features, but they work mostly the same.
Attach your transmitter to the hot shoe of your camera. Next, connect the receiver to your flash unit. Once you press the shutter, you should see your speedlight go off.
7. Use Different Flash Positions for More Natural Light
There’s one big advantage of wirelessly setting off your flash. You can move your light around any way you want.
No more shining a flash directly onto your subject. You can now place it at different angles, so the light looks natural.
Make sure you use a stand to keep your flash upright while using it. You can also set it up on a tripod if you need more stability or elevation.
6. Try Different Colors to Create Specific Moods
Most wireless trigger kits come with at least two receivers. You can install two or more photography lighting gels on your speedlights. This will add more colors to your photos.
But you need to remember that not all colors work well together. If you don’t know which combinations to use, use a color theory wheel for reference.
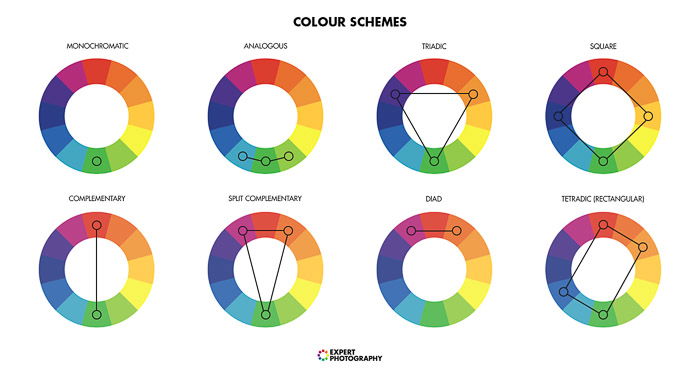
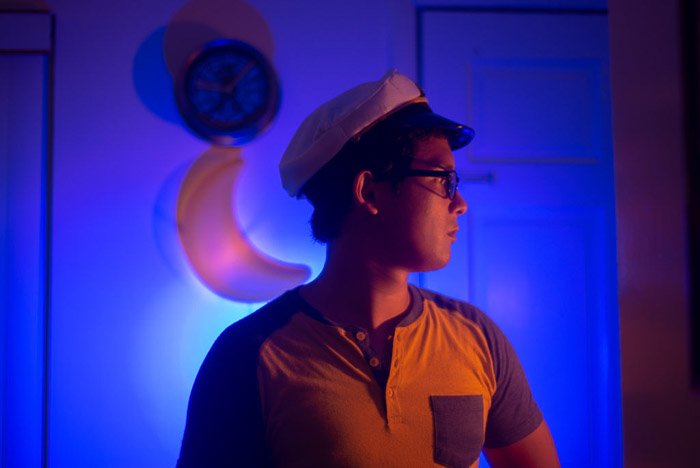
Always choose colors that are complementary to each other. And make sure your color gel evokes the right mood. For example, red color gel will warm up and intensify your portrait photography.
A blue gel will add a hint of coldness, and an almost eerie mood to your pictures.
And color correction or conversion gels affect the color temperature of tungsten light, making it appear closer to daylight.
Make sure your flash units are not too close together as they may cancel out each other’s colors. Position them so their beams don’t mix together.
You can use your first speedlite as a key light (your main light). Add another one as a rim light (in the background) to make your subject pop more.
Alternatively, you can use your flash as “floodlights”. This will envelope your model with a certain color.
5. Try Light Painting for More Creative Photos
Light painting is a technique where you use a small light source. This can be a flashlight. Then you use it to scribble figures or letters in the air.
As long as the aperture is open everything you draw with your light will manifest in the photo.
Creating art with a flashlight is cool enough. But you can make it even more spectacular. Try illuminating your background with color gels.
It doesn’t matter if it’s a blank wall or a car. The more colors you feature in your image, the better it looks.
4. Mix Regular White Light With Color Gels
You don’t have to slap on color gels on every flash unit you have. Try mixing the naked white light from the flash with lighting gels.
In most situations, it’s best to use your naked flash as a key light. Since it’s white and bright, it brings more attention to your subject than a color gel would.
Play around with your lighting and see what works for you best in different situations. In fact, you can even use a naked flash as a rim light.
Make sure that it doesn’t overpower the light from the color gel. Otherwise, you might blow out your exposure.
3. Create Atmospheric Portraits With Gels
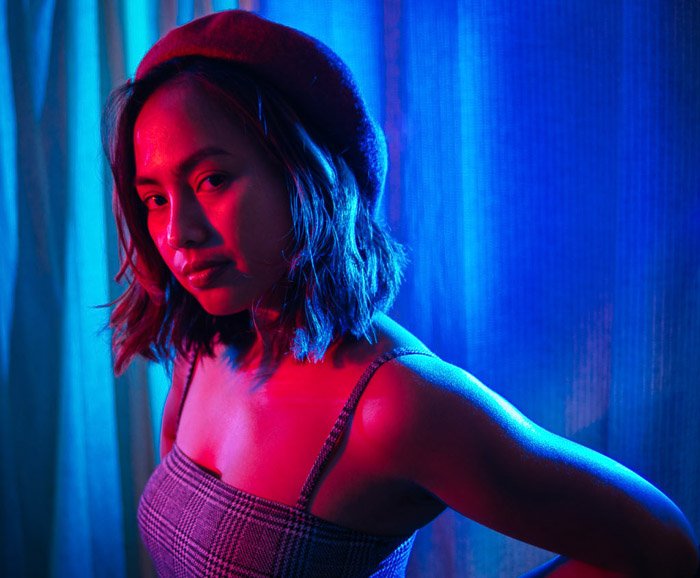
You have a speedlight and a remote trigger. Time to start playing around with different photography lighting effects.
Place a colored gel on one side of your model’s face to create split lighting. You can even position one flash on each side of the face to light up your subject with two colors.
You can also try lighting patterns such as butterfly or Rembrandt. All you have to do is change your light’s angle.
You can also use your light gels to illuminate your photoshoot background. Place it behind your subject, out of sight and facing the wall.
Once you trigger the remote, you should see the wall take up the color of the gel you chose. Try using this with a white background or a black background and see how it looks.
Whether you’re a fashion photographer or a portrait photographer, this is a cool trick to know.
2. How to Turn Your Lighting Gels Into DIY Filters
If you’re into trying new ways of bringing color in photography, you should try using your gels as lens filters. They’re big enough to cover your lens, and they do a decent job changing the colors in your photo.
For best result, turn off your autofocus to prevent your lens from focus hunting. Instead, manually focus your camera before you place a gel in front of the glass.
It would be best to use lighter tones so that more light can get through. If you’re feeling adventurous, you can try darker shades as well.
Who knows, you might end up with a really cool shot.
1. Try Gel Photography Outdoors
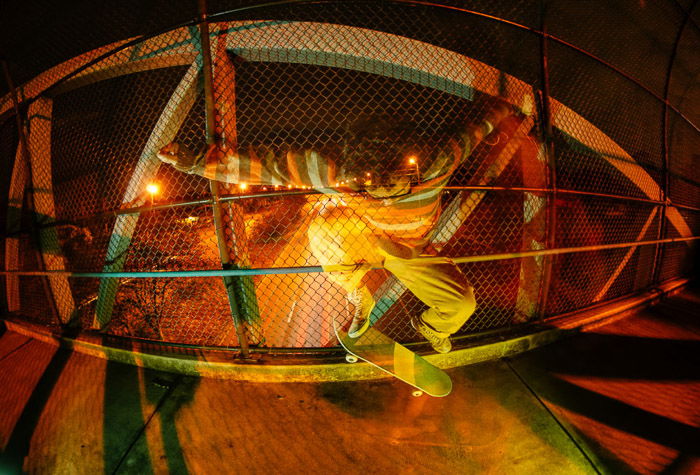
Artificial lighting and color gels are not limited to a studio setting.
The same rules apply when you use color gels and flash units outdoors. The only difference is that you have to be mindful of the ambient light around you.
Unlike shooting in a studio, you can’t really control the sun. It’s best to take photos when it’s dark enough.
One of the best uses for color gels outdoors is shooting portraits. In most cases, you can set up your light equipment the same way you would indoors.
Switch your flash to TTL so it automatically compensates for the ambient light. If you want a brighter beam, use Manual instead and punch up your flash intensity.
Apart from portraits, you can also use gels to add color to your landscape photos. Place your flash unit near a tree, a rock or any other natural feature to add dimension to your foreground.
Make sure you don’t place it too far from your subject. Otherwise, the light from your speedlites won’t reach it because its beam can only go so far.
Conclusion
You’ve probably seen color gel photography everywhere from fashion shoots and product photography, to TV shows and advertising images.
It’s a fun way to add interest to your images and make them stand out.
There’s no one gel fits all. There are a million different ways to apply color gels in your photography. So just have fun while you’re learning.
When you see the wild effects color gel photography creates, you’re going to want to bring your speedlight everywhere.
![]()
![]()
![]()
![]()