Low light has always been considered the bane of a photographer’s existence. Partner the need to photograph action when there is less than ideal available light to work with and it sounds like a recipe for disaster! Fear not my friends, our article will give you all the info you need to conquer fast action photography in bad light.
You’ll definitely impress your clients and friends with the final result!
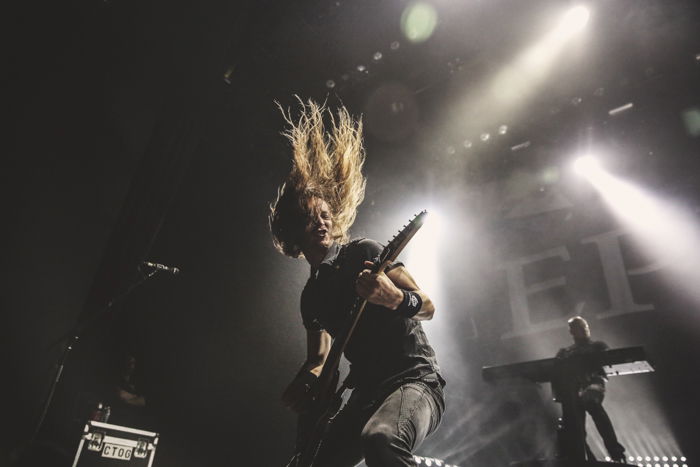
The Problem with Low Light and Action Photography
Photographing action and low light photography simultaneously sounds completely counterintuitive. This is because the settings necessary for these shooting scenarios tend to clash with one another.
For example, if you set up your camera solely to photograph action, the result will be badly lit photos. If you set up your camera to solely account for the light, you’ll probably get lots of motion blur.
To photograph action, you need to set your shutter speed quite high to account for the movement. Most of us tend to want completely frozen action photographs as they are quite eye-catching.
But there’s a catch. The higher you set your shutter speed, the darker the image will be. If you try to remedy this, you’ll likely add lots of noise to your image. The ideal scenario for action photography is lots of light.

To photograph in the dark, you’ll want to open up your aperture very wide to let in all of the available light and slow your shutter speed down. The slower the shutter speed, the lighter the image. This doesn’t work well for action because you’ll get a lot of motion blur.
All of this being said, you can certainly find a happy medium. It all depends on the camera equipment you use, knowing the settings that can work well with both, and the technique you apply.
Recommended Gear
Although good photography is about the photographer and not the equipment, in this case gear matters. It can either increase or decrease your chances of capturing that great fast action low light photo.
Using the right lenses and camera bodies will make it significantly easier to photograph action in darker conditions.
Keeping in mind that the goal is to let in as much light as possible, let’s start with the lenses.
You’re most definitely going to want to use a fast lens, and one that has a rather wide aperture. A lens with an f-stop of 2.8 is going to be the maximum aperture you should be looking at. Lenses with an even wider opening (such as f/1.8) are even better.
Remember, the wider the aperture (the lower the number), the lighter the lens lets in. These are called fast lenses, and this is because a lens with a larger maximum aperture can achieve the same exposure with a faster shutter speed.
As well as this, you will also prefer a lens with a fast autofocus. Using manual focus can be incredibly difficult for fast-paced action photography.
It’s already difficult enough seeing in lower light, you want a lens that can figure out what you want in focus quickly. Canon’s 70-200mm lenses and their L line are all considered to have very fast auto focus.
The camera body is important for light sensitivity, which comes out in the form of noise. The ideal camera body will have the lowest amount of noise at high ISO numbers because you will be pushing those ISO settings quite high.
A good idea is to look at comparison shots online of different camera bodies at the same high ISO level and see which looks better. For example, the Canon 5D Mark IV produces better low light photographs than the Canon 5D Mark II.
Full frame cameras tend to perform better in low light than crop sensors.

As well as this, since we are also photographing action, you need a lens with many fast frames per second. Look at how many frames-per-second the model you want can take. Sometimes, there is firmware available to download to your camera that increases the frames-per-second, keep that in mind!
Finally, look for a camera that has a powerful focusing system. Canon’s new dual pixel auto-focus system makes low light photography much easier because the camera can more accurately lock focus. Other camera brands have similar new auto-focusing systems.
Tips to Photograph Fast Action in Low Light
6. Aperture, ISO, and Shutter Speed Settings
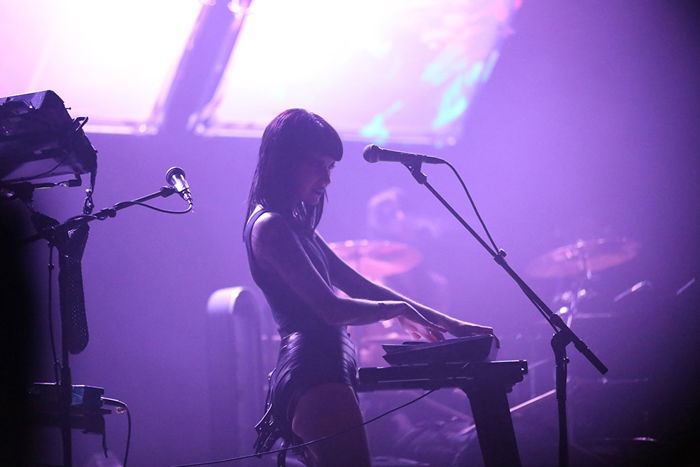
It all starts with your settings. For low light, keep your aperture as open as possible- I recommend staying at the absolute minimum number that your lens allows you. Unless you’re shooting with something like a 50mm f/1.2, 1.2 may be too soft for your picture style and you can bump that up to 1.8 or 2.0.
Now that your aperture is wide, it is time to set your shutter speed. For high speed action, you generally want it higher than 1/2000. But you can get away with shooting action as low as 1/400 if you follow Tip 2 below.
Since the higher you set your shutter speed, the darker the frame, the wide open aperture should help compensate for how dark your frame can get.
Finally, set your ISO. Don’t be afraid to bump it up if you need to! If you see your frame is too dark with the higher shutter speeds, push your ISO higher. Or you can try slightly lowering your shutter speed.
All three of these settings work together. It’s just a matter of figuring out the proper formula for your shooting situation.
5. Focus Mode and Burst Mode Settings
I’ve found that switching the camera to burst mode and continuous focus works best for low light action photography. The burst setting is a must-have when the fast paced action begins.
Continuous focus has different names depending on the camera brand (AI Servo for Canon users or AF-C for Nikon users). It allows your camera to lock onto your subject and follow it around as it moves.
On the Canon 5D Mark IV, you can tell the camera how your subject moves and what obstacles may be present. You can adjust the various levels of sporadic movement, obstacle interference, and more.
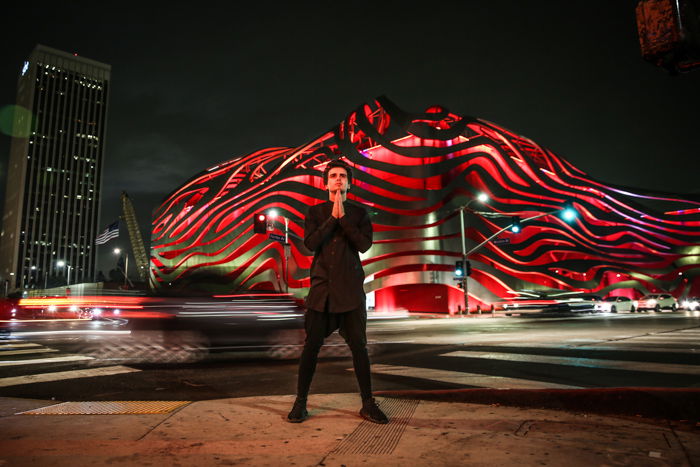
4. Test Your Settings Ahead of Time and ‘Chimp’
There is no one-size-fits-all formula to low light action photography. You have to test your settings to see what works best for the scenario you are in.
Before the bulk of the action starts, take a few test shots and look to see if they work well for you. This way you can work out most of the kinks before you’re on the spot to shoot.
Chimping is generally frowned upon in the photography community, but I disagree. It’s okay to chimp while shooting. Chimping is an informal term in photography that means checking your LCD screen after taking the photograph.
Photographing fast paced action in low light will actually require you to chimp to make sure that your settings and focus are properly capturing what you need them to.
Don’t be afraid to check your screen. Better safe than sorry!
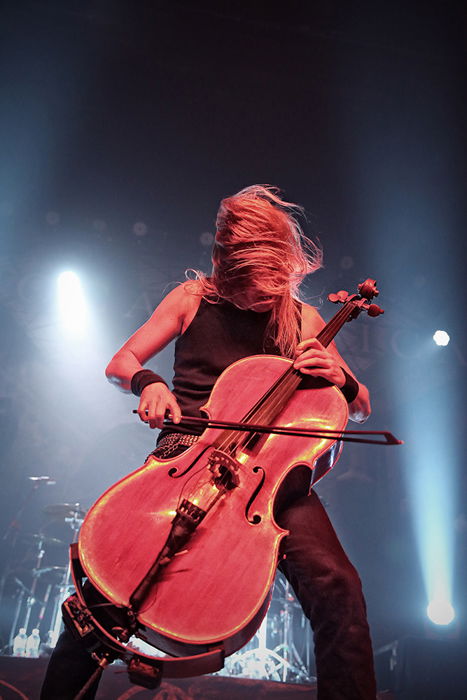
3. Panning, Pre-Focusing, and Bursting Techniques
There are three types of shooting techniques that come in handy when photographing action. And they work well in low light too. You can use either panning, pre-focusing, or bursting.
Panning is moving your camera horizontally with the subject’s movement. You synchronize your camera movement with that of the subject moving parallel to you.
The benefit of panning is that you can reduce motion blur and maintain good focus if you follow your subject around!
Pre-focusing is setting the camera to focus on where the action is about to take place. So long as you are fast at clicking your shutter button, this allows you to be ready for where the peak action is going to happen and not have to worry about losing focus.
This is best when you know exactly where the action will take place.
Bursting is when you set your camera to burst mode and hold the shutter down to take advantage of the number of frames per second. This guarantees that at least one of your shots will be crisp because your camera will be so fast at taking them!
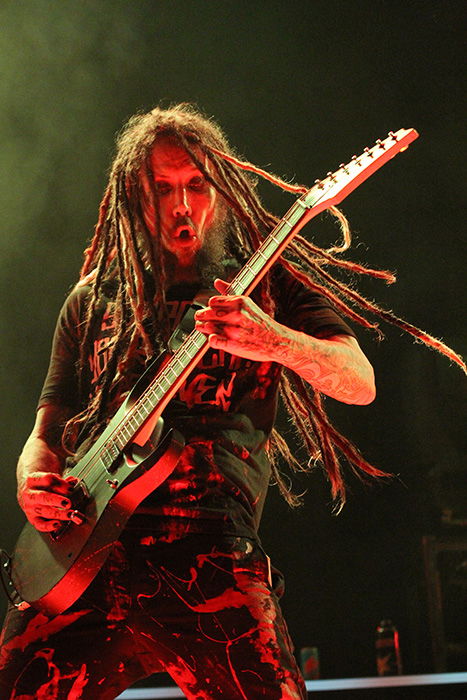
2. Work With What You Have
Sometimes the best advice is to accept that there are certain factors that you have no control over. Instead of feeling dismayed, take it as inspiration to do something new and creative!
If it is too dark for frozen action, maybe motion blur would actually work in your favour and create a beautifully unique image!
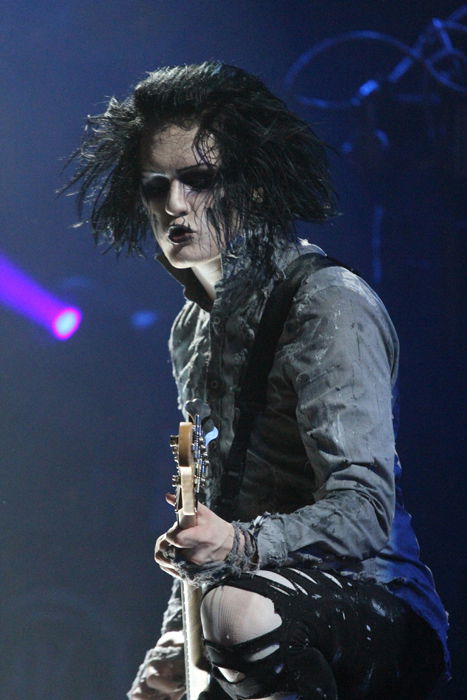
1. Post Processing
It’s okay to lean on photo editing for help, especially in difficult lighting situations. You can reduce noise in post processing, lighten the image, or sharpen the subject. You can keep this in mind when shooting and adjust your settings accordingly.

Hopefully these low light photography tips have inspired confidence in you. So go practise your fast action photography in bad light!

