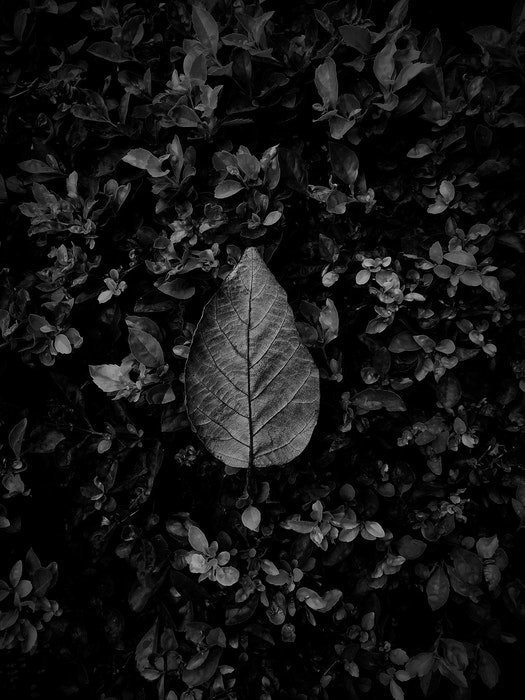
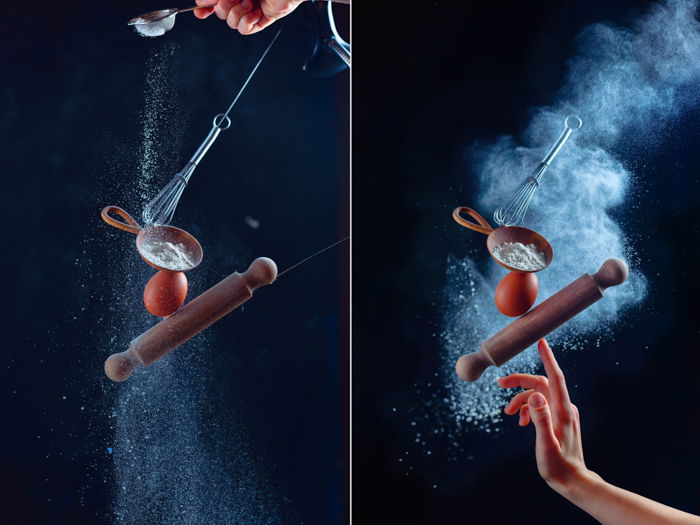
Black and white still life photographs are beautiful in their simplicity. Still life photography is all about inanimate subjects. You can photograph food, flowers, ornaments, toys. Anything that doesn’t move.
Read on for my top 5 tips to get the most out of your black and white still life photography.

1. Learn to Create Black and White Still Life Photography
Planning and researching a black and white still life photo shoot is essential. The process requires a bit of brain re-wiring. That way, you’ll ‘think’ in black and white and choose the right objects, lighting, and story for your photo.
Check out work by famous still life photographers to help with this. Grand masters such as Edward Weston and Karl Blossfeldt were pioneers of photography. They created unique works of art in black and white from everyday objects.
Give yourself time and space. Create a rough sketch about the way you want your photo to look.
What are the first features of the object that catch your eye? Make notes of the lines, textures, or tones you want to emphasise.
2. Enhance Textures and Shapes With Lighting
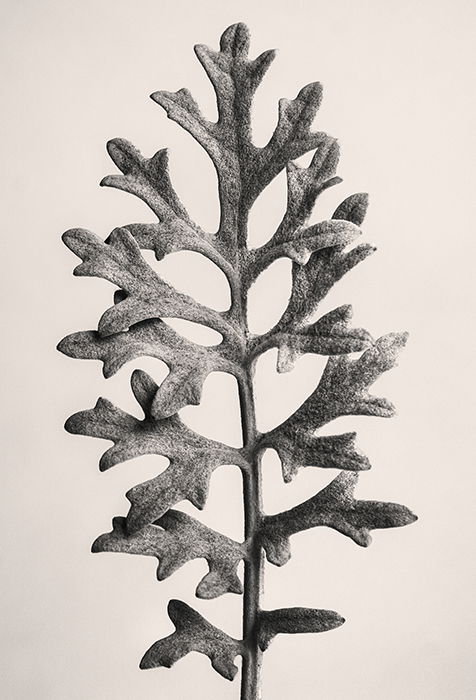
Without color getting in the way, you can play to the great strengths of black and white – texture and shape. Look to see where lines intersect and how light accentuates different textures.
Think about this throughout the black and white still life photography process. From selecting your subject matter and photographing it, to post-production and presentation.
I prefer to use low key lighting with either natural light from a window (on a cloudy day), or a soft sidelight. I often experiment with and without a reflector. Then I review the photographs in post-production. That way, I can see which version works best for texture and shape.
Move your subject around and see how it catches the light from different angles. Sometimes a subtle move of half a centimetre can make a big difference.
Black and white still life photography can often feel quite physical. You’re moving back and forth from the camera to the subject matter!
3. Turn Simple Objects Into Art With B&W Photography
You’re making a photo without people or movement. But that doesn’t mean that you can’t tell a story. Consider shapes of leaves at different stages of their life cycle. And how grey tones can convey emotion into the photograph.
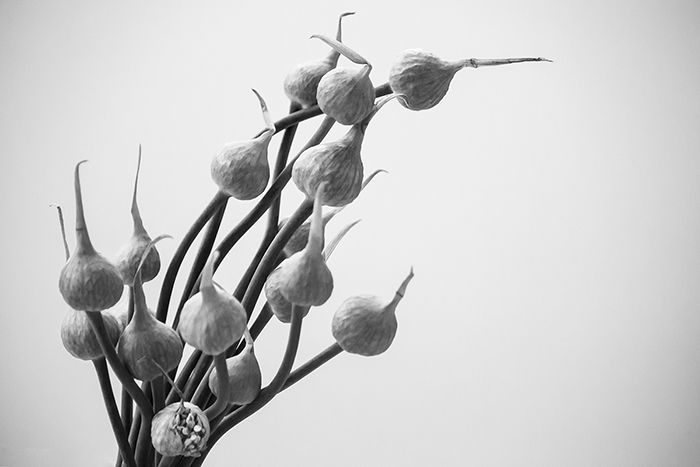
Black and white photos of flowers reveal the true beauty of their lines and shapes. Black and white flower photography is a great starting point for monochromatic still life photography.
The style and texture of a weathered shoe in black and white tell us about their owner. Even without a human in the photograph.
Antique objects look beautiful in black and white photographs. And you can enhance their story by using warm or sepia monochrome tones.
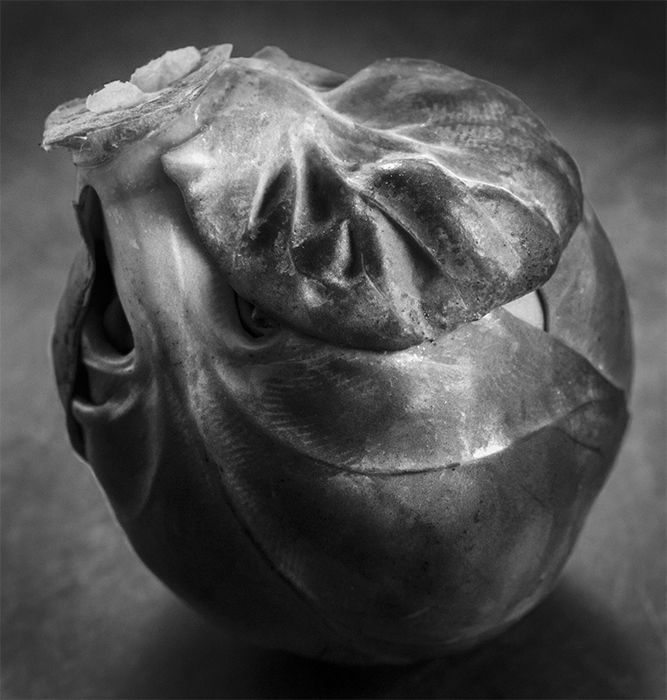
Look around your home or garden. See what subjects you can find that tell a personal story. Even the most mundane object can become a work of art. All it needs is the right texture and shape with careful lighting and post-production.
Have a go at some of these black and white still life photography ideas:
- Jewellery from an elderly relative;
- Your favourite children’s books;
- Coffee;
- The beautiful but slippery flowers that drop on your garden path;
- An old (or new!) camera;
- Bunches of herbs or weeds;
- Your favourite food;
- Shells and driftwood from your last beach walk.
4. Use Simple Compositions to Make B&W Still Life Photos Stand Out
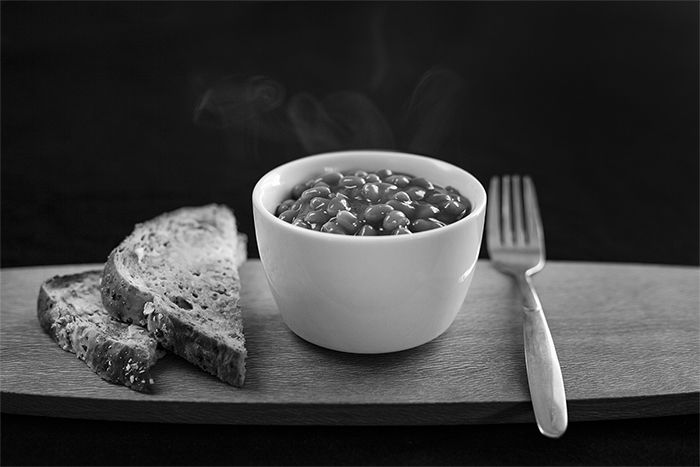
Black and white photography is all about shapes, lines, and textures. It’s important to use a very clear and simple composition that doesn’t distract from these elements.
With still life photography, I tend to be a stickler for the rules of thirds and odds. And the golden triangle and ratio.
If you’re uncertain of your composition, remove something from the frame. Or take a step back to include more negative space.
5. Use the Color Sliders to Enhance Black and White Still Life Photos
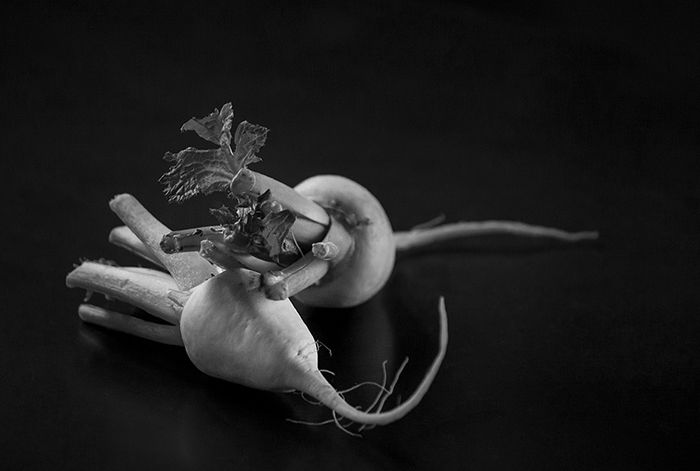
When it comes to black and white still life photography, clicking the shutter is only part of the process. Fine-tuning images in post-production is the important final step.
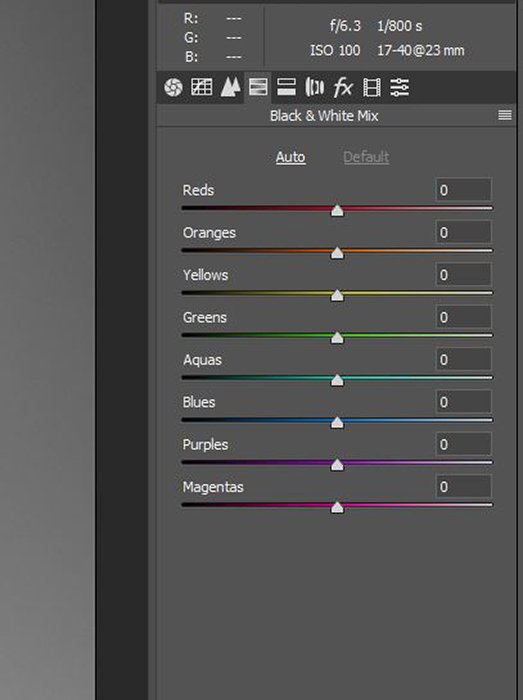
Clarity adjustment, dodging and burning, and spot removal are standard techniques to tidy up your photo in Lightroom or Camera Raw. But the tool I use most with my black and white still life photographs is the HSL (hue, saturation, luminance) color slider.
Moving individual sliders up or down gives you great control of light and shadows. It can transform your photograph by defining textures and shapes and even changing the focal point.
Adjust Blacks, Whites, and all the Greys In-Between
Like most black and white photography, it’s important to include ‘true black’ and ‘true white’. Plus a full range of greys.
Adjusting the HSL sliders is an easy way to lighten or darken parts of a photo. And you’re doing this without over-using the dodge and burn tools.
Still life photographs can be quite complex. Get familiar with zooming in and out of your image (ctrl, +/- or cmd, +/-) to check the black, white, and grey tones. Make sure they work together in harmony.
Adjust Color Sliders to Change the Mood
Moving the HSL color sliders can change the mood of a photo. Do you want to tell a story about the strength, clarity, and bold qualities of a flower in black and white? Try adjusting the sliders to show contrast and definition.
For a more subtle approach that portrays a flower’s fragility, try softer greys and less contrast.
There’s no ‘right’ or ‘wrong’ with this method, and it can be quite a subjective approach. Try different versions and review them with fresh eyes the next day.
If in doubt, less is always more!
Conclusion
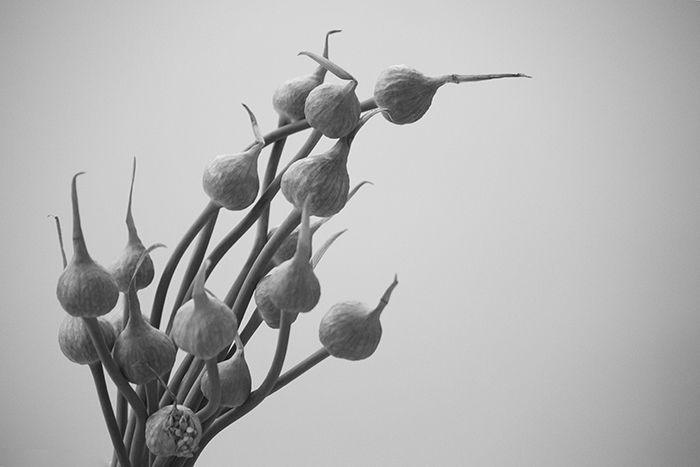
Photographing still life in black and white provides great creative opportunities. I’m always surprised at the beauty of a still life scene when the color is removed.
Keep it simple; start with objects you’re familiar with. Experiment with whatever light and equipment you have on-hand.
Push the boundaries with your black and white still life photography, and don’t be afraid to get a bit arty!
Next, why not check out this great article on black and white landscape photography!
Don’t miss out on our Creative Photography Cookbook for awesome still life ideas!


