These creative photography ideas will help you learn and grow as a photographer. Some focus on cool photoshoot ideas or still life. Others focus on creative post-processing in Photoshop. Each challenge is achievable at home, so you won’t even need to leave your house!
A 30-day photography project is a great way to try experimental techniques and jumpstart your inspiration. So we’ve chosen 30 photography ideas with a wow factor. Viewers will scratch their heads in amazement. And they’ll wonder how you managed to capture the image.
30 Creative Photography Ideas
Here are our top ideas. Bookmark this link and refer to it for the next 30 days. You can also involve your family and friends and create great wall art or gifts!
We recommend using Adobe Photoshop as editing software. But there is free editing software too.
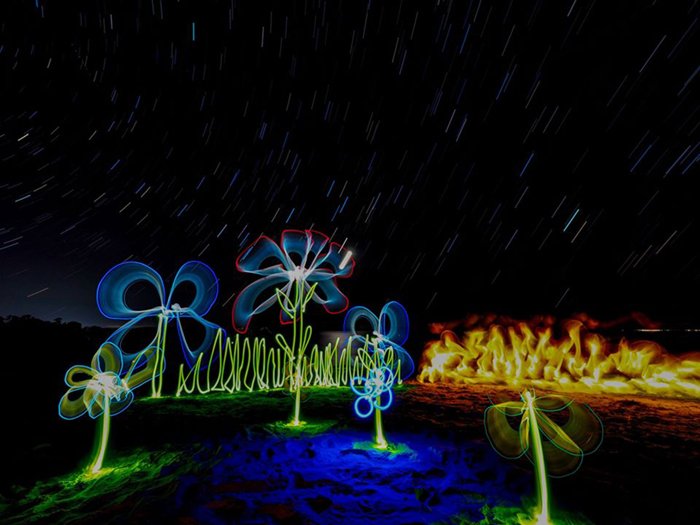
Day 1. Spiral Light Photography
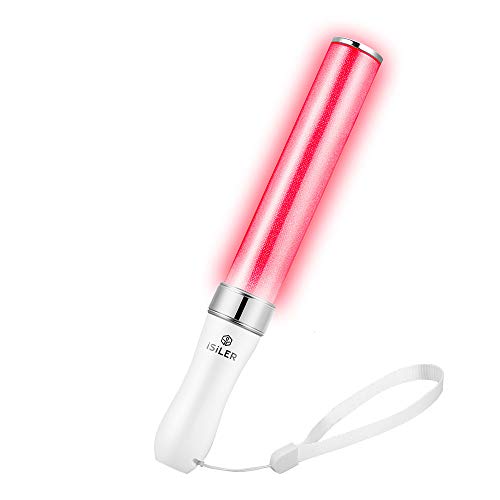
For our first creative project, grab a torch. We’re making spirals of light!
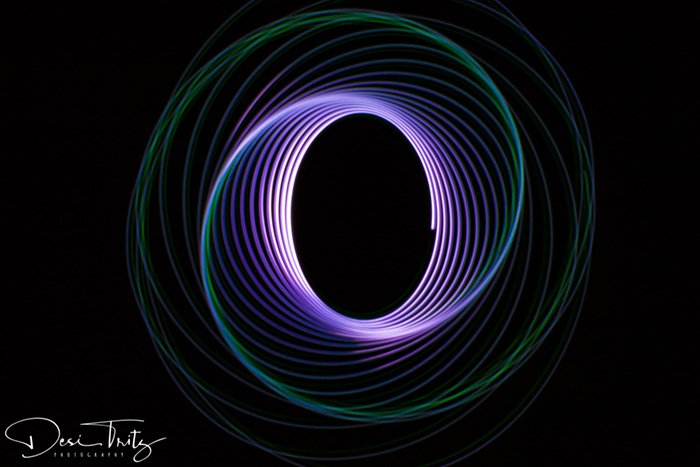
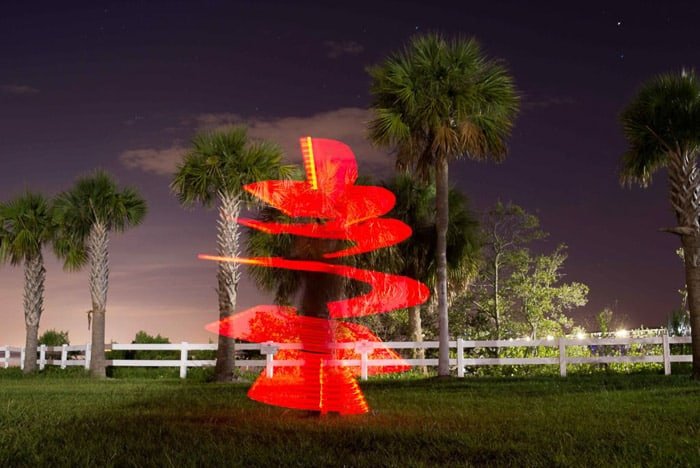
Spiral light photography is a type of light painting. Leave the shutter open and paint swirls, twirls, and circles.
You can create the image by spinning a light in front of your camera. Or painting light in the air leaves a long streak in your image. And add a pop of color using glow sticks or colored gels on the torches.
All you need is a budget tripod, a nighttime scene, and a light source. Grab some friends. There is no limit to the number of lights you can use!
See our spiral light guide for a few creative photo ideas.
Day 2. High-Speed Photography
Get ready. This creative photography idea is about catching a quick shot.
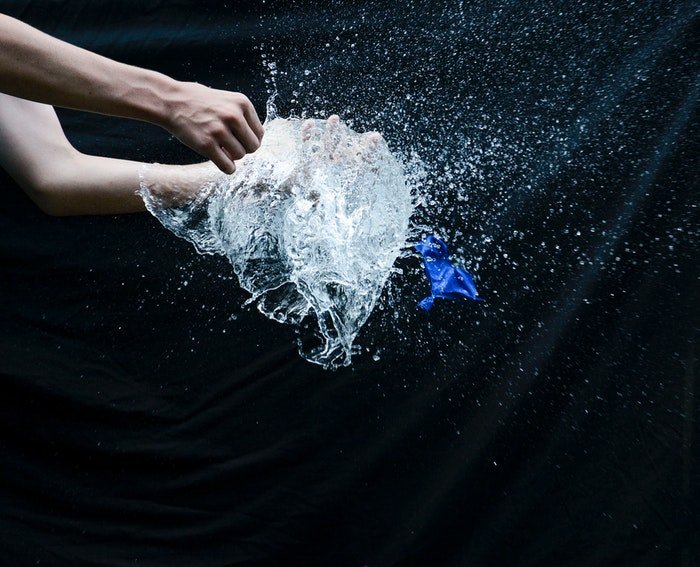
High-speed photography is about freezing motion. Look for moving vehicles, birds in flight, or children at play. Photograph something that happens in the blink of an eye.
The trick to high-speed photography is a fast shutter speed.
See our high-speed photo guide for our best tips on freezing motion.
Day 3. Light Trail Photography
Light trail photography makes it easy to capture an image with that wow factor. Light trails make a city come alive at night. This photo idea works anywhere you can find a moving light source.
With your camera on a tripod, set a long shutter speed. The slow shutter speed is your secret ingredient in capturing these shots. Moving lights will streak through the scene.
See our light trail guide for creative ways to capture the magical lights around us.
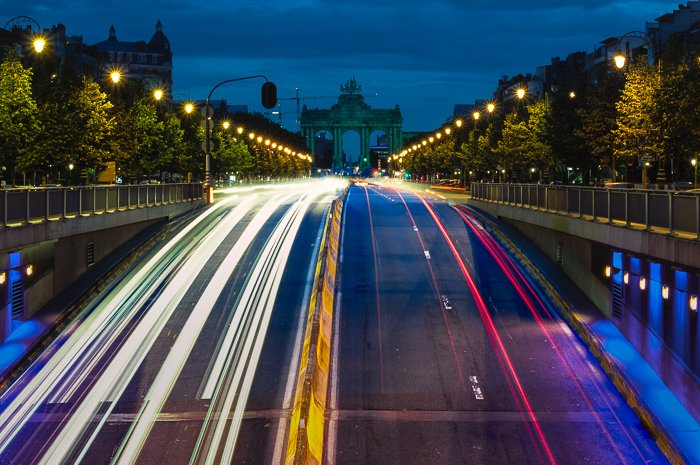
Day 4. Long Exposure (Daytime)
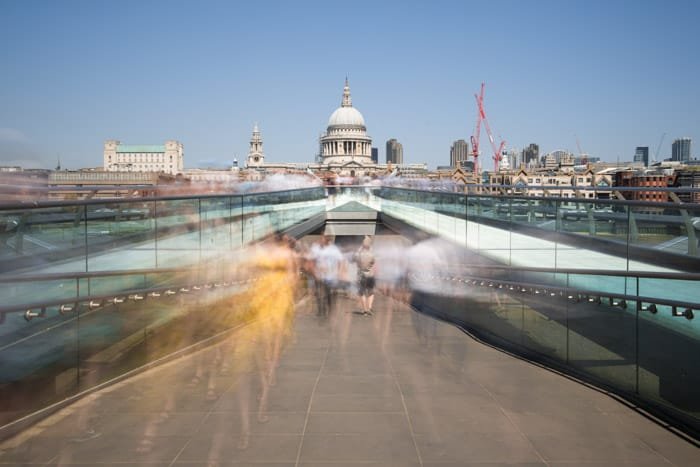
Long exposure can dramatize a scene. It can turn clouds into streaks and make moving water look like glass. It adds atmosphere while keeping the focus on the important parts.
This style of photography is also used to blur movement or make people magically disappear from a scene.
Getting the effect during the day is a bit tricky. Read our daytime long exposure guide to help you achieve the perfect long exposure.
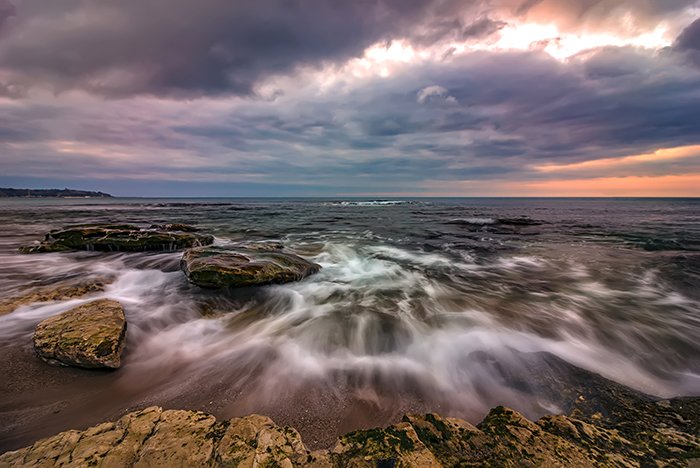
Day 5. Light Graffiti
Want to send a message with your photography? Have some fun with light graffiti!
We’ve all seen those interesting nighttime images. Someone is painting a word or an image in front of the camera. It’s an easy trick!
All you need is a slow shutter speed, a tripod, a light source, and patience. Stand in front of the camera and paint away. You’ll have to complete your image or word before the exposure finishes!
You can read our article on light graffiti for all the help you need.
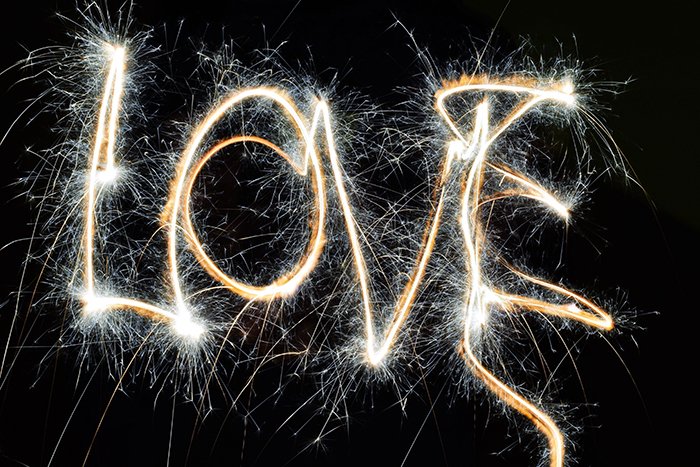
Day 6. Abstract Macro Photography
Today is the day to explore the tiny worlds around us. Macro photography is photographing close-up images. Really close. We rarely see objects up close, so the photographs are unique and interesting.
True macro photography needs extra equipment like a macro lens or extension tubes. These allow you to photograph objects larger than a 1:1 ratio. In other words, larger than life.
This creative idea is all about inspiring you to see your world differently. Look around the house. You can photograph anything!
Our abstract macro photo guide is full of creative photo ideas you can do in your kitchen.
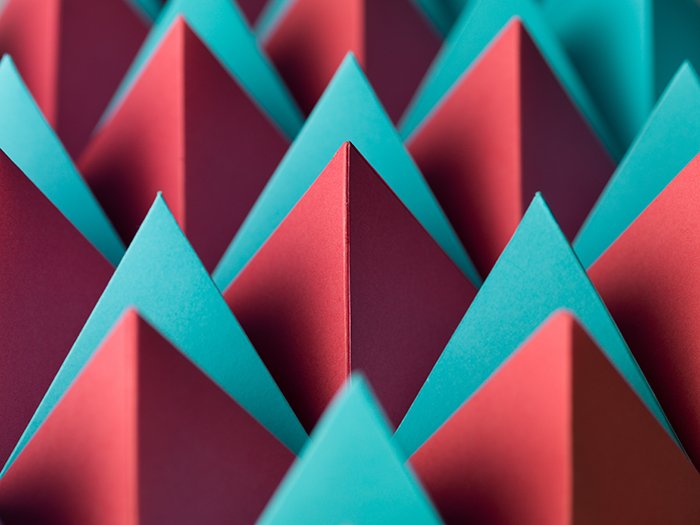
Day 7. Crystal Ball
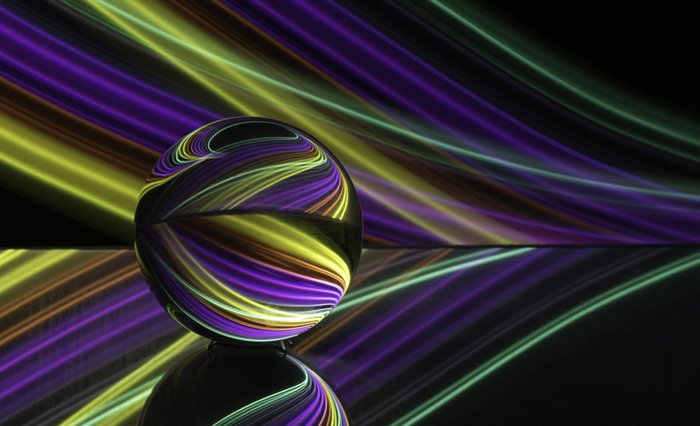
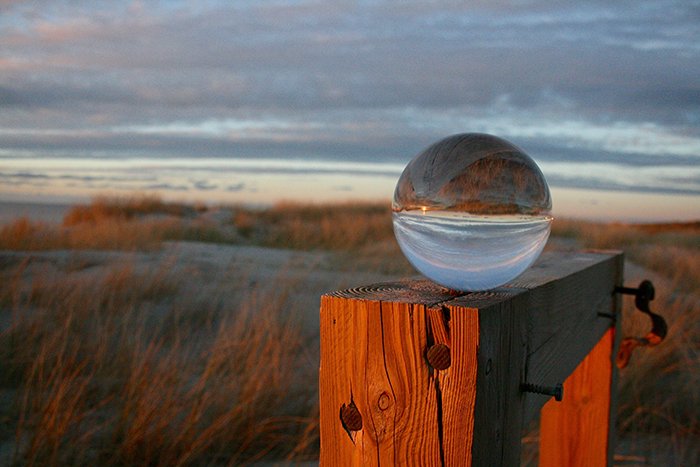
Crystal balls add a magical dimension and a new perspective to your photos.
By photographing through a crystal ball, we change the viewer’s perspective. The scene is both upside down and the right way up at the same time. These glass balls come in various sizes and even different colors.
Don’t have a crystal ball? No problem! If you shoot through a wine glass, you’ll get a similar effect.
Read our crystal ball photography article for all the information you need and some inspiration to get you started.
Day 8. Colorful Water Drops
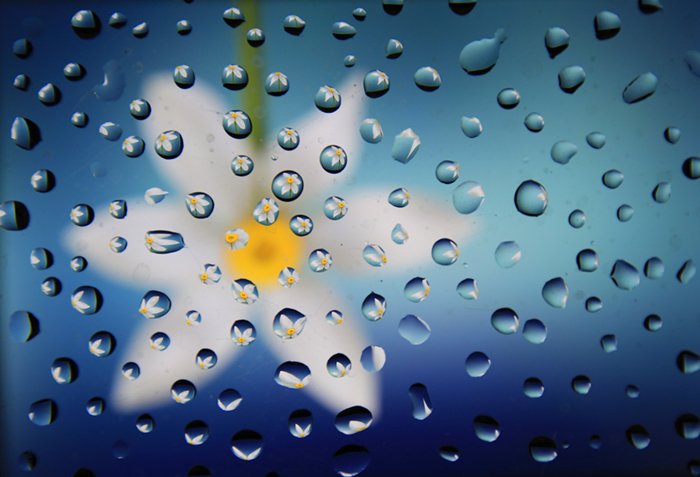
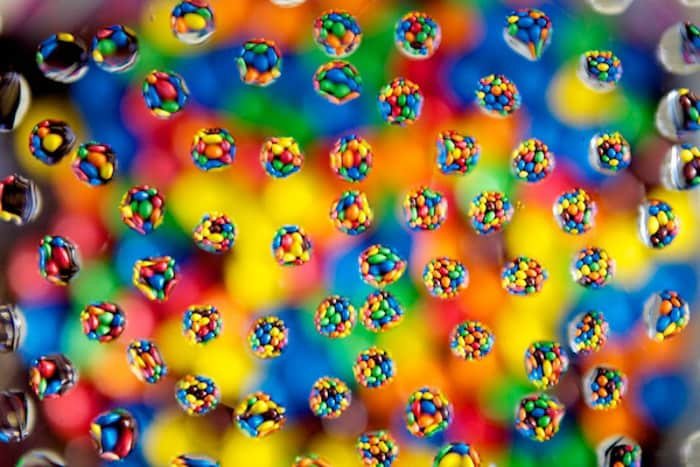
Capturing colorful waterdrops is today’s creative photography idea. This is an excellent way to bring out shape and form, color, and texture in a photo.
Using water droplets, we create a multitude of tiny lenses. Each replicates a colorful background over and over again.
Any background will do, but choose something colorful! Place a piece of glass on top and add drops of water. Focus on the water and let the background blur.
See our water drop photography guide for more ideas.
Day 9. Custom Bokeh
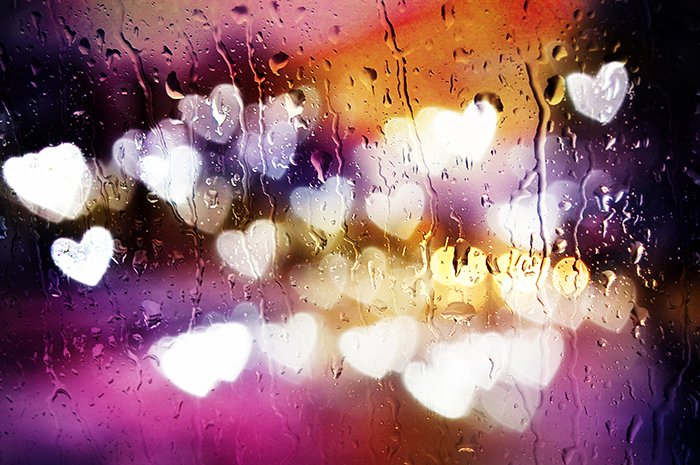
Make a creative photo using a custom-shaped bokeh. Bokeh describes the shape of out-of-focus light. We can shape this light using a homemade bokeh filter.
Bokeh can be the subject or add interest to the background. Create a still life and use Christmas lights to create bokeh in the background.
A wide aperture and creative blur are key to achieving this technique.
Get to know the simple trick of creating custom bokeh. You’ll come up with all sorts of creative photography ideas.
See our custom bokeh guide for instructions on how to create specific shapes.
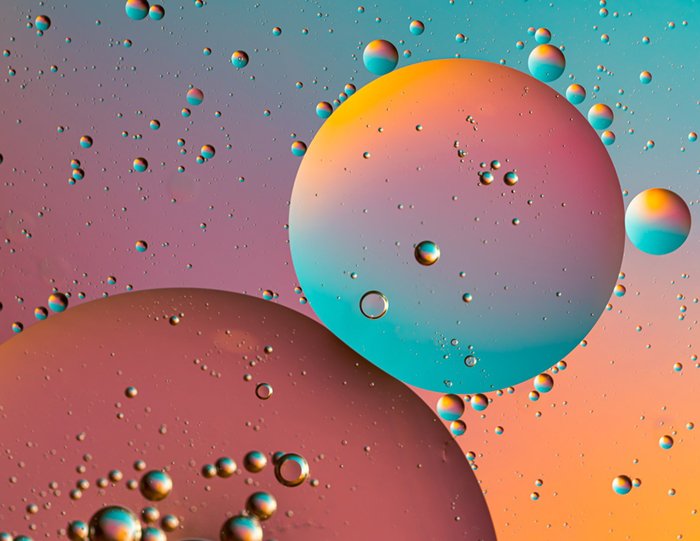
Day 10. Oil and Water
Some things aren’t meant to go together, like oil and water. But this is the inspiration for our next photography idea.
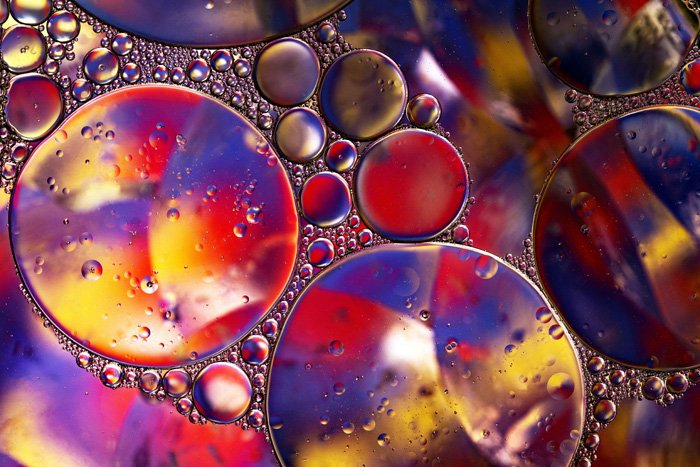
Mix oil and water, then get close for a cool abstract image. All you need is oil, water, and some colored material as a backdrop.
The two liquids will stay separated, giving the oil shape, form, and texture. The photos make spectacular pieces of art and great conversation starters. This technique is abstract photography at its best.
Read our article on abstract oil and water photography for how to capture and perfect this idea.
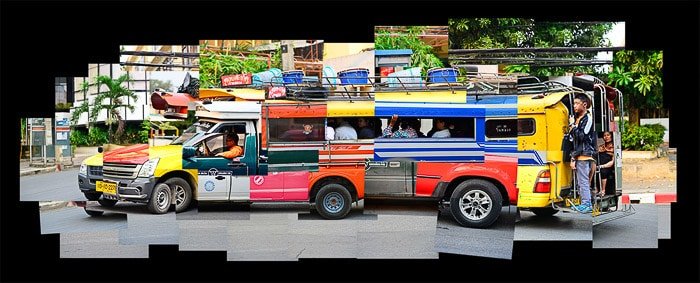
Day 11. Photomontage
Today’s creative photography idea is making a photomontage.
To make one, take many photos of the same subject. Then layer them together in a post-processing program to create a single image.
The exciting and creative part is the layering of the images. You have so many choices on how you can do it!
The technique adds depth and a different perspective. You can take many images to show a wider perspective. You can even show multiple angles in one image.
Give it a try. But first, read our photomontage article for inspiration and to ensure you have everything you need.
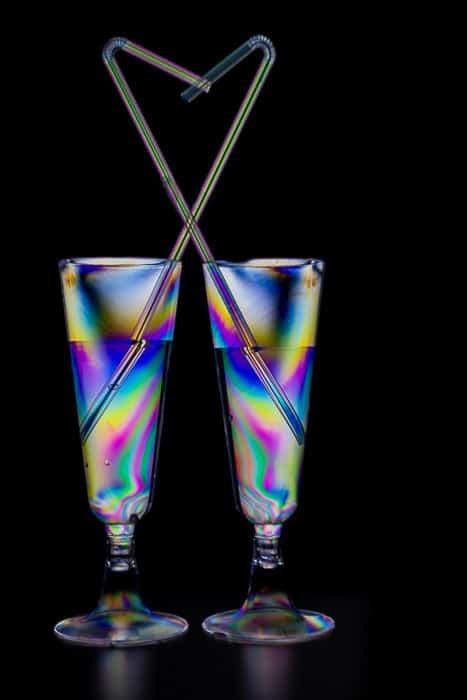
Day 12. Photoelasticity
This creative idea will have you seeing rainbows everywhere.
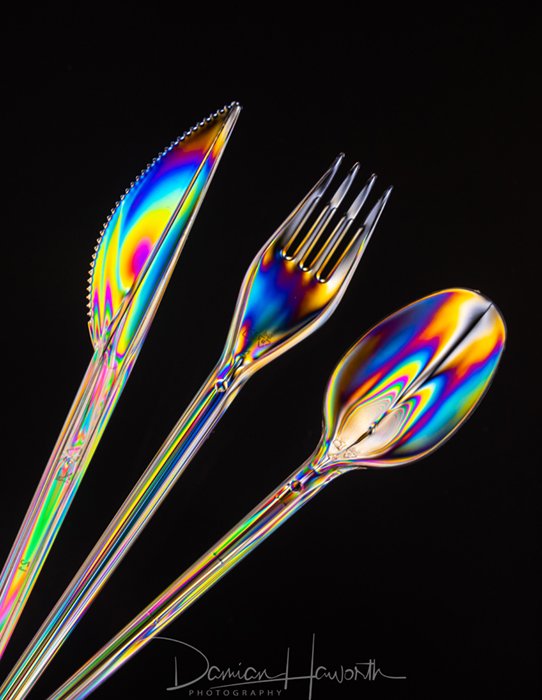
Photoelasticity is photographing an abstract rainbow of colors in otherwise dull plastic objects. You may think that’s impossible, but it’s not!
You need a few things to achieve this look. But none are difficult to obtain. You need a clear plastic object, a polarizing light source, and a polarizing filter.
Not all light is polarizing. But the lights from your computer and your smartphone are.
Still-life photography comes to life with this technique. The camera angles and compositions are down to you. Focus on shape and form or something very abstract.
See our photoelasticity guide for getting started. You may be surprised at how many rainbows you can photograph around the house.
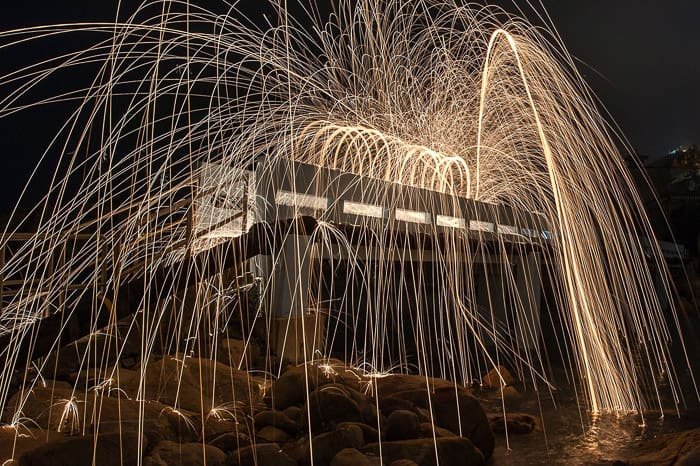
Day 13. Steel Wool Photography
We’re playing with fire for this next photography idea.
Burning steel wool combined with a long shutter speed lets you create stunning images. As you spin the burning steel wool, your camera captures sparks and long streaks of light.
This technique is best used in a dark, open space. Read our article on steel wool tips for all the information you need and how to do this safely.
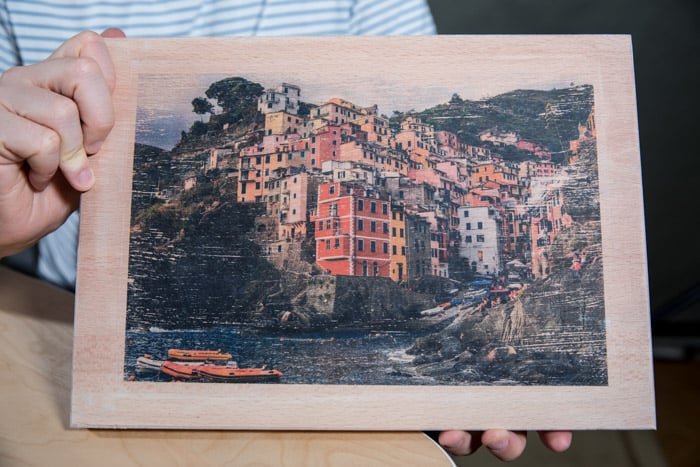
Day 14. Transferring Photos Onto Wood
Today, let’s do a bit of imaginative printing.
A creative way to show off your photos is to use wood. Most images we see are framed behind glass. Transferring a photo directly onto the wood adds a unique flavor to the print.
Most pieces of wood will work as long as they’re flat and properly treated.
These are great photo gifts. And they’re perfect for showcasing your photography in an interesting way. They look fantastic, and the process is simple.
A couple of techniques are used to get a paper print onto a piece of wood. Read our step-by-step guide on how to create wood prints.
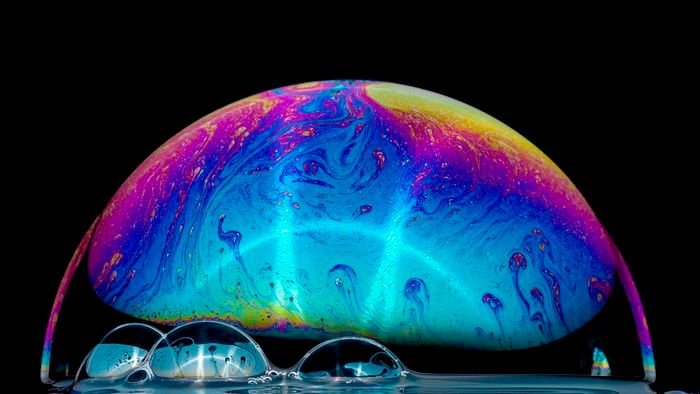
Day 15. Bubble Photography
Bubbles aren’t only for children. They’re also great photography subjects.
Bubbles have colors and are reflective. They are visually engaging and make for fantastic abstract images.
It’s easy to create these compelling images. And they have the potential to create otherworldly effects.
All you need to get started is soap, water, a straw, and a secret ingredient. Read our article about bubble photography for details and photography ideas.
Day 16. Harris Shutter Effect
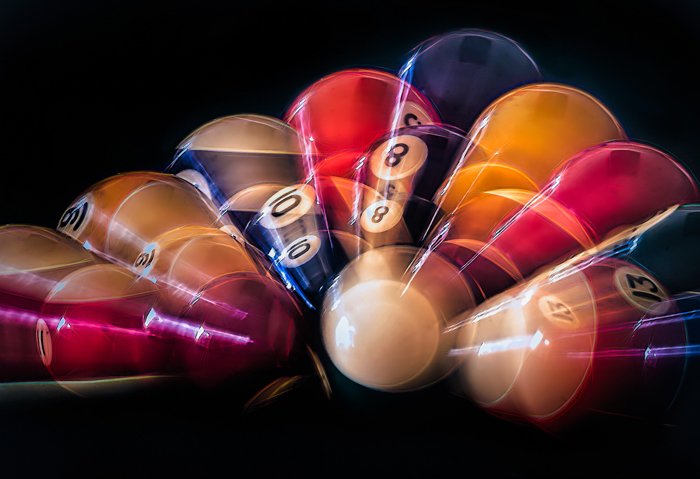
Today’s photography idea focuses on creating the Harris shutter effect in post-processing.
The Harris shutter effect has its roots in the days of film photography. The idea was to take three photos of a moving subject using three different colored filters. Then combine the images into one unique photo. Some of the colors combine—others pop—all in one photo.
For this technique, you need a moving subject and a post-processing program.
See our step-by-step Photoshop guide to create the Harris shutter effect.
Day 17. Slow Sync Flash
It’s time for a bit of fun with flash. Slow sync flash lets you freeze motion at long shutter speeds. This cool effect combines the blurred motion of long exposure with a sharp-looking subject.
The idea is to add a touch of photo flash to a long exposure. This technique freezes the subject while allowing you to handhold your camera.
Our slow sync flash guide tells you everything you need to know.
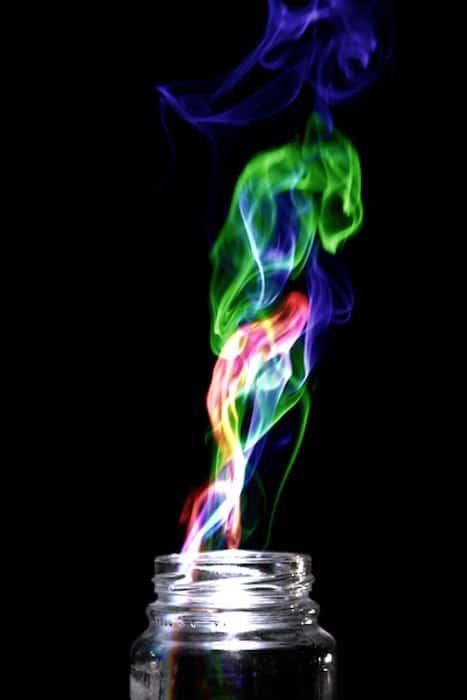
Day 18. Smoke Photography
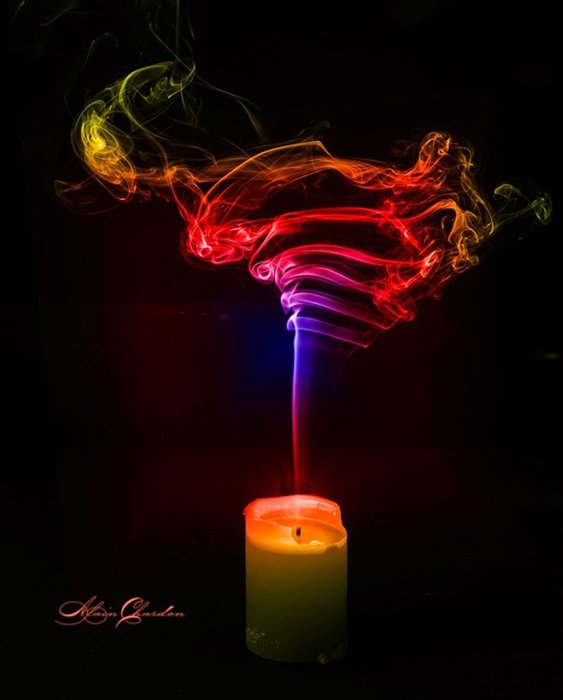
Add drama to your still-life photography by adding smoke. The idea is simple, but grabbing that particular look, shape, or form is tricky.
Think dark and mysterious, or focus on the abstract shapes of the smoke.
Many items around the house create smoke without fire. Incense, snuffed-out matches, and blown-out candles all work. The secret to shooting smoke is the use of backlight.
Everything you need to know is in our smoke photo guide. And it’s full of inspirational photography ideas.

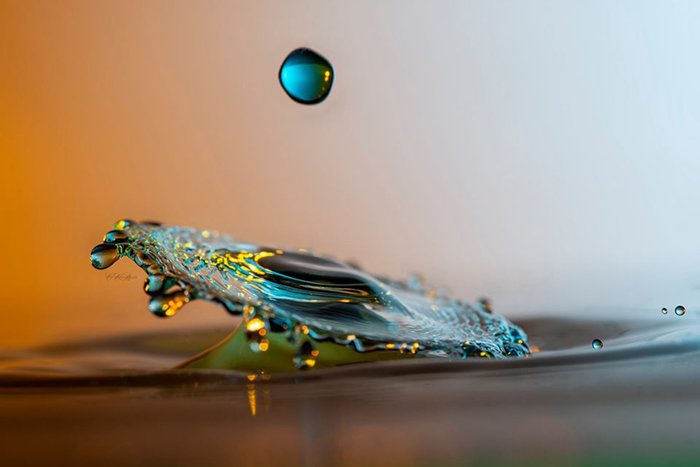
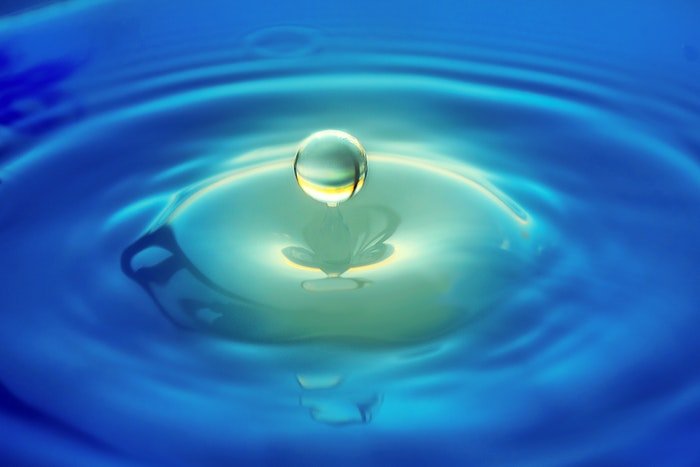
Day 19. Water Drop Photography
Some photography ideas don’t need a lot of equipment—just a bit of creativity. Water droplet photography captures something simple yet powerful.
The idea is to photograph water drops falling from a height into a bowl filled with water. You want to freeze the drop in motion or capture the shape created by the splash. The further the water falls, the bigger the splash.
Water droplets add motion and interest to product or food photography. They even work as abstract art on their own.
You can be as creative as you want! Our water drop guide is full of incredible photo ideas.
Day 20. Water Splash Photography
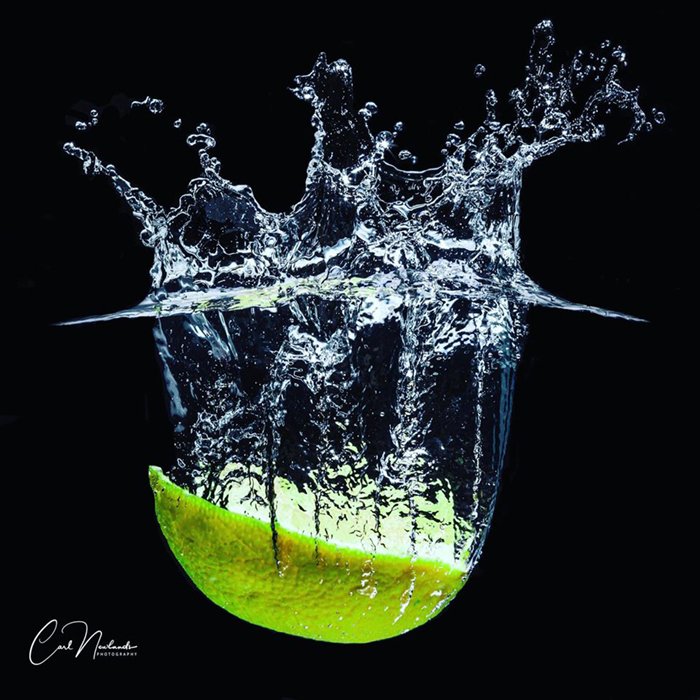
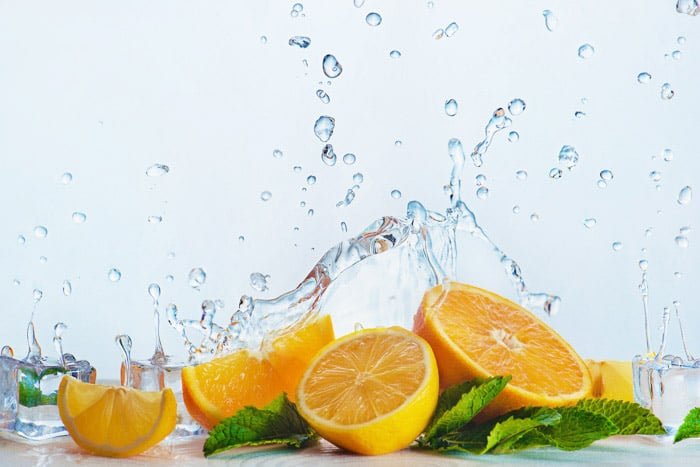
Water splash photography is a creative way to make your food and drink photography stand out.
But moving water adds dynamic motion to any still life. Falling water gives a feeling of a cold drink on a hot summer’s day. Or it adds a sense of surprise like a bucket of cold water.
Set your still-life scene and add a splash. It is a simple enough idea. But capturing the exact moment the water splashes can be tricky.
Our water splash guide gives you all the information you need to take these dynamic photos.
Day 21. Fence Cut-Out Photography
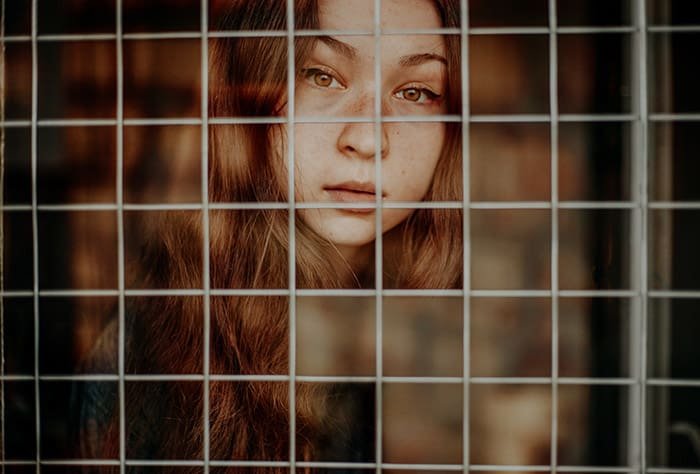
It’s time for a photoshoot. We use a practical chain link fence to create a layered portrait.
Place your model behind the fence. Focus on the model. Then focus on the fence. In post-processing, we’ll cut out parts of the image to hide and show elements.
This project may inspire many creative photography ideas. It mixes portrait photography with photo manipulation.
Our guide to cut-out Photoshop projects shows you how to combine the images in post-processing.
Day 22. Day-to-Night Photography
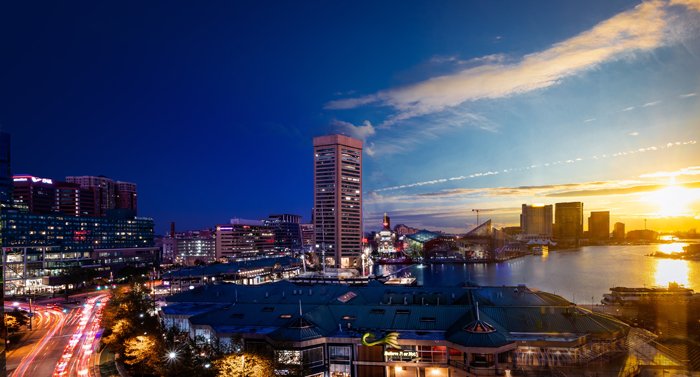
Today’s creative photography idea combines the best of two worlds—day and night photography.
Pick an interesting scene. Then capture two images—one during the day and another at night.
Read our full day-to-night photography article on how to combine the two.
Day 23. Double Exposure
Have you ever tried to create a double exposure? If not, today’s the day.
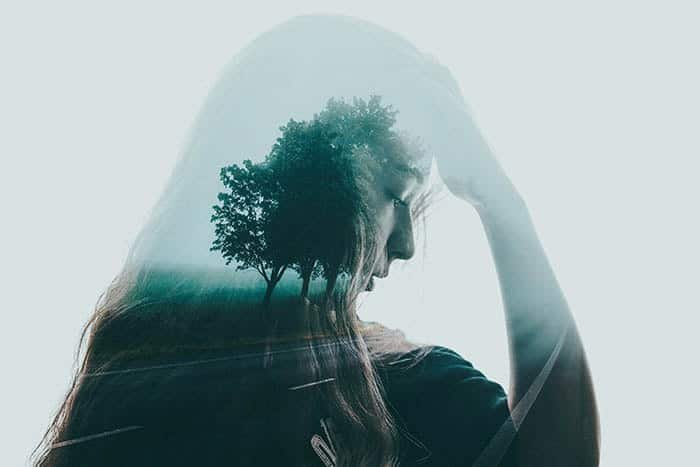
Double exposures creatively combine two images into one. They can add texture to a scene or tell a story by layering one image on top of another.
Capture two separate photos of anything you want. The photos can be related or in sharp contrast. Then stitch the photos together into one image.
You can use a post-processing program. But check to see if your camera makes double exposures. Some do!
See our double exposure article for tips and inspirational photography ideas.
Day 24. Hidden Camera Trick
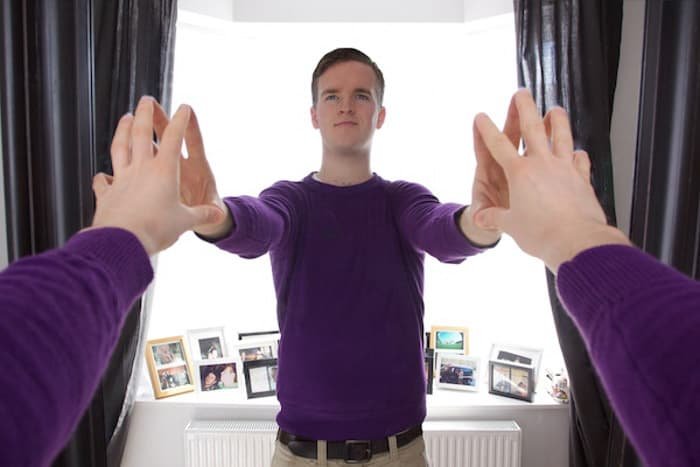
Let’s have a bit of fun today with a household mirror. In this creative photography idea, you take a self-portrait in a mirror. The twist is that we make the camera disappear!
Viewers will scratch their heads in amazement, wondering how you captured the photo. This is camera trickery at its best.
Follow our simple step-by-step mirror selfie guide. You can create interesting self-portraits without a camera hiding your face.
Day 25. Miniature Planet Panoramas
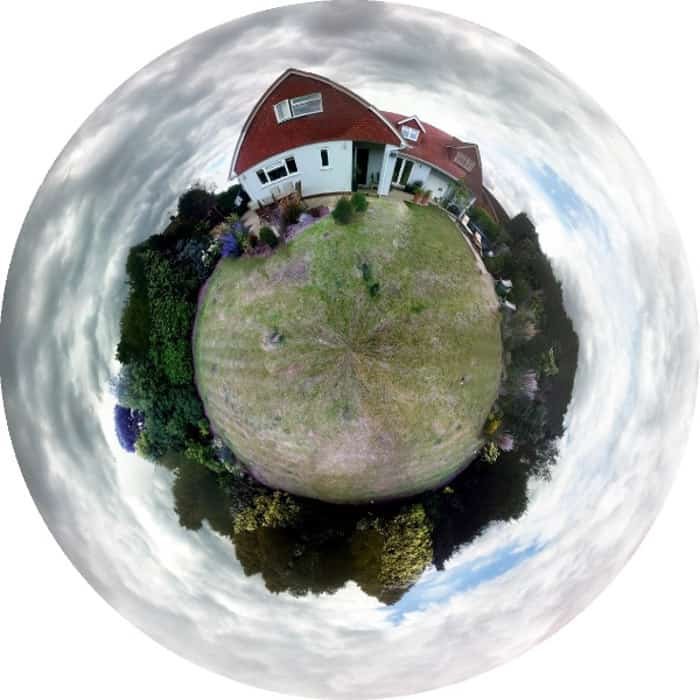
Let’s get creative with post-processing and make little planets. Making little planets is a cool effect that looks as though it needs lots of Photoshop know-how. But it’s easy and takes only a few steps to create a tiny planet.
Create the little planets in Photoshop or GIMP using the polar coordinates filter. Or download a smartphone app to transform your world.
Once you know the secret, you’ll create mini globes with every photo in your catalog. Our little planet photography guide walks you through the steps.
Day 26. Multiplicity Photography
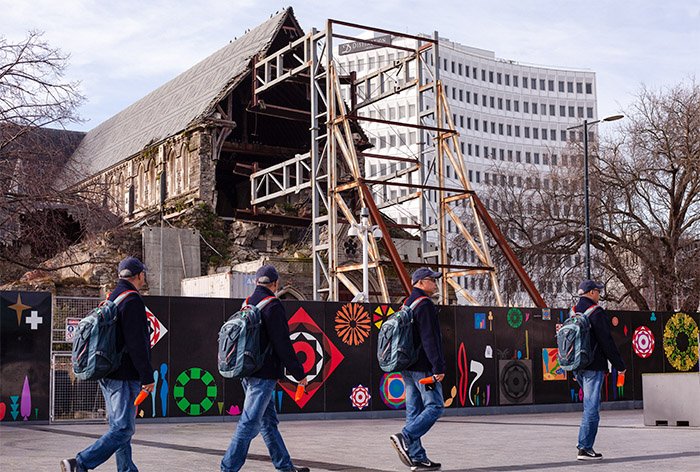
Get ready to clone yourself, friends, or family members. Today’s creative photography idea is to make a multiplicity photo.
Multiplicity photography is a perfect way to show a series of the same subject in a single image. Photograph a person or a pet doing something—playing, dancing, cooking. The changing movement is important.
This photo idea is so simple you’ll wonder why you didn’t do it before.
Our step-by-step multiplicity Photoshop guide shows you how to stitch the images together into one photo.
Day 27. Picasso Cross Section
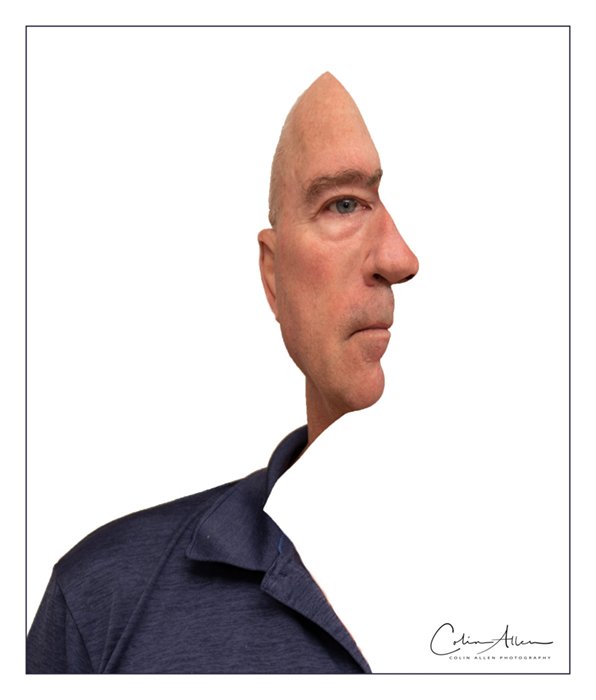
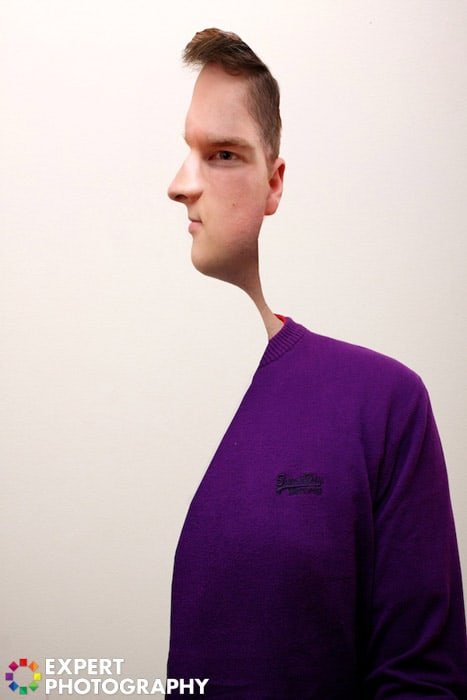
Of all our creative photo ideas, this might be the craziest! The Picasso cross-section is a mind-bending technique. After you think you’ve wrapped your head around it, confusion takes over.
Picasso made this style famous in his painting genre of cubist art.
You take two portraits —one facing the camera and one in a side profile. The idea is to create a double-exposure portrait using layers in Photoshop.
Use creative self-portraits like this on your social media! They will make everyone who sees it do a double-take.
Follow our step-to-step cross-section Photoshop guide for all the details.
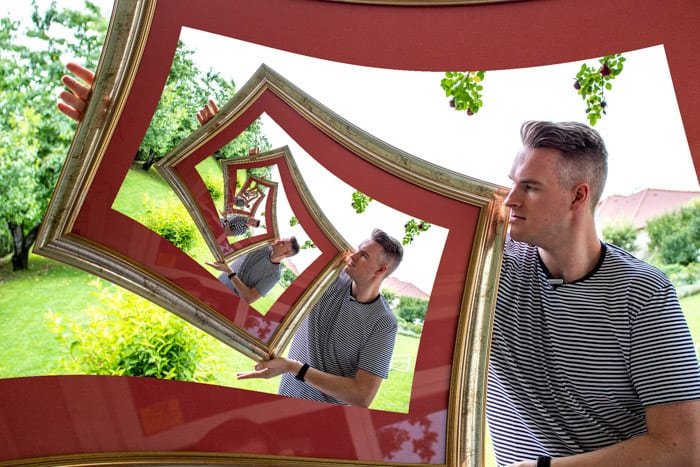
Day 28. The Droste Effect
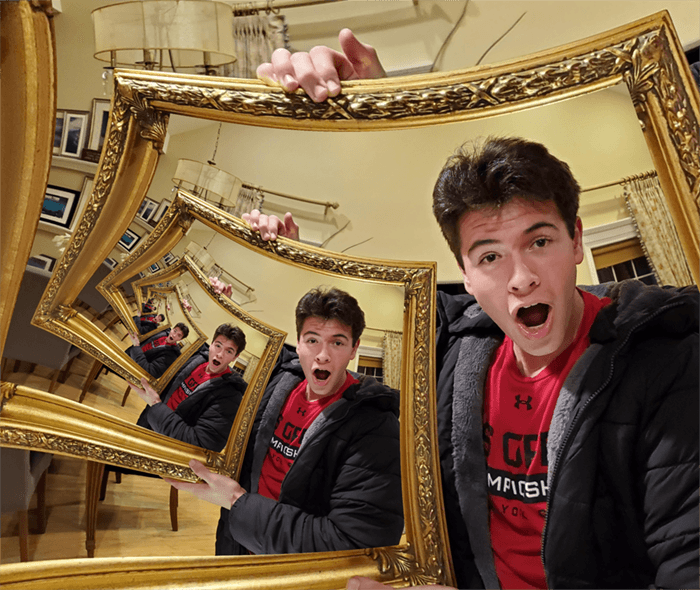
You may not have heard of the Droste effect. But you’ll reach for your camera when you see the possibilities.
The idea is to place a copy of an image within itself. This is often done in a way that suggests an infinitely recurring sequence.
It is a creative and weird idea, yet simple once you get the hang of it. We help you show off this photo talent with an easy step-by-step Droste effect guide.
Day 29. Tilt-Shift Photography
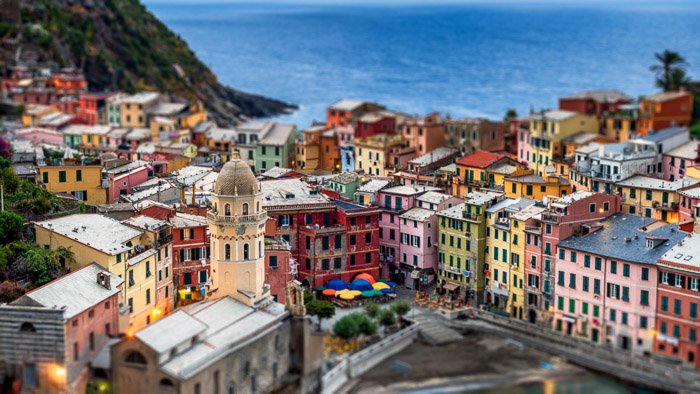
Tilt-shift photography has become increasingly popular over the last few years. Initially, it was a way to correct perspective distortion in architectural photography. But it has a look that we can simulate in post-processing.
The tilt-shift effect gives the impression of miniaturization. You can create model villages of the buildings around you!
Our step-by-step tilt-shift Photoshop guide shows you how to create this technique.
Day 30. Time-Lapse Photography
Time-lapse photography is a great way to show movement or how something changes over time.
It gives you a very different look from long exposure. A long exposure image blurs and even removes the movement from a scene. In time-lapse, we capture the movement and layer it into one scene.
This is a great photography idea for lively cityscape photography, building projects, and blooming flowers.
Put your camera on a tripod and take a series of images over a period of time. You can use an intervalometer. It is a device that automatically takes pictures, so you don’t have to time the photos yourself.
Our time-lapse photography article helps you through the process.
Conclusion: Creative Photography Ideas
Congratulations on completing our 30-day project! See our Instagram for inspiration and more creative photography ideas.
Below are some of the photos taken by students of our creative photography course. If you’d like to learn more, check out our Wow Factor Photography course.
